Why DIY resin kits usually end in a costly mistake
The High Cost of Cheap Solutions
The allure of a fifteen-dollar fix for a damaged piece of glass is powerful. You are standing in the hardware aisle, looking at a small plastic syringe of resin, thinking you can bypass the professional glass installer and save a bundle. But as a master glazier with over two decades in the field, I have seen these kits fail more often than they succeed. Most people view glass as a solid, inert material. In reality, it is a dynamic substance that reacts to every degree of temperature change. When you introduce an inferior, over-the-counter resin into a glass fracture, you aren’t just filling a hole; you are potentially setting a ticking time bomb for the entire sash. I have walked into countless homes where a small stone chip turned into a massive spiderweb crack because the homeowner didn’t understand the physics of thermal expansion or the refractive index of the materials they were using.
The Condensation Crisis: A Repair Autopsy
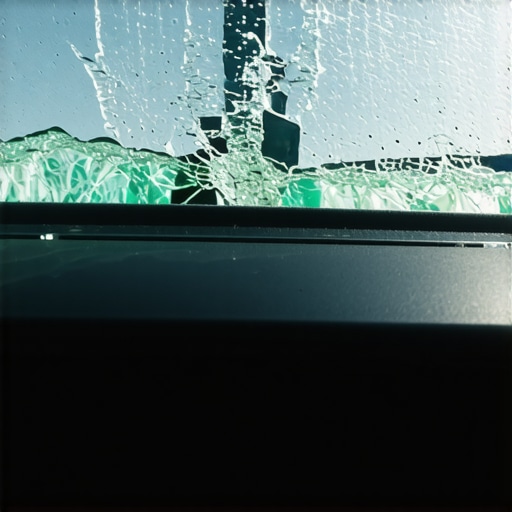
A homeowner called me in a panic because their new windows were ‘sweating’ right where they had attempted a DIY chip repair. I walked in with my hygrometer and showed them the humidity was 60 percent. It wasn’t the windows; it was their lifestyle, combined with a repair that trapped moisture inside the laminate layer. By sealing the surface of the chip without drawing a proper vacuum, they had locked a microscopic amount of water vapor inside the glass. When the sun hit that south-facing window, the vapor expanded, creating a pressure cooker effect. The resin, which had already turned brittle under the intense UV radiation of our southern climate, simply snapped. What was once a tiny pit was now a clouded, milky blemish that compromised the vision area of the glass. This is the ‘Condensation Crisis’ that DIY kits never mention on the packaging. They don’t tell you that if you don’t remove the air and moisture before injecting the resin, you are essentially burying a defect rather than fixing it.
“Installation is just as critical as the window performance itself. A high-performance window installed poorly will fail.” – AAMA Installation Masters Guide
The Science of Solar Heat Gain and Resin Failure
In our climate, the primary enemy of glass longevity is Solar Heat Gain (SHGC). For those living in the South or in high-altitude regions, the sun is not just a light source; it is a source of intense infrared radiation that causes glass to expand and contract daily. A professional glass installer understands that the resin used in a chip repair must match the expansion coefficient of the glass itself. Most DIY kits use a generic acrylic resin that is far too rigid. When the glass heats up in the afternoon sun, it expands. If the resin cannot expand at the exact same rate, it creates a shear force along the edges of the repair. This is why many DIY fixes look great for the first forty-eight hours and then suddenly ‘pop’ or sprout new cracks. In professional mobile service, we use categorized resins specifically formulated for different temperature ranges and glass types, ensuring that the repair remains flexible enough to move with the glass while maintaining its structural bond.
Refractive Index: Why Your DIY Fix Looks Like a Smudge
One of the most technical aspects of glazing is matching the refractive index. This is the measurement of how light bends as it passes through a material. Standard soda-lime glass has a refractive index of approximately 1.52. Professional grade resins used in same-day mobile service are engineered to match this number precisely. Cheap retail kits often use resins with an index of 1.48 or 1.55. To the naked eye, this means that even if the crack is technically ‘filled,’ you will still see a ghostly outline or a shimmering distortion where the repair was made. This is because the light is bending at two different angles as it moves from the glass into the resin. As a specialist, I use a bridge tool to apply consistent pressure, ensuring the resin reaches the very bottom of the fracture, displacing all air. Without this specialized equipment, the DIYer is usually just ‘capping’ the crack, leaving an air pocket underneath that acts as a lens, magnifying the damage every time the sun hits it.
The Critical Role of the Glazing Bead and Structural Integrity
When you are dealing with an operable sash, the vibrations of opening and closing the window put constant stress on the glass. If a chip is located near the glazing bead or the edge of the frame, the risk of a DIY failure is even higher. Professional glass installers look at the ‘Rough Opening’ and the way the glass is seated on its shims to determine if a repair is even viable. If the glass is under significant edge pressure due to a shifted frame or a poorly leveled sill pan, a DIY resin injection will likely fail the moment you try to operate the window. We often see homeowners accidentally crack their entire pane because they applied too much downward pressure with the DIY syringe, not realizing that the glass was already under tension from a settling foundation. A mobile service expert uses a vacuum-based injection system that doesn’t require pushing against the glass, preserving the delicate balance of the window assembly.
“Proper field glazing and repair require specific environmental controls to ensure the long-term integrity of the fenestration unit.” – ASTM E2112 Standard
Why Same-Day Professional Service is the Smarter Investment
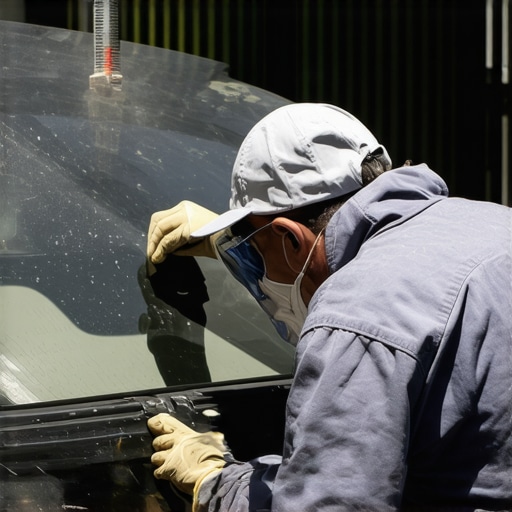
The true cost of a DIY mistake is not just the price of the kit; it is the price of a full window replacement. Once an amateur resin has cured inside a crack, it is nearly impossible to remove. You cannot ‘redo’ a glass repair. If the DIY kit fails, the glass is permanently contaminated, and the only remaining option is to pull the entire unit and replace it. This is particularly painful for homeowners with high-performance, double-pane windows where the seal has not yet been broken. A professional glass installer can often perform a same-day repair that is virtually invisible and restores the structural integrity of the pane for a fraction of the cost of a new IGU (Insulated Glass Unit). We use high-intensity UV lamps to cure the resin in minutes, rather than relying on inconsistent sunlight, which ensures a full and even bond across the entire repair site. Don’t let a small chip become a total loss. Understanding the chemistry, the physics of SHGC, and the mechanics of the sash is the only way to ensure your windows continue to protect your home from the elements.