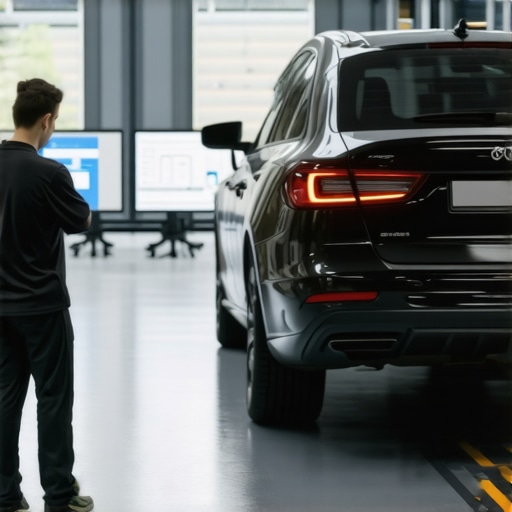
How we test your car’S ADAS cameras after a glass swap
The Modern Windshield: More Than Just a Bug Shield
A generation ago, replacing a windshield was a straightforward mechanical task. You pulled the molding, cut the old urethane bead with a cold knife, cleaned the pinchweld, and slapped in a new piece of laminated safety glass. If the wipers didn’t hit it and it didn’t leak in a car wash, the job was considered a success. As a master glazier with over two decades in the trade, I can tell you those days are dead. Today, that piece of glass is a high-tech optical lens for your vehicle’s Advanced Driver Assistance Systems (ADAS). When a glass installer swaps your windshield, they are not just changing a structural panel; they are resetting the eyes of your car.
The Ghost in the Machine: A Narrative Reality Check
A driver called me in a panic last October because their new SUV started ‘hallucinating’ after a mobile service glass swap. They were driving on a perfectly clear highway when the Autonomous Emergency Braking (AEB) slammed on the anchors because the camera thought a shadow from an overpass was a brick wall. I walked out with my diagnostic tablet and a digital inclinometer. The issue wasn’t the software; it was the installation. The previous technician had used a generic glass brand with a slight ripple in the ceramic frit area where the camera mounts. To the human eye, it looked fine. To the CMOS sensor in the camera, that ripple acted like a funhouse mirror, distorting the distance to objects on the road. It was a classic case of prioritizing speed over optics. This is why I have no patience for ‘caulk-and-walk’ installers who don’t understand the physics of light refraction.
“Installation is just as critical as the window performance itself. A high-performance window installed poorly will fail.” : AAMA Installation Masters Guide
The Physics of Optical Distortion and the Camera Window
The area of your windshield directly in front of the ADAS camera is known as the camera window. In high-quality glass, this specific zone is manufactured with extreme precision to ensure zero optical deviation. When we talk about glazing zooming, we have to look at the refractive index of the Polyvinyl Butyral (PVB) interlayer. This plastic layer, sandwiched between two sheets of glass, must be perfectly uniform. If there is a thickness variation of even a few microns, the light entering the camera lens will bend incorrectly. For a Lane Keep Assist (LKA) system, a one-degree error in light refraction at the glass surface can translate to a five-foot lateral error at 100 yards. This is the difference between staying in your lane and drifting into a concrete barrier.
Static vs. Dynamic Calibration: The Testing Protocol
Once the glass is set and the urethane has reached its initial tack-free state, the testing begins. There are two primary methods we use to verify the camera’s accuracy: Static and Dynamic Calibration. Static calibration happens inside the shop. We set up a series of precision targets at specific heights and distances from the vehicle. These targets often look like a series of black and white geometric patterns. The vehicle’s onboard computer uses the camera to identify these patterns, allowing it to calculate its exact orientation relative to the road. This process requires a perfectly level floor. Even a one-percent grade in the shop floor can throw off the vertical pitch of the camera’s field of vision. Dynamic calibration, on the other hand, involves a drive cycle. We take the vehicle out on the road under specific conditions: usually between 35 and 65 mph on a road with clear lane markings. The car ‘learns’ its environment by tracking stationary objects like signs and road lines. We often perform a dual-calibration, using both methods to ensure the sensor’s yaw, pitch, and roll are within the manufacturer’s tight tolerances.
“Proper alignment of the Advanced Driver Assistance Systems (ADAS) camera is non-negotiable for vehicle safety systems to function as designed.” : I-CAR Industry Standards
The Urethane Factor: Structural Integrity and Sensor Stability
One aspect many mobile service providers ignore is the relationship between urethane hardness and camera vibration. We use high-modulus, non-conductive urethane for ADAS-equipped vehicles. Why? Because the camera is mounted to a bracket that is bonded to the glass. If the adhesive is too soft, the glass will micro-vibrate at highway speeds. This vibration creates ‘noise’ in the camera’s visual data, making it harder for the processor to distinguish between a pedestrian and a mailbox. When you opt for a same-day chip repair that turns into a full replacement, you must ensure the urethane has sufficient time to cure before the camera is calibrated. If the glass shifts even a millimeter after the calibration is finished, the entire safety system is compromised. We measure the Rough Opening of the frame and ensure the glass is centered to within 1/16th of an inch. Anything less is professional negligence.
The Thermal Logic of Calibration
Climate plays a massive role in how we test these systems. In colder northern climates, the primary enemy is condensation inside the camera bracket. If an installer doesn’t properly seal the camera shroud, the humidity from the cabin will hit the cold glass and fog up the camera’s view. This is why we check the dew point inside the shop before mounting the sensor. In hotter climates, solar heat gain is the concern. If the glass reaches a certain temperature, the camera’s internal thermal protection might shut the system down during a drive cycle. We use specialized Low-E coatings in the glass to reflect infrared radiation while allowing visible light through to the sensor. This balance is critical: too much tinting and the camera loses its ‘night vision’ capabilities; too little and the sensor cooks in the Texas sun.
Why Cheap Glass and Fast Service Can Be Dangerous
The market is flooded with ‘budget’ glass that looks identical to OEM (Original Equipment Manufacturer) parts. However, the tolerances for the camera mounting brackets on these cheap units are often sloppy. A bracket that is tilted just two degrees downward will cause the Forward Collision Warning to trigger prematurely every time you go down a slight hill. A glass installer who doesn’t use a diagnostic tool to check for pre-existing fault codes before the swap is setting you up for failure. We scan the car’s system before we even touch the glass, then we scan it again after the calibration to ensure every bit of the safety suite is communicating correctly. This isn’t just about glass: it’s about the integrated electronics that keep your family safe.
The Final Inspection: Beyond the Computer
While the diagnostic tablet might say ‘Calibration Successful,’ a true master glazier knows the job isn’t done. We perform a physical inspection of the glazing bead and the weep holes in the cowl to ensure water is being diverted away from the electronics. We check the sash and the molding to ensure they aren’t creating wind noise that could interfere with the car’s microphones. If your glass installer isn’t talking about pitch and yaw, you are in the wrong shop. The goal is a perfect optical path from the sensor to the horizon. When we finish a glass swap, your car should see the world exactly as the engineers intended: clearly, accurately, and safely.