The trick to removing air bubbles from a chip repair resin
The Invisible Enemy: Why Air Bubbles Ruin a Professional Chip Repair
In my two decades as a glass installer, I have seen thousands of ‘quick fixes’ go south. A homeowner calls for a mobile service, expecting a crystal-clear finish, only to end up with a structural blemish that looks like a trapped silver speck. That speck is not just an aesthetic failure; it is a pocket of air that compromises the structural integrity of the glass. When we talk about same-day chip repair, the general public thinks of a simple drop of glue. A master glazier knows we are actually managing fluid dynamics under atmospheric pressure. If you do not understand the relationship between resin viscosity and the vacuum cycle, you are just ‘caulking and walking’ on a microscopic scale.
A homeowner called me in a panic because their new windows were ‘sweating’ and a recent chip repair on their sliding door had ‘blossomed’ into a full-blown crack. I walked in with my hygrometer and showed them the humidity was 60%, but more importantly, I looked at the failed repair. It was riddled with micro-bubbles. It wasn’t the windows failing; it was a fundamental misunderstanding of how the resin interacts with the glass environment. The previous tech had ignored the ambient temperature, and the resin had trapped air during the expansion phase. This is the difference between a technician and a craftsman.
“Installation and repair procedures are just as critical as the material performance itself. A high-performance glass system or repair resin used poorly will fail under thermal stress.” – AAMA Installation Masters Guide
The Physics of the Void: Why Bubbles Exist
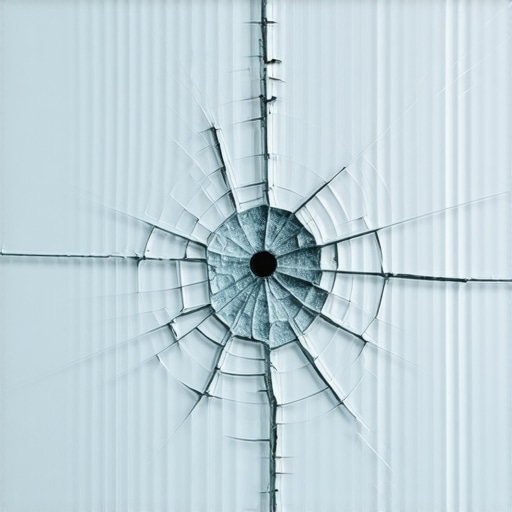
When an object strikes glass, it creates a break in the molecular bond, leaving a void. This void is filled with air. To successfully perform a chip repair, that air must be completely evacuated before the resin can be bonded. In our northern climate, where the U-Factor of the glass is paramount for retaining heat, any air left in a repair acts as a thermal bridge. The air expands and contracts at a different rate than the glass and the cured resin. This differential movement is what causes the ‘star’ or ‘bullseye’ to spread into a terminal crack during a cold snap.
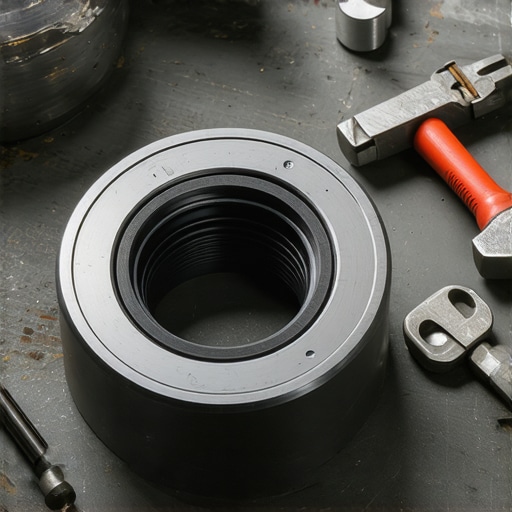
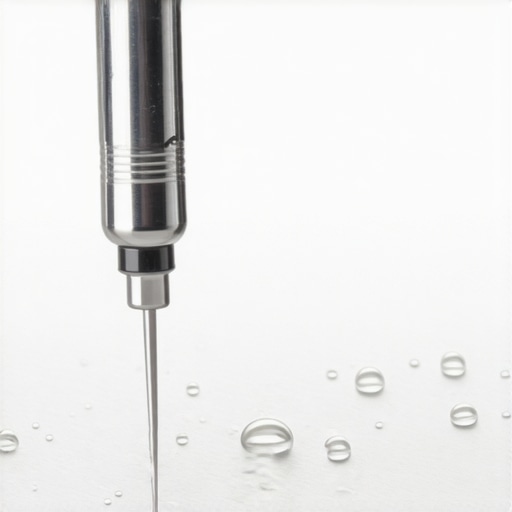
To remove these bubbles, we utilize a bridge and injector tool. The process is a dance of pressure and vacuum. First, the glass installer must create a seal over the rough opening of the chip. By pulling a vacuum, we lower the pressure inside the break, forcing the air to migrate toward the injector. If the glass is too cold, the resin becomes thick, like molasses, and will trap the air. This is why we must carefully warm the glass to a specific temperature to lower the resin’s viscosity, allowing it to flow into the deepest crevices of the fracture.
The Tooling: Beyond the Surface
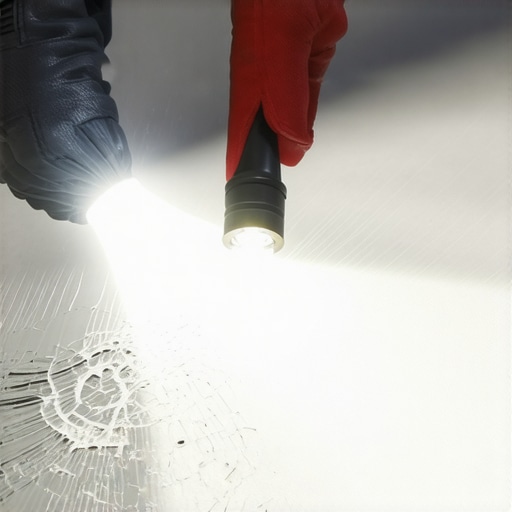
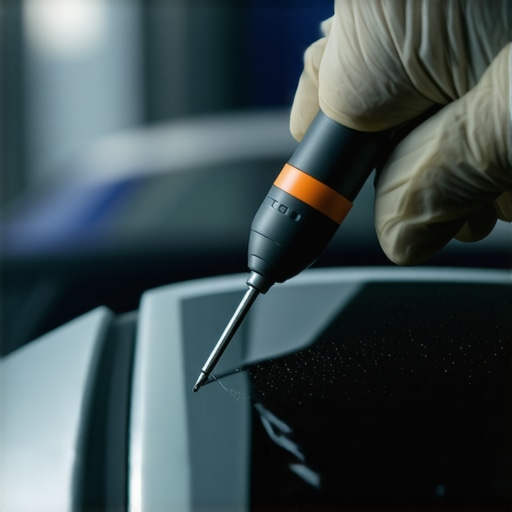
A true mobile service specialist does not rely on gravity. We use high-grade cyclene resins with specific centipoise ratings. During the vacuum cycle, you can actually see the air bubbles rising into the injector chamber. It requires patience. Most ‘hack’ installers wait thirty seconds and call it done. I wait until the refraction of the glass changes, indicating that the resin has fully displaced the oxygen. This is similar to how we treat a glazing bead when setting a new sash; if the fit is not precise, the system fails. We use a probe to gently flex the glass from the inside, a technique that ‘massages’ the air bubbles out of the legs of a star break.
“Standard practice for the installation of exterior windows and the repair of fenestration components requires a moisture-managed approach that accounts for thermal expansion.” – ASTM E2112
The Climate Logic: Why Cold Matters
In regions like Chicago or Minneapolis, the delta between the interior and exterior temperature is massive. This thermal stress is the enemy of any glass repair. If you leave a single micro-bubble in that resin, the moisture in the air can eventually find its way in through osmosis, or the air itself will expand during a sunny winter day, putting outward pressure on the glass. This is why we focus on resins with a high refractive index and low shrinkage. We are not just filling a hole; we are restoring the U-Factor efficiency of the pane. A botched repair is a weak point where heat escapes and frost begins. We must also ensure the weep hole of the frame is clear so that any moisture used during the cleaning process does not get trapped behind the glazing bead, leading to frame rot or seal failure.
Step-By-Step: The Professional Extraction Method
The trick to a bubble-free finish is the ‘double-vacuum’ method. After the initial injection, you release the pressure and pull a second vacuum. This catches the ‘stubborn’ air that was trapped under the first pass. Once the air is gone, we apply a pit resin, which is a thicker variant, to seal the surface. This is then cured with a specific UV wavelength. If you skip the shim or don’t level the bridge, the pressure will be uneven, and you will introduce more air than you remove. Every step must be clinical. This is why mobile service requires a controlled environment, even if it is in the client’s driveway.