The trick to keeping dust out of a front-facing camera during a swap
The Invisible Enemy of the Modern Glass Installer
In my twenty-five years as a master glazier, I have seen the industry evolve from simple single-pane wood sash replacements to the high-tech integration of Advanced Driver Assistance Systems (ADAS). A window is no longer just a piece of glass; it is a critical optical component. When a homeowner or driver calls for a mobile service glass installer for a same-day swap or a chip repair, they often overlook the most dangerous element in the process: atmospheric particulate matter. I have stood in driveways from the humid coasts to the arid deserts, and the challenge is always the same: how do you maintain a clean-room environment in a mobile setting?
The Condensation Crisis: A Technical Autopsy
I remember a specific case that perfectly illustrates why the ‘caulk-and-walk’ mentality is dead. A driver called me in a panic because their brand-new windshield was ‘sweating’ and ‘fogging’ internally, specifically right in front of the forward-facing camera. I walked out to the vehicle with my hygrometer and a high-intensity inspection lamp. The installer had performed a mobile service on a humid morning and trapped a pocket of 70% relative humidity inside the camera bracket. As soon as the driver turned on the air conditioning, the glass temperature dropped below the dew point, and that trapped moisture condensed directly onto the lens. It was not a failure of the glass; it was a failure of the installation environment. The previous technician had treated the camera bracket like a simple trim piece rather than a sealed optical chamber. This is why understanding the physics of the dew point is as critical as knowing how to handle a glass suction cup.
“Installation is just as critical as the window performance itself. A high-performance window installed poorly will fail.” AAMA Installation Masters Guide
Climate Logic: Why SHGC and Surface Coatings Matter
In southern, high-heat climates, the enemy is not just dust, but Solar Heat Gain (SHGC). When we perform a glass swap on a vehicle or a front-facing building facade, we have to consider the thermal stress on the electronics behind the pane. We want a low SHGC to block the sun’s radiant energy, and this is achieved by placing the Low-E coating on Surface #2. This is the inner face of the outer pane. By reflecting that long-wave infrared radiation back toward the street, we prevent the camera sensor from reaching thermal shutdown temperatures. A common mistake in same-day mobile service is neglecting the U-factor and SHGC ratings of the replacement glass. If the replacement unit lacks the thermal performance of the OEM glass, the camera will overheat, and the lane-departure system will fail, not because of a computer glitch, but because of basic thermodynamics.
The Math of the Rough Opening: Why Tolerance is Everything
Think of the camera bracket as the ‘rough opening’ of the window system. In traditional glazing, we allow for a certain amount of shim space to level a sash. In a camera swap, our tolerances are measured in microns. If the bracket is slightly misaligned during the glass installer’s process, the pitch, yaw, and roll of the camera are compromised. This is why we use specific glazing bead techniques to ensure the sensor is centered. The ‘Energy Savings’ myth in the residential world suggests that new windows pay for themselves in months; in the automotive world, the ROI of a proper install is immediate because it avoids the 500-dollar recalibration fee that follows a botched, dusty installation. Quality is cheaper than a rework every single time.
“The integrity of the building envelope depends on the seamless integration of the fenestration units within the rough opening, ensuring water management and airtightness are maintained.” ASTM E2112 Standard Practice
The Master’s Trick: Atmospheric Management
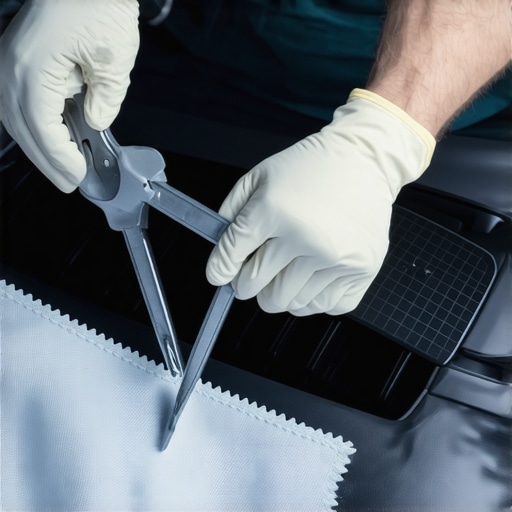
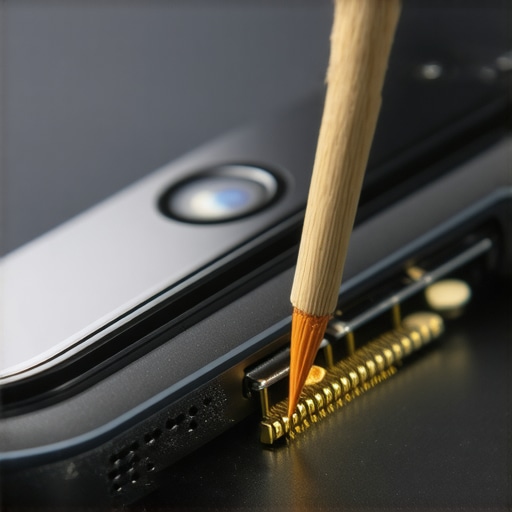
So, what is the trick to keeping dust out of that sensitive front-facing camera during a swap? It starts with the ‘Shingle Principle.’ Just as we flash a window so water flows down and away, we must manage the airflow so dust is pushed out. I use a pressurized de-ionized air canister to create a localized positive pressure zone around the camera bracket before the glass is set. This prevents the static charge of the new glass from acting as a magnet for PM2.5 particulates. We also look for the weep hole in the bracket. If an installer plugs the weep hole with too much urethane, the bracket cannot breathe, leading to the condensation crisis mentioned earlier. We treat every swap like a surgical procedure. We don’t just ‘fit’ the glass; we manage the environment. We use flashing tape to seal the perimeter of the sensor while the primer is curing, ensuring that no airborne silica from the road can enter the void. This level of detail is the difference between a successful chip repair and a total system failure.
Final Guidance for the Professional Glazier
When you are performing a mobile service, you are at the mercy of the wind. A master glazier knows to never open the camera’s protective shroud until the very millisecond the glass is ready to be seated. We check the rough opening for any residual debris and use an anti-static microfiber that has been vacuum-sealed. This isn’t about being picky; it’s about the physics of light. A single dust particle on a 4K camera sensor is like a boulder in front of a telescope. Water management is a science, but dust management is an art form. Do not settle for installers who ignore the U-factor of their materials or the cleanliness of their workspace. Demand a technician who understands that the glass is just the frame for the technology inside.