How to tell if your glass tech used a primer
The Invisible Foundation of Glass Integrity
In the world of professional glazing, the difference between a repair that lasts the life of the structure and one that fails within six months often comes down to what you cannot see. When you hire a mobile service for a same-day chip repair or a full glass replacement, you are often at the mercy of the technician’s integrity. As a master glazier with over 25 years in the field, I have seen the ‘caulk-and-walk’ specialists ruin perfectly good Rough Opening integrity by skipping the most critical step: the primer application. You might think a glass installer is just slapping on some glue, but in reality, they are managing a complex chemical bond that must withstand thermal expansion, wind load, and moisture infiltration.
“Installation is just as critical as the window performance itself. A high-performance window installed poorly will fail.” AAMA Installation Masters Guide
The Condensation Crisis: A Narrative of Neglect
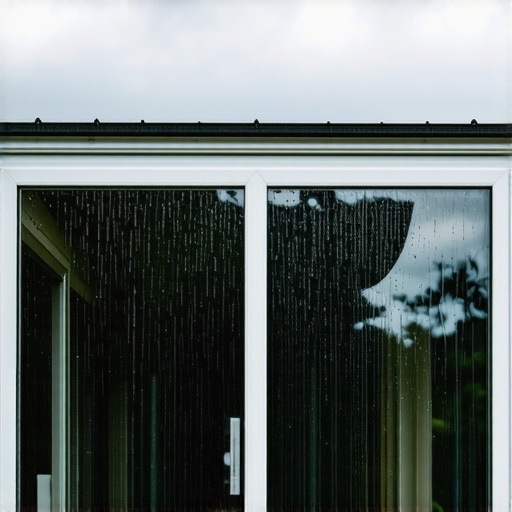
I recall a specific instance where a homeowner called me in a panic because their new windows were ‘sweating’ and showing signs of delamination near the edges only weeks after a mobile service had performed a same-day installation. I walked in with my hygrometer and a specialized inspection light. I showed them that the humidity in the room was high, but the real failure was at the glazing bead. The technician had skipped the primer on the pinchweld and the glass frit. Without that chemical bridge, moisture was migrating into the Sill Pan and trapped against the spacer. It wasn’t just a lifestyle issue; it was a fundamental failure of the bond because the installer prioritized speed over the ‘flash-off’ time required for proper adhesion.
Why Primer Matters: The Molecular Reality
To understand why you must verify primer use, we have to look at the physics of the bond. Glass is an inorganic, non-porous surface. Most structural urethanes and resins are organic. They do not naturally want to stay stuck to each other when subjected to the 120-degree Fahrenheit surface temperatures of a July afternoon or the sub-zero contraction of a January night. A professional primer acts as a silane coupling agent. It etches the glass at a microscopic level and provides a reactive surface for the adhesive to grab onto. If your glass installer skips this, they are relying on a mechanical bond that will eventually succumb to the ‘creep’ of the glass or the sheer force of wind pressure.
The Technical Autopsy: How to Tell if They Skiped It
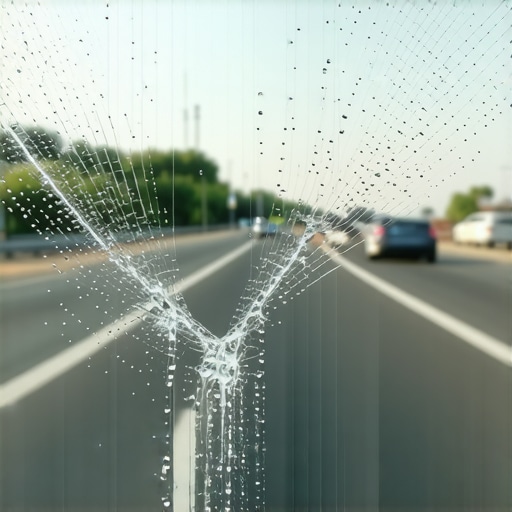
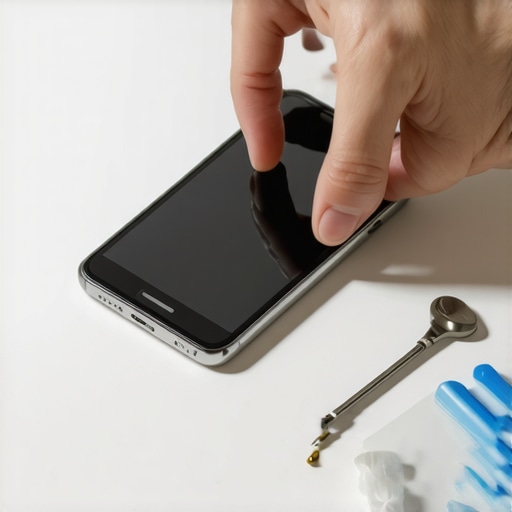
So, how do you tell if that same-day tech used a primer after they have already packed up their truck? First, look for the ‘Shadow Line.’ In a proper installation, specifically in automotive or structural glazing, the primer is often black to provide UV protection for the urethane. You should see a crisp, clean black border extending slightly beyond the adhesive line. If you see clear glass directly meeting the ‘glue,’ you have a major problem. Second, check for ‘beading.’ In a chip repair, the resin should flow into the fracture and disappear. If you see a milky or silver halo around the repair site, it often indicates that the tech did not use a pit primer or failed to properly dehydrate and prime the Rough Opening of the crack, leading to air entrapment.
“Adhesion to the substrate is the primary determinant of long-term fenestration success. Failure to follow manufacturer-specific priming protocols is a violation of ASTM E2112 standards.” ASTM E2112 Standard Practice
Climate Logic: The Cold Weather Factor
In colder climates like Chicago or Minneapolis, the lack of primer is a death sentence for glass. As the temperature drops, the Sash and the glass contract at different rates. Without a primed surface, the urethane will ‘shingle’ or pull away from the frame. This creates a micro-gap. Once moisture enters that gap and freezes, the expansion of the ice will physically push the glass away from the frame. This is why we insist on warm-edge spacers and specific cold-weather primers that remain flexible at low temperatures. If your tech is working in 30-degree weather and doesn’t have a bottle of primer warming in their pocket or van, they are doing it wrong.
The Anatomy of a Proper Installation
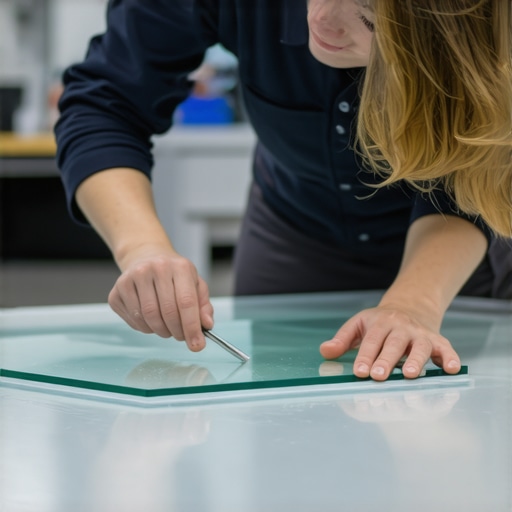
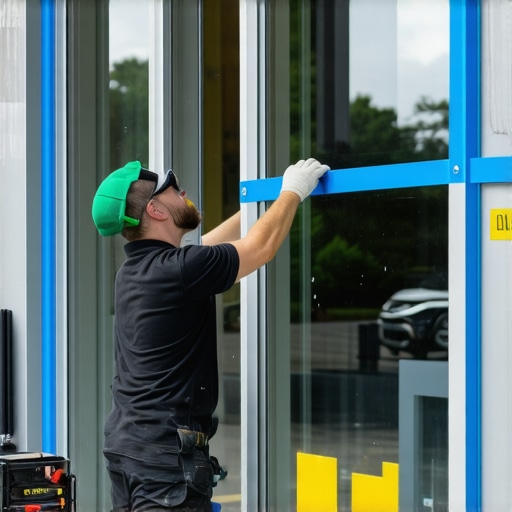
A true professional will follow a strict sequence. They will clean the Rough Opening, Shim the glass to ensure it is level and centered, apply a solvent-based cleaner to the glazing bead, and then apply the primer. They will then wait the mandatory ‘flash-off’ time, which is the time it takes for the solvent to evaporate, leaving the active solids behind. If they apply the adhesive while the primer is still wet, they have effectively neutralized the chemicals, creating a ‘greasy’ surface that will never achieve full PSI strength. Watch for the weep hole clearance as well; a tech who skips primer often over-applies adhesive to compensate, which can clog the drainage system of the window.
The Math of Failure: ROI and Longevity
Homeowners often chase the lowest bid for chip repair or glass replacement, but the math doesn’t add up. A repair without primer might cost 50 dollars less today, but when that bond fails and leads to a cracked windshield or a rotted Sill Pan, the cost of remediation can be in the thousands. You aren’t just paying for the glass; you are paying for the chemical engineering that keeps the weather outside. Demand to see the materials. A reputable glass installer will be happy to show you their primer and explain their process. If they get defensive or tell you ‘modern adhesives don’t need it,’ it is time to find a new technician. Quality glazing is a science of layers, and the primer is the most important layer of them all.