The science behind resin curing in sunlight
The Molecular Transformation of Glass Restoration
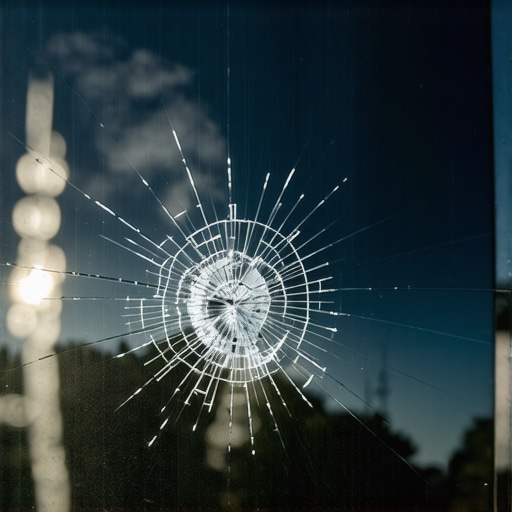
When most people see a small star-break or a bullseye crack in their glass, they see an eyesore. I see a compromised structural matrix. As a glazier with over two decades in the field, I have watched the evolution of resin technology transform from simple ‘fillers’ to complex anaerobic and UV-sensitive polymers. Understanding the science behind resin curing in sunlight is the difference between a permanent restoration and a failed patch that will yellow and peel before the next season change.
A homeowner recently called me about a ‘hazy’ spot on her high-end operable sash window. She had hired a mobile service that promised a quick fix. I walked in with my hygrometer and a UV meter. The issue wasn’t the glass; it was the physics of the cure. The previous tech had applied a high-viscosity resin in direct 2:00 PM sunlight without a cooling bridge. The resin had ‘flash-cured,’ creating internal stress fractures that looked like tiny silver needles inside the repair. It was a classic case of ignoring the thermodynamic properties of the glass substrate.
“Installation is just as critical as the window performance itself. A high-performance window installed poorly will fail.” – AAMA Installation Masters Guide
The Chemistry of the Photoinitiator
At the heart of every chip repair is a specialized resin composed of acrylic monomers and oligomers. But the real magic happens because of photoinitiators. These are chemicals that, when exposed to specific wavelengths of ultraviolet (UV) light, undergo a chemical reaction that generates free radicals. These radicals act as the ‘engine,’ initiating the polymerization process where liquid molecules link together into a dense, solid cross-linked polymer chain. In a mobile service context, we rely on the sun as our primary UV source, but the science is far more nuanced than simply ‘letting it sit.’ The refractive index of the resin must match the glass, which is typically around 1.52. If the curing process is too rapid or too slow, that index shifts, making the repair visible to the naked eye.
Climate Logic: The South/Hot Reality
In hot, sun-drenched climates, the enemy is Solar Heat Gain and the resulting glass temperature. When we perform a chip repair in these conditions, the glass often exceeds 100 degrees Fahrenheit. If you inject resin into a hot Rough Opening, the liquid’s viscosity drops too low, causing it to bleed out of the break before it can be stabilized. Furthermore, the UV index in southern regions can cause the resin to cure from the top down, trapping unreacted monomers at the bottom of the break. This leads to ‘flow out’ later in the week. A professional glass installer uses a bridge tool to create a vacuum, pulling air out of the break before injecting the resin under pressure. We often have to shade the work area to slow down the sunlight’s interaction with the photoinitiators, ensuring the cure happens uniformly from the inside out.
The Importance of Wavelength and Intensity
Sunlight provides a broad spectrum of radiation, but resin curing specifically targets the UVA range, roughly 315 to 400 nanometers. This is why a same-day mobile service is so effective on clear days. However, the thickness of the glass and the presence of any Low-E coatings on Surface #2 can interfere with this process. If we are working on a double-pane unit where the break is on the inner lite, the outer lite’s coatings might reflect the very UV rays needed for the cure. In these cases, we use specialized UV lamps that bypass the need for direct sunlight, ensuring the structural integrity of the Glazing Bead and the surrounding frame is maintained.
“Properly executed repairs must restore both the clarity and the structural load-bearing capacity of the fenestration unit.” – ASTM E2112 Standard Practice
Anatomy of the Repair: From Rough Opening to Finished Sash
The process begins with cleaning the break. Any moisture trapped inside will prevent the resin from bonding to the silica. We use a dry-out tool or a heat gun carefully to ensure the area is bone-dry. Then comes the ‘bridge.’ This device centers over the chip, creating a seal against the glass. We cycle between vacuum and pressure. The vacuum pulls the air out of the microscopic fissures of a star-break, while the pressure forces the resin into those voids. If you miss a single ‘leg’ of a crack, the repair is useless; that crack will eventually spread across the entire pane due to thermal expansion. Once the break is filled, we apply a curing film. This film excludes oxygen, which is a known inhibitor of the curing process. In the presence of oxygen, the surface of the resin remains tacky; by stripping the oxygen away with a clear film and allowing the sunlight to hit it, we achieve a hard, glass-like finish that can be scraped flush with a razor blade without pulling the resin out of the hole.
Why Same-Day Mobile Service Requires Expertise
The convenience of a mobile service is unmatched, but it requires the tech to be a chemist in the field. They must account for the dew point to prevent condensation inside the break and understand how the Muntin or frame might cast shadows that result in an uneven cure. A botched repair is often permanent; once the resin has cured, you cannot simply ‘re-do’ it. It becomes part of the glass. This is why we stress the importance of professional-grade resins over the cheap kits found in hardware stores. Those kits often use low-grade resins that lack the UV stabilizers necessary to prevent yellowing over time. A professional repair should be nearly invisible and last for the life of the window, maintaining the seal and preventing the need for a full-frame replacement.