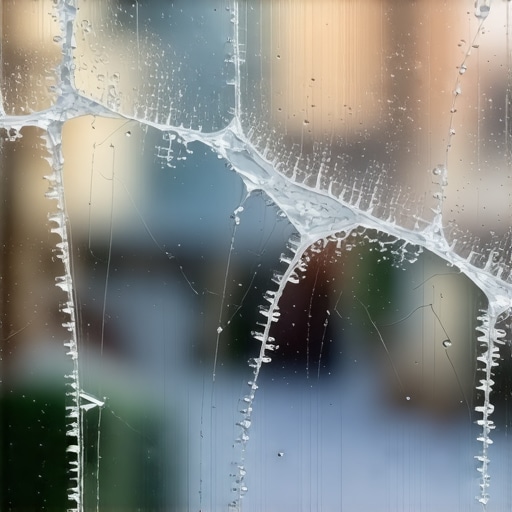
The secret to making your chip repair look invisible
The Technical Reality of Transparent Restoration
I sat across from a high-pressure salesman at a regional glass expo who was trying to pitch a new line of DIY UV-cured resins to a group of independent shop owners. He called it a miracle cure, a one-size-fits-all solution for any star-break or bullseye. I had to pull him aside and explain that in the world of professional glazing, there is no such thing as a miracle, only the precise application of physics and chemistry. If the refractive index of your resin is even a fraction of a percent off from the parent material, that repair will never be invisible. It will catch the light at a 45-degree angle and remind the homeowner of that stray pebble every time the sun hits the glass. Achieving a truly invisible result requires more than a mobile service kit; it requires an understanding of how light interacts with molecular structures.
The Physics of Refraction and the 1.52 Rule
To understand why most chip repairs fail to disappear, you have to understand the refractive index. Most architectural and automotive glass has a refractive index of approximately 1.52. This is the measure of how much light bends as it passes through the medium. When a chip occurs, you aren’t just looking at a hole; you are looking at a pocket of air trapped between fractured surfaces. Air has a refractive index of 1.00. That massive jump from 1.52 to 1.00 is what causes the visible ‘dark’ or ‘silver’ reflection in a crack. To make a repair invisible, a professional glass installer must replace that air with a resin that perfectly mimics the 1.52 index of the glass. Using a generic resin from a big-box store often results in a 1.48 or 1.55 index, leaving a ghostly outline that no amount of polishing can fix.
“Installation and repair integrity are just as critical as the glass performance itself. A high-performance glazing system that is compromised by a poor repair will fail to meet thermal and structural expectations.” – AAMA Installation Masters Guide
The Climate Context: Thermal Stress in Northern Latitudes
In regions like Chicago or Minneapolis, the enemy of an invisible repair is Thermal Expansion. When the exterior temperature drops to sub-zero and the interior heating system is pushing the glass temperature toward 70 degrees, the glass undergoes significant stress. This is where the U-Factor comes into play. A chip in a single pane of glass acts as a stress concentrator. If you are performing a same-day mobile service in the dead of winter, the first thing you have to manage is the temperature of the substrate. If the glass is too cold, the resin viscosity increases, preventing it from wicking into the microscopic ‘legs’ of a star-break. Conversely, if you blast the defroster to warm it up too quickly, the rapid expansion will turn that tiny chip into a full-length crack before you can even open your tool kit. The secret to an invisible repair in cold climates is a slow, controlled warm-up to ensure the resin can flow like water into every crevice.
The Anatomy of the Injection Process
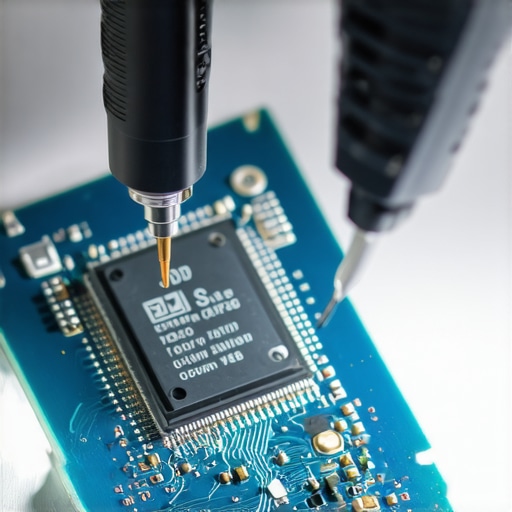
An invisible repair is a multi-stage surgical procedure. First, we examine the Rough Opening of the impact. If there is crushed glass at the center, it must be cleared using a carbide scribe. Then comes the vacuum phase. We use a bridge and injector to pull a vacuum over the break. This is critical. You cannot simply push resin into a hole; you must remove the air first. Once the vacuum is held, the resin is injected under pressure. In high-end architectural glass, particularly on a Sash or Operable window, we often use a thin-viscosity resin for the initial fill and a high-viscosity pit filler for the surface. This ensures the structural legs are sealed while the surface remains hard enough to withstand the friction of a Glazing Bead or weatherstripping.
“The longevity of a glass repair is directly proportional to the exclusion of moisture and oxygen from the resin bond site during the curing cycle.” – ASTM E2112 Standard Practice
Why ‘Same-Day’ Shouldn’t Mean ‘Rushed’
While we offer same-day service, the curing process cannot be cheated. True invisibility is achieved during the final Polishing stage. After the resin has been cured with a specific wavelength of UV light (usually around 365nm), there is often a slight bump of excess material. A master glass installer uses a fresh razor blade at a 90-degree angle to plane the resin flush with the glass surface. But the real secret? A pit-polishing cork and a specialized cerium oxide compound. This restores the Visible Transmittance (VT) of the repair site to match the surrounding glass. Without this step, the repair will look like a dull smudge. We ensure that every Weep Hole in the frame is clear and the Sill Pan is dry, but the focus remains on the molecular bond of the resin. If you skip the polish, you’ve only done half the job.
The Myth of the DIY Kit
I often see homeowners try to save a few dollars with a kit they bought online. These kits lack the mechanical pressure needed to overcome the surface tension of the resin. They also ignore the SHGC (Solar Heat Gain Coefficient) impacts. In southern climates, cheap resins will yellow over time due to high UV exposure, turning an ‘invisible’ repair into a bright yellow eyesore within six months. Professional resins are engineered with UV stabilizers that prevent this degradation. Furthermore, a professional can determine if a chip is too close to the Flashing Tape or the edge of the frame, where the structural load is highest. If a chip is within two inches of the edge, the structural integrity of the pane is compromised, and no amount of resin will make it safe. In those cases, we discuss full replacement options to maintain the safety of the building envelope.