Why your windshield resin looks yellow after a week
When you hire a mobile service for a same-day chip repair, you expect the results to remain crystal clear for the life of the vehicle. However, as a master glazier with decades in the field, I have seen far too many glass installer shortcuts that lead to the dreaded amber tint within days. I once inspected a series of fleet vehicles in Houston where a cut-rate mobile service had performed dozens of repairs in the heat of July. Every single one of those repairs had turned the color of old parchment. The previous installer had relied on a high-speed curing cycle that prioritized speed over chemical stability, essentially baking the resin into a state of premature photo-oxidation. This is the hallmark of the ‘caulk-and-walk’ mentality that plagues the glazing industry, whether we are talking about a high-rise curtain wall or a laminated windshield.
The Chemistry of Photo-Oxidation and UV Degradation
To understand why that repair is turning yellow, we have to look at the molecular level of the resin used. Most chips are filled with an acrylic-based resin that is cured using ultraviolet light. In a southern or hot climate, the solar load is immense. The Solar Heat Gain Coefficient (SHGC) is not just a metric for building windows; it is a reality for any glass surface. When the sun beats down on Surface #1 of your windshield, it delivers a massive dose of long-wave infrared radiation and ultraviolet energy. A low-quality resin contains unstable photoinitiators. These are the chemicals that kickstart the hardening process. If the resin is designed for a fast, same-day turnover, it often contains an excess of these initiators. Once the initial cure is finished, the remaining chemicals continue to react with the sun’s rays, leading to a breakdown of the polymer chains. This chemical decay is what creates the yellow hue. It is not just an aesthetic failure; it is a structural one. As the resin yellows, it becomes brittle, losing its bond with the glass and the polyvinyl butyral interlayer that keeps your windshield together.
“Installation is just as critical as the window performance itself. A high-performance window installed poorly will fail.” AAMA Installation Masters Guide
The Physics of the Rough Opening and Mechanical Stress
In the world of architectural glazing, we talk about the Rough Opening and the use of a Shim to ensure a level fit. While a windshield does not have a traditional wood frame, the concept of the Rough Opening remains. The vehicle’s body acts as the frame, and any chip repair must account for the mechanical stresses of the car in motion. When a glass installer performs a chip repair, they are not just filling a hole; they are trying to restore the structural integrity of a Sash that is constantly under tension. If the resin is inferior, the thermal expansion and contraction caused by the hot sun will cause the repair to pull away from the edges of the break. In a high-temperature environment like Florida or Arizona, the glass can reach temperatures that exceed the stable threshold of cheap resins. This is why a professional glazier understands that the resin must match the refractive index of the glass perfectly while maintaining a flexible enough bond to withstand the vibration of the road.
Why Mobile Service Speed Often Compromises Quality
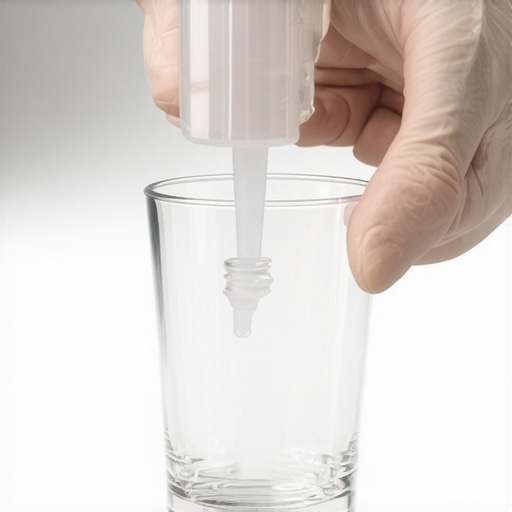
The demand for same-day service has led to a race to the bottom in material quality. A proper repair requires a vacuum to be pulled on the break to remove all air and moisture. If even a microscopic amount of moisture remains, it will trapped against the resin. In the heat of the sun, this moisture can cause the resin to emulsify or yellow. I have seen installers skip the vacuum phase entirely, simply ‘dropping’ the resin into the pit. This is the equivalent of installing a window without a Sill Pan or proper Flashing Tape; you are inviting a failure that will show up as soon as the weather changes. A quality repair requires a controlled environment where the UV exposure is managed and the resin is allowed to reach a state of equilibrium before being blasted by the midday sun.
“The primary purpose of a window is to provide light and ventilation while maintaining a barrier against the environment; any compromise in the glazing material undermines this function.” NFRC Performance Standards
Refractive Index and Visible Transmittance
In the trade, we look at Visible Transmittance (VT) to determine how much light passes through a glazing unit. When your resin yellows, the VT of that specific spot drops significantly. This creates a distortion in the driver’s field of vision, which is why the American National Standards Institute has strict rules about where a repair can be located. If the repair is in the primary viewing area, a yellowed resin is not just an eyesore; it is a safety hazard. The resin must be chemically engineered to resist the yellowing effects of the sun’s Surface #2 exposure. In high-heat zones, we prioritize resins with advanced UV stabilizers that can absorb the energy without breaking the carbon-to-carbon bonds in the polymer. We also look at the Glazing Bead and ensure that no external contaminants like waxes or rain repellents have leached into the repair site before the resin was fully cured.
Water Management and the Weep Hole Analogy
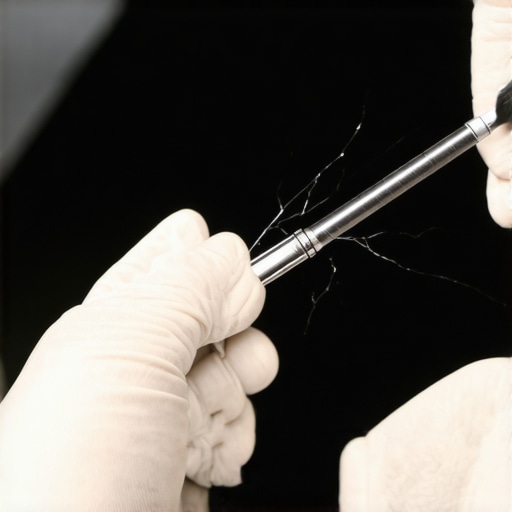
In a building, we use a Weep Hole to allow moisture to escape from the frame. In a windshield repair, there is no place for moisture to go. If the seal of the resin is not perfect, water can seep into the microscopic gaps between the glass and the resin. This water often carries minerals and pollutants that accelerate the yellowing process. This is why the preparation of the glass is more important than the resin itself. If the glass installer does not clean the break with a specialized solvent to remove road film and oils, the resin is being bonded to dirt, not glass. This lack of a clean bond is the primary reason why mobile repairs fail in coastal areas where salt air is a constant factor. The salt acts as a catalyst for the degradation of the resin, turning a clear repair into a muddy yellow spot in less than a week. Do not be fooled by the convenience of same-day service if it means using a technician who does not understand the fundamental physics of glass and polymer science. You want an installer who treats every chip repair with the same precision they would use for a structural glazing project. This means checking the dew point, ensuring the glass temperature is within the correct range for the resin, and using a multi-stage curing process that prevents the internal stresses that lead to yellowing.
How to Avoid the Yellowing Trap
First, ask your installer about the UV stability of their resin. If they cannot tell you the brand or the specific properties of the material, they are likely using a bulk, low-grade product. Second, ensure that the repair is done in the shade or in a garage. Applying and curing resin in direct, hot sunlight is a recipe for flash-curing, which almost always leads to yellowing and shrinkage. Third, look for a service that provides a lifetime warranty against discoloration. A confident professional knows that a high-quality resin, applied correctly with the right tools, will remain clear for the life of the vehicle regardless of the climate. In the end, the glass on your vehicle is an Operable part of its safety system. Treat it with the same respect you would treat the windows in your home. Avoid the quick fixes and demand a glazier who knows the difference between a temporary patch and a permanent restoration.