Why your car’s heads-up display is blurry after a glass swap
The Optical Science of the Windshield: Why Your HUD Is Failing After Replacement
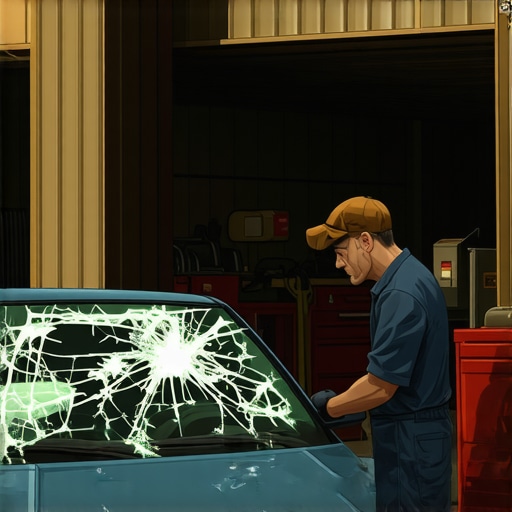
It is a frustrating reality for many modern vehicle owners. You walk out to your car after a mobile service technician has completed a same-day windshield replacement, turn the ignition, and find that your once-crisp Heads-Up Display (HUD) now looks like a double-vision fever dream. To the average glass installer, glass is just a barrier against the wind. To a master glazier, it is a complex optical lens that must manage light, heat, and internal reflection. When that display goes blurry, it is not a software glitch; it is a fundamental failure in understanding the physics of the sash and the laminate interlayer.
The Ghosting Incident: A Case Study in Incorrect Glass
I recall a specific instance where a client brought in a high-end European sedan after a cut-rate chip repair shop decided the entire unit needed a swap. The driver was seeing a ‘ghost’ image exactly three millimeters above the actual speed readout. I checked the Rough Opening of the frame and the Glazing Bead for any signs of misalignment, but the issue was deeper. I took out my thickness gauge and polarized filters. The previous installer had used a standard parallel-laminate windshield instead of a HUD-specific tapered wedge. They relied on the Flashing Tape and a quick bead of urethane to get the car back on the road, ignoring the fact that the glass itself was the wrong tool for the job. The homeowner—or in this case, the car owner—was told it was a ‘calibration issue.’ It was not. It was a physics issue.
“Installation is just as critical as the window performance itself. A high-performance window installed poorly will fail.” AAMA Installation Masters Guide
The Physics of the PVB Wedge
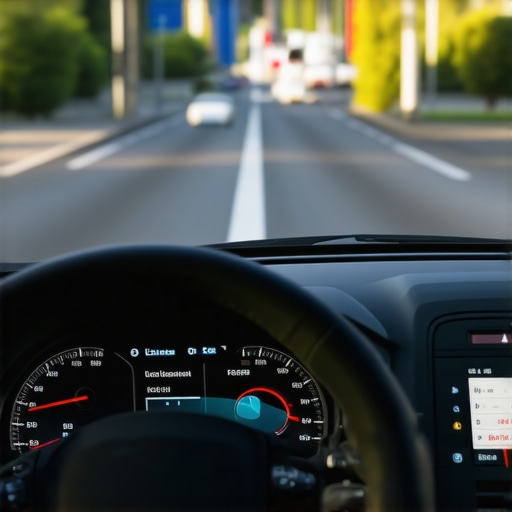
To understand why your HUD is blurry, we must perform some Glazing Zooming into the interlayer of the glass. A standard windshield consists of two layers of glass bonded by a Polyvinyl Butyral (PVB) interlayer. In a standard windshield, this PVB layer is uniform in thickness, creating parallel surfaces. When the HUD projector on your dashboard beams light onto the glass, it hits two surfaces: the inner surface (facing the driver) and the outer surface (facing the road). Each surface reflects a portion of that light. In parallel glass, these two reflections hit your eye at slightly different angles, creating two distinct images. This is what we call ghosting.
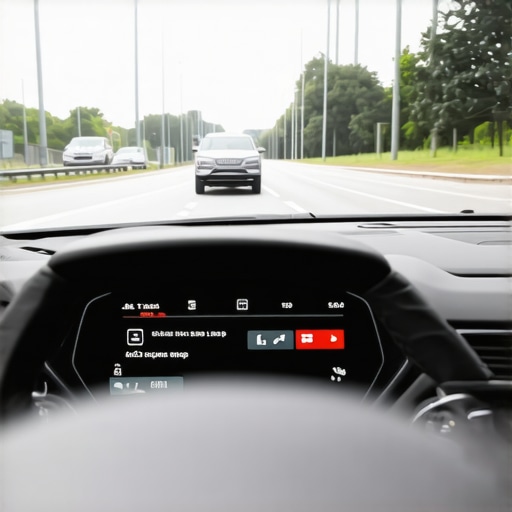
A HUD-specific windshield uses a tapered PVB interlayer. This means the interlayer is slightly thicker at the top than it is at the bottom, creating a subtle wedge shape. This wedge is engineered to a specific minute angle so that the reflection from the outer surface is refracted and aligned perfectly with the reflection from the inner surface. When these two images overlap exactly, your brain perceives a single, sharp readout. If your glass installer uses a ‘generic’ or ‘OEE’ (Original Equipment Equivalent) windshield that lacks this precise wedge geometry, no amount of software calibration will fix the blur. You are essentially looking through a prism that is not tuned to your projector.
Thermal Dynamics and the Southern Climate
In hotter climates like Texas or Florida, the choice of glass becomes even more critical due to Solar Heat Gain (SHGC). In these regions, we prioritize Low-E coatings on Surface #2 (the inner side of the outer pane) to reflect infrared radiation before it can penetrate the vehicle cabin. However, these metallic coatings can interfere with the HUD’s visible transmittance (VT) if not applied with optical precision. A high SHGC glass without proper thermal breaks can cause the HUD projector to overheat, leading to dimmed output or hardware failure. We must treat the vehicle’s Rough Opening just like a southern-facing window in a luxury home; we are managing a thermal load while trying to maintain absolute clarity. The heat is the enemy of the display, and the glass is the only shield.
“The selection of glazing materials shall be based on the specific performance requirements of the location and the intended use of the aperture.” ASTM E2112 Standard Practice
The Fallacy of the Same-Day Mobile Service
While the convenience of a mobile service is attractive, it often skips the rigorous environment needed for high-performance glass installation. When we set a windshield, we use a Shim and setting blocks to ensure the sash is perfectly centered within the frame. If the glass sits too low or too high by even a fraction of an inch, the angle of the HUD projection changes. Furthermore, modern vehicles require Advanced Driver Assistance Systems (ADAS) calibration. The camera mounted behind the rearview mirror sees the world through the same glass your HUD uses. If that glass has optical distortions or ‘waves’ from a poor manufacturing process, your lane-keep assist and emergency braking will be compromised. A weep hole in the cowl area being clogged or a Sill Pan improperly flashed during a rushed job leads to more than just a blurry HUD; it leads to water intrusion that can fry the very projector that creates the display.
Choosing the Right Professional
Do not be fooled by the high-pressure sales pitch of a ‘Tin Man’ in the automotive world. When seeking a glass installer, ask about the PVB profile. If they cannot explain what a tapered wedge interlayer is, they should not be touching a HUD-equipped vehicle. Real chip repair and replacement is a science of light management. We are not just plugging a hole in the wall or a gap in the frame; we are ensuring that the optical path remains true. Always verify that the replacement glass meets the exact NFRC-style ratings for visible light and that the installation follows the strict guidelines of the Sill Pan principle—ensuring that every layer of the assembly, from the Flashing Tape to the final Glazing Bead, is positioned to manage both the elements and the light itself. If your display is blurry, the glass is the culprit, and a total replacement with the correct technical specifications is the only cure.