Why your car glass is leaking
The Anatomy of a Wet Dashboard
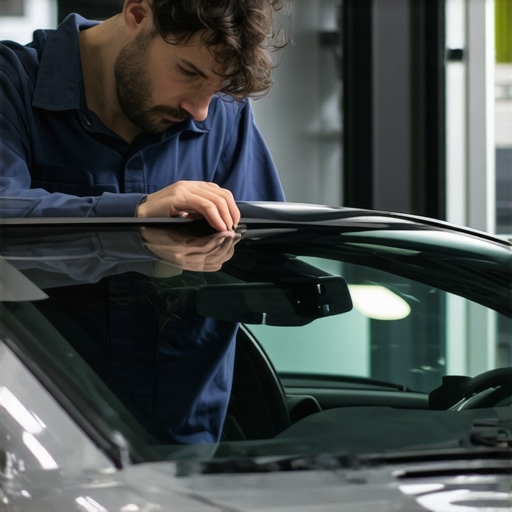
Finding water on your dashboard or a damp floor mat is more than an inconvenience; it is a diagnostic puzzle that requires a deep understanding of glazing physics. As someone who has spent over two decades in the industry, I have seen every possible failure point where glass meets steel. People often assume a leak is a simple hole, but in reality, it is usually a systemic failure of the bonding agent or a misunderstanding of how water moves across a surface. When you hire a glass installer for a same-day mobile service, you are not just paying for a piece of glass; you are paying for the integrity of a structural seal that must withstand thousands of pounds of pressure and extreme thermal cycling.
The Condensation Crisis: A Master Glazier’s Tale
A homeowner called me in a panic because their new windows were ‘sweating.’ I walked in with my hygrometer and showed them the humidity was 60 percent. It was not the windows; it was their lifestyle. I see this same phenomenon in automotive glass frequently. A client will swear their windshield is leaking because they find moisture on the interior of the glass every morning. Before we perform a full-frame tear-out, we have to look at the dew point. In many cases, what looks like a leak is actually the interior air reaching its saturation point and dumping water onto the coldest surface: the glass. However, when the water is localized to the headliner or the A-pillar, we are no longer talking about humidity; we are talking about a failure in the structural urethane bead.
“Installation is just as critical as the window performance itself. A high-performance window installed poorly will fail.” – AAMA Installation Masters Guide
The Shingle Principle and the Pinchweld
In the world of residential glazing, we live by the shingle principle: water must always be directed down and out. We use a sill pan and proper flashing tape to ensure that if water bypasses the primary seal, it has a clear exit path. In a vehicle, the ‘rough opening’ is the pinchweld. This is the metal flange where the glass is bonded to the body. If a mobile service technician rushes the job and fails to prep the pinchweld properly, the entire system fails. I have seen installers ‘caulk and walk,’ leaving gaps in the urethane bead that act as straws, drawing water into the cabin via capillary action. The pinchweld must be pristine. Any speck of old urethane or, worse, any scratch in the paint that exposes bare metal will lead to oxidation. Once rust starts, it lifts the sealant, and no amount of top-loading silicone will stop that leak.
The Physics of Thermal Expansion and Cold Cures
For those of us in northern climates like Chicago or Minneapolis, the enemy is the U-factor and the extreme delta between interior and exterior temperatures. Glass and steel have different coefficients of thermal expansion. In the dead of winter, your car’s steel frame contracts at a different rate than the laminated safety glass. If the glass installer used a low-quality adhesive or failed to account for the ‘open time’ of the urethane in sub-freezing temperatures, the bond will eventually shear. We see this often with same-day services that do not allow for proper curing. Urethane requires atmospheric moisture to cure. In a dry, frozen winter, that cure time can double or triple. If you drive the car too soon, the air pressure inside the cabin can actually ‘blow out’ a section of the seal before it has set, creating a microscopic whistle or a recurring leak.
The Technical Role of the Ceramic Frit
Have you ever wondered about the black dots around the edge of your windshield? That is the frit. It is not just decorative. It provides a etched, rough surface for the urethane to grab onto, and more importantly, it protects the adhesive from ultraviolet radiation. UV rays are the primary killer of glazing seals. Without that frit, the sun would degrade the molecular bond of the sealant within a few years, leading to a total seal failure. When we perform a chip repair, we are often working near these critical zones. A stone chip that is ignored can migrate into the frit area, creating a fracture that allows water to bypass the bond line. This is why immediate mobile service for chip repair is not just about aesthetics; it is about preserving the structural integrity of the entire aperture.
“The moisture management system of any fenestration product must be integrated into the weather-resistive barrier of the wall or vehicle body to ensure long-term durability.” – ASTM E2112 Standard Practice
The Myth of the Quick Fix
The industry is flooded with high-pressure salesmen who promise a twenty-minute windshield swap. In my shop, we call these ‘splash and dash’ jobs. To do it right, you have to treat the vehicle like a high-performance building envelope. This means shimming the glass so it sits perfectly centered in the rough opening, ensuring the sash (or in this case, the glass lite) is not under uneven stress. It means using a primer that is chemically matched to the urethane. If you use a Brand A primer with a Brand B adhesive, you might get a bond, but you are gambling with the chemical compatibility. When water starts leaking onto your floorboards, it is usually because the bond has ‘zippered’ off the metal because of poor priming. A true glass installer knows that the prep work takes three times longer than the actual setting of the glass.
Conclusion: Precision Over Speed
Whether you are dealing with a historic wood sash or a modern acoustic-laminated windshield, the physics of water management remain the same. You cannot fight gravity, and you cannot ignore the dew point. If your car glass is leaking, do not settle for a technician who just adds more sealant to the outside. Demand an autopsy of the seal. Ask about the pinchweld condition and the cure time of the urethane. In the end, the cost of a proper, technical installation is far lower than the cost of repairing a mold-infested interior or a rusted-out frame. Water management is a science, not a hobby.{“@context”:”https://schema.org”,”@type”:”HowTo”,”name”:”How to Diagnose an Automotive Glass Leak”,”step”:[{“@type”:”HowToStep”,”text”:”Clean the exterior glass and surrounding molding thoroughly to remove debris.”},{“@type”:”HowToStep”,”text”:”Perform a dry interior inspection using a high-intensity light to check for water tracking on the A-pillars.”},{“@type”:”HowToStep”,”text”:”Conduct a controlled water test by spraying low-pressure water starting from the bottom of the glass and moving upward.”},{“@type”:”HowToStep”,”text”:”Check the cabin filter and cowl drains for obstructions that may mimic a glass leak.”}],”totalTime”:”PT60M”}