Why your car’s rain sensor is acting up
When your automatic wipers start firing on a bone-dry afternoon or refuse to budge during a localized downpour, the frustration is immediate. Most drivers assume a computer glitch, but as a master glazier with over 25 years of experience handling everything from structural curtain walls to precision automotive glass, I know the truth is usually found in the physics of the glass itself. I once pulled a windshield off a luxury sedan in Seattle where the owner complained of erratic sensor behavior. I found the header area was compromised because the previous installer had relied on a standard glazing bead of urethane without properly prepping the frit. The sensor bracket was literally vibrating because it lacked a rigid bond to the glass. This is the reality of modern glazing: a windshield is no longer just a piece of laminated safety glass; it is a critical optical component of your vehicle’s Advanced Driver Assistance Systems (ADAS).
The Physics of the Optical Interface
To understand why your rain sensor is failing, you have to understand Total Internal Reflection (TIR). Your sensor works by emitting infrared light from an LED at a specific 45-degree angle into the glass. In a perfect scenario, that light bounces off the outer surface of the glass and returns to a photodiode. When water droplets land on the glass, they change the refractive index at the point of contact. The light no longer reflects; it escapes into the droplet, and the sensor detects this drop in return intensity to trigger the wipers. This requires the glass to be optically perfect. If you have had a chip repair performed directly over the sensor area, the resin used may have a different refractive index than the glass (which is typically around 1.52). Even a variance of 0.02 in the refractive index can cause the light to scatter, leading the system to believe it is raining when it is not.
“Installation is just as critical as the window performance itself. A high-performance window installed poorly will fail.” – AAMA Installation Masters Guide
The Anatomy of a Failed Installation
In my decades on the job, I have seen how the ‘caulk and walk’ mentality ruins sophisticated systems. When a glass installer replaces a windshield, they are essentially managing a rough opening that must be perfectly clean and level. In the architectural world, we use a sill pan to manage water, but in a car, the moisture management is handled by the cowl and the urethane seal. If the installer does not use a shim or setting blocks correctly, the glass can sit too low or too high, putting stress on the sensor bracket. Furthermore, if the glazing bead is uneven, it can create an air pocket between the glass and the sensor’s silicone gel pad. This gel pad is the ‘bridge’ for the infrared light. Any air gap here, even one as thin as a piece of paper, will cause the infrared light to reflect prematurely, rendering the sensor blind.
The Dew Point and Condensation Crisis
In colder climates like Chicago or Minneapolis, we deal with the ‘Condensation Crisis.’ If your wipers are acting up in the morning, it is often due to internal fogging within the sensor housing. This happens when the seal around the sensor bracket fails, allowing humid cabin air to reach the cold glass surface. Once the temperature hits the dew point, moisture forms inside the sensor area. As a glazier, I treat this the same way I treat a failing sash in a residential window. You need a thermal break. If the mobile service technician who replaced your glass didn’t ensure a hermetic seal around the sensor cover, you will fight condensation issues for the life of that windshield. This is why same-day service must never bypass the critical curing time for the primers and adhesives used to mount the sensor hardware.
“The optical clarity and refractive properties of the glazing system are paramount to the functional safety of driver assist technologies.” – ASTM E2112 Standard Practice for Fenestration
Why Chip Repair and Mobile Service Require Precision
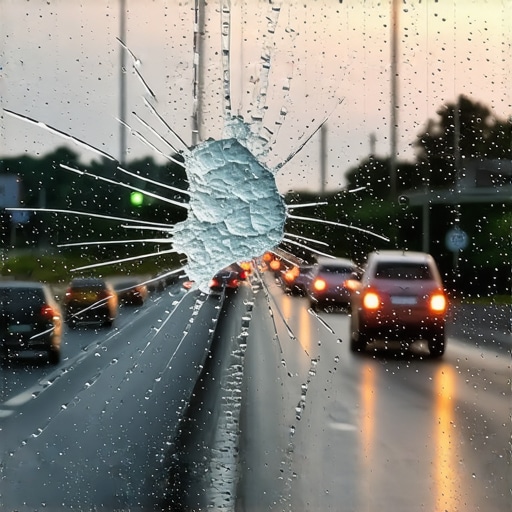
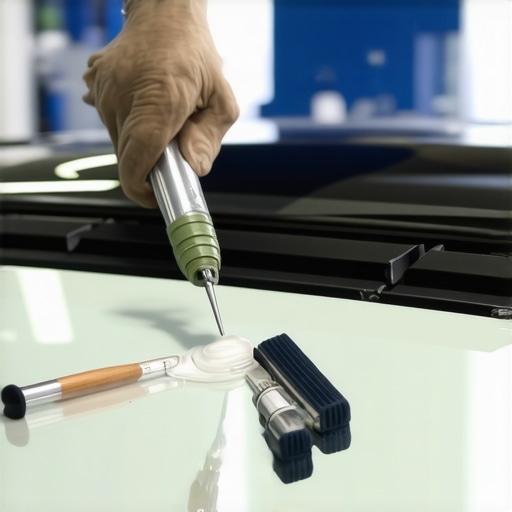
Opting for a mobile service is convenient, but it requires a controlled environment. If a glass installer attempts a chip repair in direct sunlight or during a rainstorm without a canopy, the resin can cure too quickly or trap moisture. This trapped moisture will eventually expand and contract, causing the resin to yellow or pull away from the rough opening of the crack. For a rain sensor, this is catastrophic. The sensor cannot distinguish between a crack in the glass and a stream of water. If the chip is within the ‘eye’ of the sensor, same-day replacement is often the only viable solution to restore ADAS functionality. Unlike an operable side window or a decorative muntin in a home, the windshield sensor zone is a ‘no-fly zone’ for imperfections.
The Installer Matters More Than the Glass
Whether you are dealing with a glazing bead on a skyscraper or a windshield on a SUV, the structural integrity and optical performance depend on the technician. A technician who skips the flashing tape equivalent in an automotive setting (the specialized primers) is setting you up for failure. When the sensor bracket is not bonded with the same rigidity as a fixed sash, vibration becomes your enemy. This vibration is interpreted by the sensor as movement on the glass surface, leading to phantom wiper swipes. Always ask your installer if they are using OEM-spec gel pads and if they perform a recalibration after the install. Water management is a science, and your rain sensor is the most sensitive instrument in that laboratory. Do not let a low-bid installer turn your high-tech vehicle into a safety hazard by ignoring the fundamental principles of glazing. Check your weep hole equivalents in the cowl, ensure your sensor is bonded without air gaps, and never settle for a repair that compromises the optical path of your infrared safety systems.{“@context”:”https://schema.org”,”@type”:”HowTo”,”name”:”How to Diagnose a Failing Rain Sensor”,”step”:[{“@type”:”HowToStep”,”text”:”Inspect the glass surface for chips or pits directly over the sensor lens.”},{“@type”:”HowToStep”,”text”:”Check for air bubbles or gaps in the silicone gel pad between the sensor and the glass.”},{“@type”:”HowToStep”,”text”:”Verify if internal condensation is present behind the sensor bracket cover.”},{“@type”:”HowToStep”,”text”:”Ensure the wipers are in ‘Auto’ mode and the sensitivity dial is correctly adjusted.”},{“@type”:”HowToStep”,”text”:”Consult a professional glass installer for an ADAS recalibration if the windshield was recently replaced.”}],”totalTime”:”PT15M”}