Why professional resin lasts longer than DIY chip kits
The Molecular Reality of Glass Repair: Why Your DIY Kit is Destined to Fail
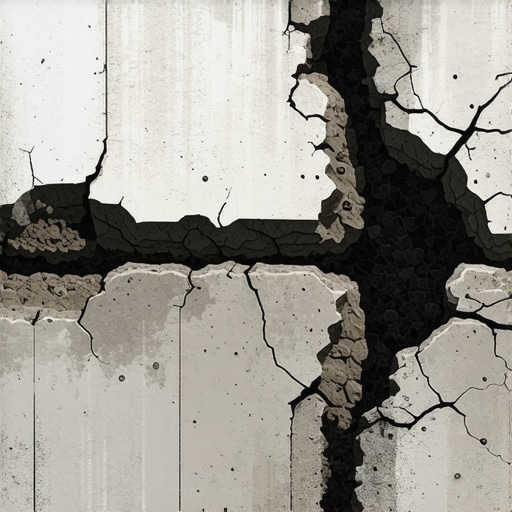
In twenty-five years of handling everything from high-rise curtain walls to delicate historic wood sash restorations, I have learned one immutable truth: glass is a liquid that forgot how to flow. When you see a chip in your windshield or a hairline fracture in a tempered pane, you aren’t just looking at a cosmetic blemish. You are looking at a localized structural failure that is actively fighting against the internal stresses of the glass. I have seen countless homeowners and drivers attempt to ‘save a buck’ with a ten-dollar tube of store-bought resin, only to call me three weeks later when the fracture has spider-webbed across the entire surface. The difference between a professional glass installer and a hobbyist with a suction cup isn’t just the tools; it is a fundamental understanding of the chemistry of bonding and the physics of thermal expansion.
“Installation and repair integrity are the primary determinants of long-term fenestration performance. A repair that does not restore the structural capacity of the glass substrate is merely a temporary mask.” – AAMA Installation Masters Guide
I recall a specific incident in early February in Minneapolis. A client called me in a cold sweat. He had used a ‘quick-fix’ kit on a small bullseye chip in his high-performance laminated window. He followed the instructions, or so he thought. He squeezed the resin in, let it sit in the sun, and called it a day. That night, the temperature dropped to five below. He turned his heater up, and the thermal shock hit that improperly cured resin like a sledgehammer. Because the DIY resin had a different coefficient of thermal expansion than the surrounding soda-lime glass, it expanded at a different rate. I walked into his living room to find a three-foot crack radiating from the original ‘repair.’ The previous installer—in this case, the homeowner himself—had relied on surface adhesion instead of a true molecular bond. He didn’t realize that without a vacuum-sealed injection, air was trapped in the microscopic jagged edges of the break, creating a pressure cooker effect. This is the ‘Temperature Shock Trauma’ that destroys more glass than gravel ever will.
The Viscosity Variable: Not All Resins Are Created Equal
When you hire a mobile service for same-day chip repair, you are paying for the technician’s ability to match the resin viscosity to the specific break. A star-break, with its fine, radiating lines, requires an ultra-low viscosity resin that can penetrate through capillary action into the furthest reaches of the fracture. Conversely, a large bullseye needs a thicker, higher-viscosity resin to fill the void and provide structural support. DIY kits are one-size-fits-all. They are usually a medium-grade acrylic that is too thick to reach the tips of a star-break and too thin to stay stable in a large void. As a master glazier, I look at the ‘Rough Opening’ of the chip itself. I use a bridge tool to apply calibrated pressure, opening the break just enough to allow the resin to displace every single molecule of air. If you leave air behind, you leave a weakness. That air will expand when the sun hits the glass, eventually pushing the crack further.
The Refractive Index and Optical Clarity
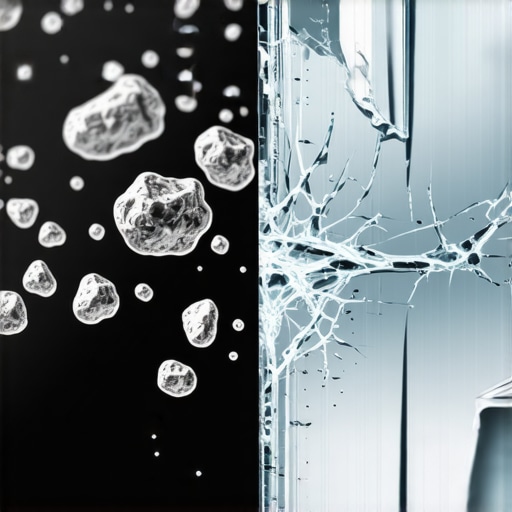
One of the biggest complaints with DIY repairs is that the chip remains visible as a dark or ‘silver’ spot. This happens because the refractive index of the cheap resin does not match the refractive index of the glass. Light travels through glass at a specific speed and angle. When it hits an air pocket or a cheap polymer, it bends, creating a reflection that looks like a dead bug on your window. Professional-grade resins used by a certified glass installer are engineered to mimic the optical properties of glass. We are talking about achieving 95% to 99% optical clarity. This isn’t just about aesthetics; it is about safety and the integrity of the glazing bead. In a residential setting, an improperly repaired chip in an operable sash can lead to a total failure of the vacuum seal in an Insulated Glass Unit (IGU). Once that seal is compromised, you lose your Argon gas fill, and your U-Factor goes out the window.
The Role of UV Curing and Polymerization
The ‘curing’ process in a DIY kit usually involves ‘waiting for a sunny day.’ This is amateur hour. Professional glass repair relies on high-intensity UV lamps that output specific wavelengths to trigger a rapid and complete polymerization of the resin. This ensures that the resin reaches its full shore hardness in minutes, not hours. In cold climates like Chicago or Minneapolis, heat loss through the glass is a constant battle. We need a repair that can handle the extreme U-Factor differentials between the freezing exterior and the 70-degree interior. A professional resin is formulated to remain flexible enough to handle the glass’s natural ‘shim’ and movement while being hard enough to be polished flush with the surface. Without proper curing, the resin remains slightly tacky or brittle, leading to premature yellowing and eventual ‘pop-out’ of the repair plug.
“The Repair of Laminated Auto Glass Standard (ROLAGS) mandates that a repair must restore the structural integrity of the glass and maintain the safety requirements of the original glazing.” – NWRA Standards Committee
Climate Logic: Why North and South Repair Needs Differ
If you are in a northern climate, your enemy is the defrost cycle. You get into your car or your house on a sub-zero morning and blast the heat. The glass expands rapidly. A professional chip repair accounts for this by using resins with high anaerobic stability. If you are in the South, in the blistering heat of Phoenix or Texas, the enemy is Solar Heat Gain (SHGC). The glass can reach temperatures upwards of 150 degrees. In these regions, a glazier focuses on resins that won’t degrade under intense UV radiation. Cheap DIY resins often contain low-grade photo-initiators that break down after a few months of heavy sun exposure, leading to the repair turning a milky white or cracking again. We also have to consider the ‘Surface #2’ and ‘Surface #3’ positioning of Low-E coatings. If a chip penetrates the glass and reaches a coating, a professional knows how to treat the area to prevent the oxidation of the silver-oxide layer that provides your thermal protection.
The Pit Fill and Final Polish
The last step of a professional repair is the pit fill. After the structural resin has cured inside the break, we apply a separate, much thicker pit resin to the surface. This is then leveled with a surgical-grade blade and polished with cerium oxide. This ensures that your windshield wipers or your window cleaning squeegee won’t catch on the repair. DIY kits rarely provide a separate pit resin, or if they do, the quality is so poor that it shrinks within thirty days, leaving a divot that collects dirt and water. This water can then freeze, leading to the ‘ice wedging’ effect that eventually forces the crack to expand. A mobile service that offers same-day repair will have the equipment to ensure this finish is perfectly flush, maintaining the aerodynamics of the glass and preventing any ‘whistle’ as air passes over the surface.
Conclusion: Don’t Buy the Hype, Buy the Science
At the end of the day, a window is an engineered system. Whether it is a fixed muntin in a historic home or the laminated safety glass of a modern vehicle, it is designed to manage environmental loads. A chip is a point of concentrated stress. Trying to fix it with a cheap kit is like trying to repair a structural beam with scotch tape. It might look okay for a week, but the physics of the glass will eventually win. When you see a chip, skip the hardware store aisle. Call a professional glass installer who understands the relationship between viscosity, refractive index, and thermal expansion. Your glass—and your wallet—will thank you in the long run.