Why DIY resin kits make chips unrepairable
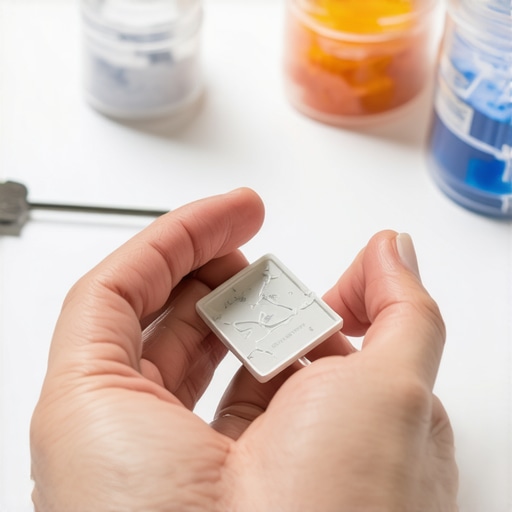
The Fatal Flaw of the Store-Bought Syringe
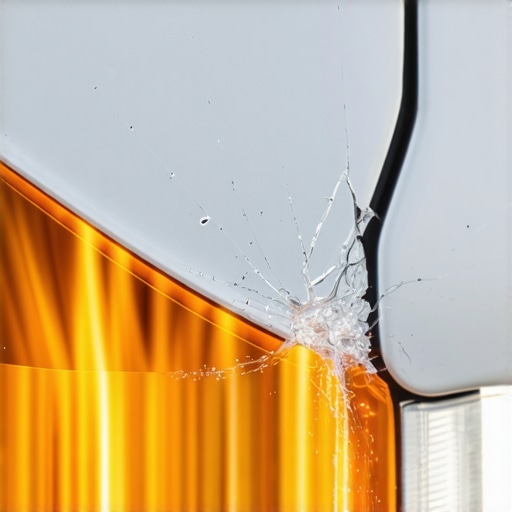
I walked into a driveway last November in Minneapolis where a homeowner was staring at a six-inch crack vibrating across his windshield. He had a crumpled $15 DIY resin kit box in his hand and a look of pure defeat. He told me the chip was tiny when he started, just a pea-sized bullseye. He followed the instructions, or so he thought, but as soon as he applied the plastic bridge and turned the screw, the pressure spike sent a runner straight to the edge of the glass. I had to explain to him that by attempting a DIY fix without a vacuum-pressure cycle, he hadn’t just failed the repair; he had ensured that no professional glass installer could ever save that pane. He had contaminated the break with a low-grade acrylic that was now cured hard as a rock, making it impossible to inject the high-index structural resins we use in mobile service operations.
The Chemistry of Failure: Viscosity and Refractive Index
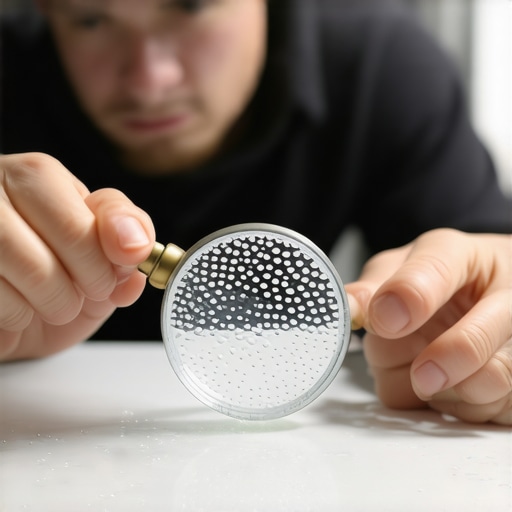
When we talk about professional chip repair, we aren’t just filling a hole with glue. We are performing a molecular level intervention. Most DIY kits use a single-viscosity resin designed to be ‘good enough’ for every type of break. In the world of a master glazier, there is no such thing as ‘one size fits all.’ A star-break requires a low-viscosity resin to penetrate the tight microscopic fissures, while a deep pit might require a high-viscosity filler to maintain structural integrity. Professional resins are engineered to match the refractive index of glass, which sits around 1.52. Cheap kits often use resins that yellow or shrink over time because their molecular weight is inconsistent. When that resin shrinks, it pulls away from the walls of the break, creating a ‘ghost’ or a shimmering air pocket that obscures vision and weakens the glass. This is why same-day service from a pro is cheaper in the long run; we use resins that are chemically compatible with the laminate interlayer.
“Installation and repair procedures are just as critical as the glass performance itself. A high-performance glazing unit or laminated sheet installed or repaired poorly will fail under thermal stress.” – AAMA Installation Masters Guide
The Physics of the Vacuum: Why Pressure Isn’t Enough
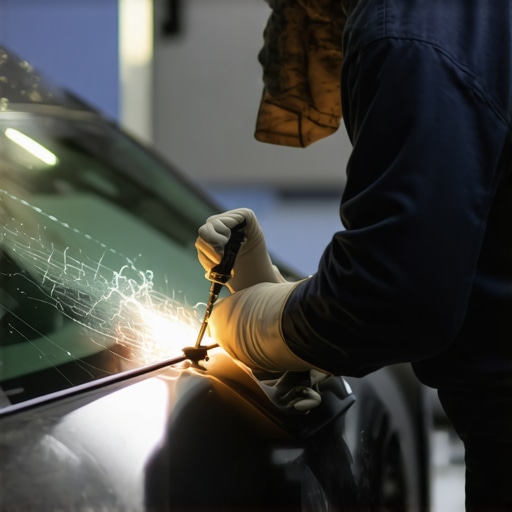
The biggest mistake DIY kits make is the assumption that you can just ‘push’ resin into a crack. Physics dictates otherwise. A chip is a pocket of trapped air. If you try to force resin into that pocket without first removing the air, you are simply compressing that air into the ends of the fissures. This is known as a ‘stress riser.’ When the sun hits that glass and the Solar Heat Gain causes the pane to expand, that compressed air acts like a wedge, driving the crack further into the glass. A professional glass installer uses a dual-stage tool. First, we pull a vacuum to evacuate every molecule of air and moisture from the break. Only then do we switch to the pressure cycle to inject the resin into the void. Without that vacuum, you are essentially sealing a ticking time bomb inside your glass. This is especially dangerous in cold climates where the U-Factor of the glass is tested by the extreme delta between a hot defroster and a sub-zero exterior. The thermal expansion of the glass will find the weakest point, and a botched DIY repair is the ultimate weak point.
Contamination: The Hidden Repair Killer
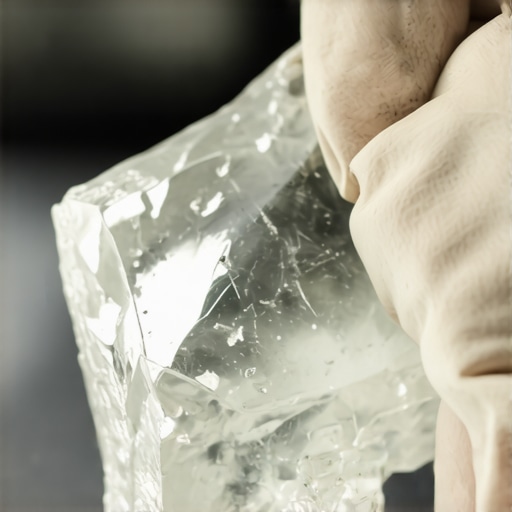
A window is essentially a hole in your vehicle or building that manages light and heat. When you get a chip, it becomes a gateway for road oils, car wax, and hydrophobic glass treatments like Rain-X. If these contaminants get into the break, the resin cannot bond to the glass. Professional technicians use a specialized cleaning process to neutralize these agents before injection. DIYers often skip this or, worse, use a household glass cleaner that contains ammonia or silicone, which permanently prevents resin adhesion. Once you cure that DIY resin with the sun, those contaminants are trapped forever. No amount of professional cleaning can get them out. We call this ‘locking the break.’ At that point, the only solution is a full replacement, which means pulling the sash or removing the entire windshield, often costing five times the price of a simple chip fix.
“The integrity of the structural seal is paramount. Any compromise in the bonding surface of the glass leads to a failure in the load-path of the glazing system.” – ASTM E2112 Standard Practice
The Mechanics of Professional Glazing: Beyond the Chip
In the trade, we look at a window as a system of parts: the Rough Opening, the Shim, the Sash, and the Glazing Bead. While an auto glass chip seems disconnected from residential glazing, the physics are identical. If you have a crack in an operable wood sash window, the repair requires understanding the tension held by the muntins and the pressure of the glazing bead. A DIY resin kit doesn’t account for the lateral forces of a window being opened and closed. Our mobile service involves assessing the Sill Pan for moisture and ensuring no Weep Hole is blocked, because a chip often leads to water ingress that can rot the frame. We don’t just ‘fill’ the glass; we restore the structural diaphragm. Don’t be fooled by high-pressure sales tactics or cheap kits. The math of energy savings and safety is clear: a professional same-day repair preserves the factory seal and the original safety ratings of your glass. Once the DIY resin hits the glass, the ‘repairable’ status is gone, and you’re looking at a full-scale replacement.