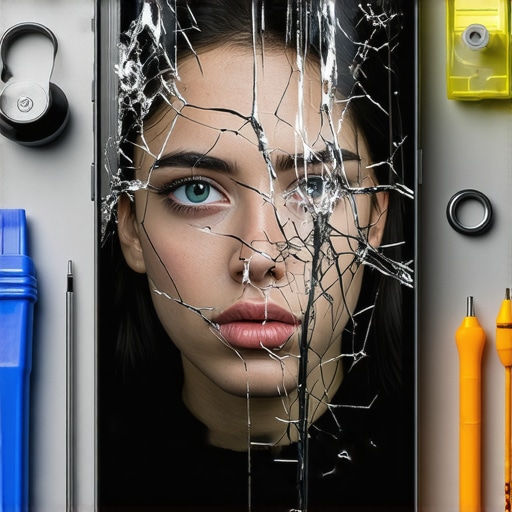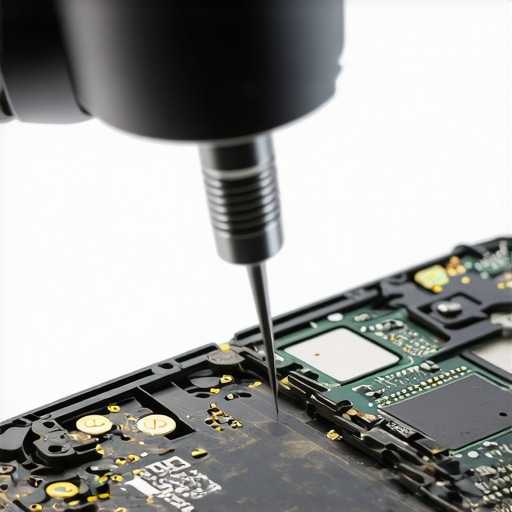

The trick to keeping dust out of your front camera during a swap
The High-Stakes Reality of Mobile Glass Installation
In the world of professional glazing, whether we are talking about a storefront in a high-wind zone or a laminated windshield on a luxury sedan, the margins for error are shrinking to the width of a micron. As a master glazier with a quarter-century in the trade, I have seen the industry shift from simple rubber-gasket installs to complex structural bonds that integrate Advanced Driver Assistance Systems (ADAS). When a homeowner or a driver calls for a mobile service or a same-day chip repair, they often overlook the physics occurring in that rough opening. They want speed, but as any seasoned glass installer knows, speed is the natural enemy of a clean optics chamber.
I remember a specific case where I was called to audit a botched mobile install on a high-end vehicle in the middle of July. The previous technician had pulled the glass in a gravel parking lot. When I arrived, the customer was complaining about a persistent lane-departure warning error. I pulled the trim and found that a single, nearly invisible grain of silica had settled directly onto the CMOS sensor of the forward-facing camera before the glass was set. That one speck, which would be insignificant in a standard window sash, acted as a refractive prism, throwing the entire safety system into a loop. It was a classic example of why the ‘caulk-and-walk’ mentality is a recipe for disaster in modern glazing.
“Installation is just as critical as the window performance itself. A high-performance window installed poorly will fail.” – AAMA Installation Masters Guide
The Physics of the Micro-Environment
To understand the trick to keeping dust out, you must understand the behavior of static electricity and the dew point within the cabin. When you remove a windshield, you are essentially opening a massive aperture to an uncontrolled environment. If you are performing a mobile service in an area with high particulate matter, the interior of the vehicle becomes a vacuum for every piece of pollen and dust in the vicinity. The glass installer must treat the area around the camera bracket as a cleanroom. We are not just dealing with glass; we are dealing with a structural component that must maintain a specific U-factor of optical clarity.
The secret is not just in the cleaning, but in the management of the air. Most amateur technicians reach for a can of compressed air. This is a fatal mistake. Compressed air creates turbulence, kicking up settled dust from the headliner and the dashboard. Instead, the professional trick involves creating a localized static-dissipative zone. By using an ionized wipe on the interior side of the glass where the glazing bead meets the frit, you neutralize the charge that attracts dust. We then use a physical barrier, usually a specialized lint-free shroud, that stays over the camera until the very microsecond the glass is lowered into the urethane bead.
Material Science: Urethane, PVB, and Optical Clarity
Modern auto glass is a marvel of material science. It is a sandwich of two layers of annealed glass with a Polyvinyl Butyral (PVB) interlayer. This interlayer is what provides the safety aspect, but it also impacts the thermal performance of the vehicle. In northern climates, we look at the U-factor to ensure heat retention, while in the south, the Solar Heat Gain Coefficient (SHGC) is the metric that matters. When performing a swap, the glass installer must ensure the new unit matches the OEM specifications for light transmission. If the glass has a different refractive index, the camera will require a full dynamic or static calibration.
“The optical properties of the glazing must remain consistent across the entire viewing area to ensure the integrity of automated systems.” – NFRC Performance Standards
The urethane itself is a technical component that many ignore. It is the ‘shim’ that holds the glass in the correct orientation relative to the sensors. If the bead is too thick or too thin, the camera’s angle of incidence changes. This is why we use specific dams and spacers to ensure the glass sits at the exact depth required. A same-day service should never mean a rushed service. The chemical bond of the primer to the frit must be absolute. We talk about ‘flash-off time’ because if the primer is still outgassing when the glass is set, those chemical vapors can fog the camera lens internally, creating a permanent haze that no amount of cleaning can fix.
The Technical Workflow for a Dust-Free Install
1. Preparation of the Rough Opening: Once the old glass is removed, the pinchweld must be cleaned of all old urethane to a height of roughly 2mm. This ensures a level surface for the new bead. 2. Cabin Decontamination: Before the new glass is even unboxed, we use a specialized vacuum with a HEPA filter to remove any loose debris from the dashboard and the front portion of the headliner. 3. The Barrier Method: We place a temporary adhesive shield over the camera sensor. This shield is only removed once the glass is being hovered into position. 4. Static Neutralization: We use a proprietary anti-static spray on the interior of the new glass, focusing on the ceramic frit area where the camera bracket is pre-attached. 5. The One-Motion Drop: The glass must be set in a single, fluid motion. If you ‘shimmy’ the glass to align it, you are pumping air into the camera chamber, which pulls in dust.
Why Same-Day Service Requires Superior Skill
The demand for same-day chip repair and mobile service has led to a flood of low-skilled labor in the market. However, a true master glazier knows that the faster the job must be done, the more precise the technique must be. We don’t have the luxury of letting the car sit in a controlled shop for 24 hours. We are battling the elements. If we are in a high-humidity environment, we have to account for the moisture’s effect on the urethane’s cure rate. If we are in a dusty environment, we have to be even more vigilant about our ‘shingle principle’ of protecting the camera housing.
Ultimately, the glass is the most visible part of your vehicle’s safety system, but the invisible work performed during the installation is what keeps that safety system functioning. Don’t settle for a tech who just ‘slams’ glass. Look for the glazier who talks about micron levels, static dissipation, and sensor alignment. That is the difference between a successful swap and a dashboard full of warning lights. Water management, air management, and light management: these are the three pillars of our trade, and they apply just as much to your front camera as they do to a skyscraper’s curtain wall.