How to test your safety sensors after a glass fix
The Invisible Infrastructure of Modern Glazing
When most people look at a modern window or a windshield, they see a transparent barrier. As a master glazier with twenty-five years in the trenches, I see a complex thermal management system and a mounting substrate for precision optics. In the world of high-performance glass, a simple chip repair is never just a chip repair. It is a modification of a critical optical path. If you have recently utilized a mobile service for a same-day fix, the integrity of your safety sensors depends entirely on the technician’s understanding of refractive indices and thermal expansion. This is not just about aesthetics; it is about ensuring that the driver-assistance systems or the building’s smart-glass controls can actually ‘see’ through the medium they are meant to monitor.
A Narrative of Neglect: The Condensation Crisis
A client called me recently in a state of absolute frustration because their lane-departure system was throwing error codes every morning at 7:00 AM. They had just had a same-day chip repair performed by a technician who ‘caulked-and-walked’ without checking the dew point. When I arrived with my hygrometer and thermal imaging camera, I showed them that the humidity trapped behind the sensor bracket was hitting 65 percent. The previous installer had failed to dry the area properly after the glass fix, and as the morning temperatures dropped, condensation formed on the interior surface of the glass, right over the camera lens. It was not a hardware failure; it was a physics failure. The window was doing exactly what glass does in a North-specific climate: it was reaching its dew point because the thermal seal around the sensor housing was breached during the repair. We had to remove the sensor, desiccate the air gap, and re-establish the seal using proper flashing tape principles on a micro-scale.
“Installation is just as critical as the window performance itself. A high-performance window installed poorly will fail.” – AAMA Installation Masters Guide
The Physics of the Chip Repair
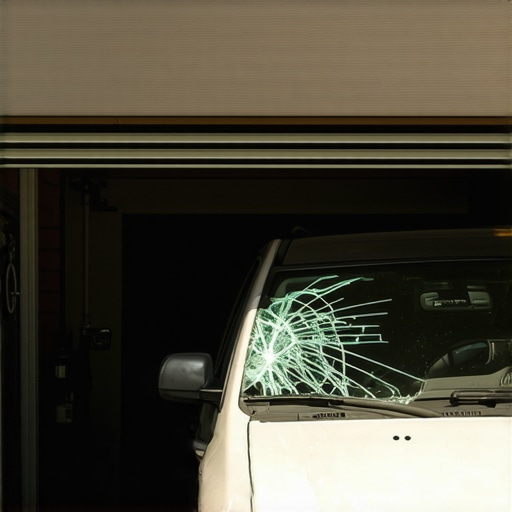
To understand how to test your sensors, you must first understand what the glass installer did during that same-day service. When a stone hits your glass, it creates a void that refracts light. Safety sensors, particularly those using CMOS cameras or lidar, rely on a clear, undistorted path. A mobile service technician uses a vacuum-pressure tool to inject a clear UV-curable resin into that void. However, if the refractive index of that resin does not perfectly match the glass, the camera will see a ‘ghost’ image. In cold northern climates like Chicago or Minneapolis, the U-Factor of the glass becomes paramount. Heat loss through the glass can cause the resin to contract at a different rate than the surrounding silica. This creates micro-stress fractures that are invisible to the naked eye but act like a prism for a safety sensor. If you are in a cold zone, the Low-E coating on Surface #3 is designed to reflect heat back inside, but a poorly executed repair can disrupt this thermal layer, leading to localized frost or condensation that blinds your sensors.
The Post-Repair Testing Protocol
Once the glass installer has finished the chip repair, you cannot simply assume the system is operational. You must perform a rigorous verification. First, inspect the glazing bead and the area around the sensor bracket. Is there any residue? Even a fingerprint can scatter infrared light. Next, we move to functional testing. For rain sensors, you need to simulate a laminar flow of water. Do not just spray a hose at it; use a spray bottle to create a fine mist that mimics real-world precipitation. The sensor operates on the principle of total internal reflection. When water is on the glass, the infrared light escapes the glass rather than reflecting back to the sensor. If your repair was too close to the sensor, the resin might be interfering with this light bounce.
The Importance of Structural Integrity
In the trade, we talk about the ‘Rough Opening’ of a window frame, but for a safety sensor, the ‘Rough Opening’ is the aperture in the black ceramic frit of the glass. This frit is not just decorative; it protects the adhesives from UV degradation. During a same-day glass fix, if the technician shimmied the glass or adjusted the sash improperly, the sensor might be misaligned by even a fraction of a degree. At 100 yards, a one-degree misalignment in a camera or radar sensor equates to being off by several feet. This is why testing is non-negotiable.
“The window assembly must be treated as a single unit where the glass, frame, and any integrated technology are tested to perform under peak load and environmental stress.” – ASTM E2112 Standard Practice
NFRC Decoding and Thermal Stress
When we look at the NFRC label on a high-performance window, we are looking at the U-Factor, the Solar Heat Gain Coefficient (SHGC), and Visible Transmittance (VT). For those of us in the North, the U-Factor is king. Lower is better because it means less heat is escaping. When a chip repair is performed, the technician is essentially patching a hole in your thermal envelope. If the repair is not smooth, it can create a ‘hot spot’ or a ‘cold spot.’ This delta in temperature across the glass surface can cause the sensor to miscalculate distances, as light bends differently through air of different densities. You must check your sensor’s performance during the transition from a warm garage to a cold exterior. If the safety system fails only during this transition, you have a thermal bridge issue caused by the repair material.
Functional Verification of Operable Components
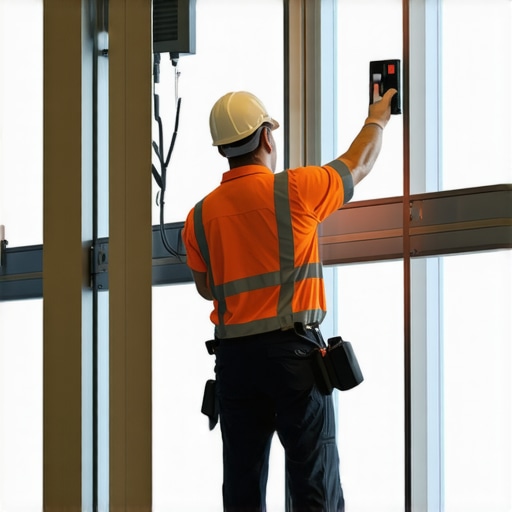
If your glass fix involved an operable window with integrated security sensors, check the shim placement. If the sash is not square within the frame, the magnetic contact sensors will have intermittent failures. I always tell my apprentices that a window is a hole in the wall that we are trying to make smart. If the sill pan was not leveled or the flashing tape was not lapped in a shingle-fashion, water will eventually find its way to the sensor wiring. Testing your safety sensors means testing the water-shedding capabilities of the entire installation. Open and close the sash multiple times. Ensure the glazing bead is seated firmly. If there is any movement in the glass within the frame, your sensors will never provide a consistent reading.
The Myth of the ‘Simple’ Chip Repair
Mobile service providers often market chip repair as a quick, cosmetic fix. From the perspective of a master glazier, this is a dangerous oversimplification. We are dealing with an engineered component. The same-day service model often skips the ‘soak time’ required for adhesives to reach full structural modulus. If the glass installer moves the vehicle or the window assembly before the urethane or resin has fully cross-linked, the sensor bracket can shift. This is especially true in high-humidity or extreme cold. You must verify that the sensor housing is rigid. If you can move it with your finger, the calibration is already lost. Always ask your installer about the cure time and the specific SDS (Safety Data Sheet) of the resin used. A professional will know; a ‘Tin Man’ will guess.
Conclusion: Precision is the Only Standard
Testing your safety sensors after a glass fix is about verifying the intersection of physics and craftsmanship. Whether it is ensuring the weep holes are clear so that moisture doesn’t back up into a sensor cavity, or checking the SHGC impact of a new tint over a camera eye, the details matter. Do not accept a job that looks good but performs poorly. Use these testing protocols to ensure your safety systems are as reliable as the glass they are mounted on. In the end, the installer’s skill is the most important component of the window, far outweighing the brand name on the glass or the speed of the mobile service.