How to spot bubbles in your resin before the technician leaves
The Invisible Threat to Your Glass Integrity
In my twenty-five years as a Master Glazier, I have seen every shortcut in the book. There is a specific kind of frustration that comes with watching a mobile service technician rush a chip repair. They pull up, squirt some resin, hit it with a UV light, and they are gone before the glass has even reached ambient temperature. This is the hallmark of a ‘caulk-and-walk’ mentality that ignores the fundamental physics of glass bonding. When you hire a glass installer for a same-day fix, you are not just paying for a cosmetic improvement; you are paying for structural stabilization. If there are bubbles trapped in that resin, the repair is a ticking time bomb. A bubble is not just an eyesore; it is a pocket of air that expands and contracts with thermal cycles, eventually leading to a full-scale crack that no resin can save.
“Installation is just as critical as the window performance itself. A high-performance window installed poorly will fail.” AAMA Installation Masters Guide
I remember sitting across from a high-pressure salesman who was trying to convince a client that a quick-fill resin was superior to a full vacuum-pressure cycle. I had to step in and explain that without a proper vacuum, you are essentially trapping oxygen in a pressurized environment. I told the homeowner that the ROI on a cheap, rushed repair is effectively zero because you will be replacing the entire pane within a year. It was a classic ‘Tin Man’ scenario where the focus was on speed rather than the molecular bond of the polymer to the silicate structure. Understanding how to inspect this work before the technician packs their tools is the only way to ensure your glass remains sound.
The Physics of the Bubble: Why They Form
To understand why bubbles appear, we have to talk about resin viscosity and the Solar Heat Gain Coefficient. In hotter climates, such as the South or Southwest, the glass surface temperature can easily exceed 120 degrees Fahrenheit. When a technician applies resin to glass that is too hot, the resin thins out too rapidly. If they use a UV light immediately, the outer layer cures while the interior is still outgassing, trapping tiny micro-bubbles. This is particularly problematic on Surface #2 of a glass assembly where heat rejection is highest. Even if we are not talking about a full Rough Opening or a double-hung Sash, the principles of thermal stress remain the same. The resin must displace all air within the chip or crack. If the technician does not use a bridge and injector to create a localized vacuum, air stays trapped in the pits of the glass break.
How to Conduct a Professional Inspection
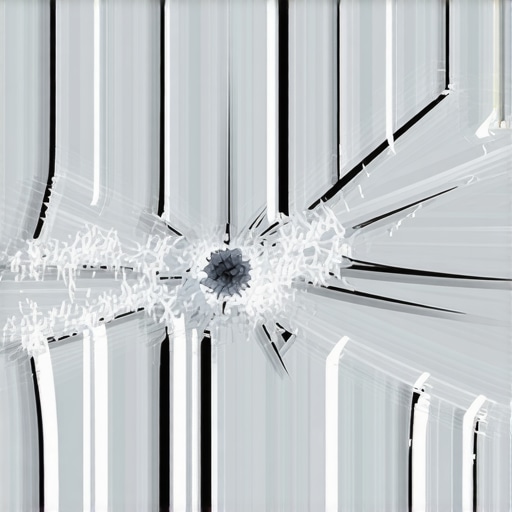
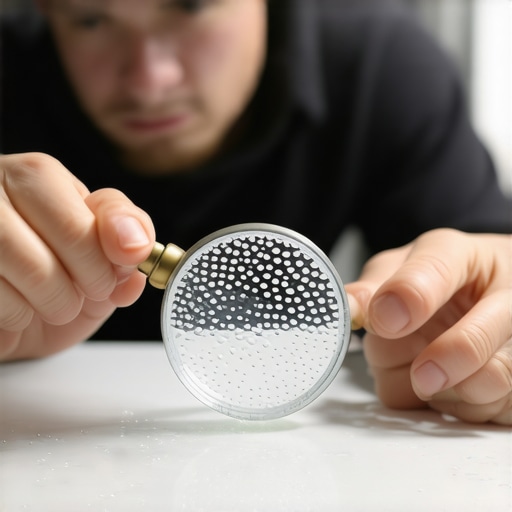
When the technician says they are finished, do not just glance at the glass from the driver’s seat. You need to perform what I call a 360-degree refraction check. Start by looking at the repair from a 45-degree angle against a dark background. This change in perspective allows you to see the difference between the refractive index of the glass and the resin. If you see tiny silver specks or what look like ‘seeds’ in a vintage Muntin glass, those are air pockets. These bubbles often hide near the ‘legs’ of a starburst crack. You should also run your fingernail gently over the Glazing Bead or the surface of the repair. It should be perfectly flush. Any indentation indicates that the resin has shrunk during the curing process, another sign of a rushed job.
“The primary goal of any glass repair is to restore a minimum of 80 percent of the original structural integrity and 90 percent of the optical clarity.” NFRC Performance Standards
The technician should be using a specialized mirror on the opposite side of the glass during the process. If you do not see them checking their work through a magnifying mirror, they are flying blind. In high-heat environments, the use of a cooling mat or a simple shade can prevent the resin from flash-curing. A quality glass installer knows that temperature control is not optional. They must manage the Dew Point if it is humid and the radiant heat if the sun is direct. If they ignore these variables, the resin will not wet the surface of the glass properly, leading to delamination.
The Equipment Matters: Vacuum vs. Gravity
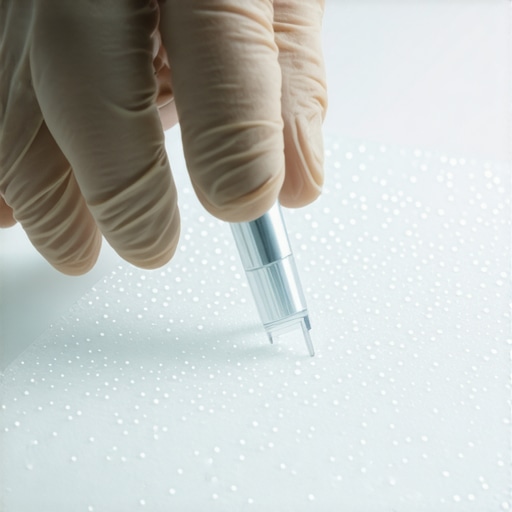
A true professional uses a bridge assembly that locks onto the glass. This allows them to toggle between vacuum and pressure cycles. The vacuum cycle pulls the air out of the break, and the pressure cycle forces the resin into the microscopic fissures. If your technician is just using a syringe or a gravity-fed dropper, you are getting an inferior product. This is the difference between a permanent fix and a temporary patch. Even in a mobile service context, there is no excuse for lack of equipment. The same-day promise should not mean a reduction in technical standards. If you spot a bubble, demand that they drill a small pilot hole to reach the air pocket and re-inject the resin under pressure. It is much easier to fix a wet resin failure than a cured one.
Conclusion: Don’t Buy the Hype, Buy the Science
In the world of glazing, details are everything. Whether you are looking at a complex curtain wall or a simple chip repair, the management of air and moisture is the priority. A bubble in your resin is a failure of the evacuation process. It represents a weakness in the glass that will be exploited by the first cold snap or the first pothole you hit. By holding your technician to a higher standard and knowing exactly what to look for, you ensure that your glass remains a clear, strong barrier against the elements. Always remember that the quality of the repair is defined by what you cannot see: the absence of air and the presence of a perfect bond.