Why mobile glass resin needs specialized UV light to properly bond
The Technical Reality of the 365nm Cure
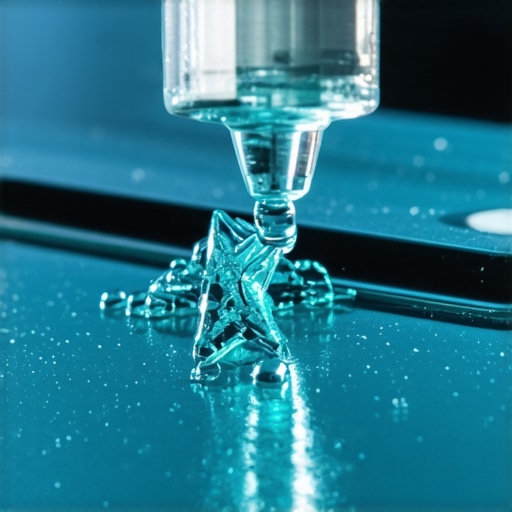
In my twenty-five years as a Master Glazier, I have seen every shortcut in the book. I have watched installers treat a structural glass failure like it was a minor cosmetic blemish. But when we talk about mobile glass repair, specifically the resins used by a glass installer for a chip repair, we are not just talking about filling a hole. We are talking about molecular re-engineering under field conditions. A common mistake is assuming that any bright light or a few minutes in the sun will suffice for a same-day repair. It will not. The physics of anaerobic resin curing requires a specific high-intensity UV output to ensure the refractive index of the repair matches the surrounding substrate.
The Narrative: A Lesson in Atmospheric Moisture
I remember a case in Minneapolis where a homeowner called me in a panic because their windshield repair had ‘sweated’ out and then spiderwebbed across the entire laminate layer. I walked out to the driveway with my hygrometer and found the ambient humidity was spiking, but more importantly, the previous mobile service technician had tried to cure the resin using only the fading afternoon sun in November. I showed them that the humidity was sitting at 65% and the UV index was practically zero. It was not the resin that failed; it was the installer’s lack of understanding of the curing trigger. That ‘sweating’ they saw was unlinked monomers leaching out of the break because the chemical chain reaction never reached the necessary exothermic peak. In a cold climate like this, the U-Factor of the glass is already under stress; you cannot afford a weak point in the Glazing Bead or the structural integrity of the pane.
“Installation is just as critical as the window performance itself. A high-performance window installed poorly will fail.” AAMA Installation Masters Guide
The Molecular Science of UV Curing
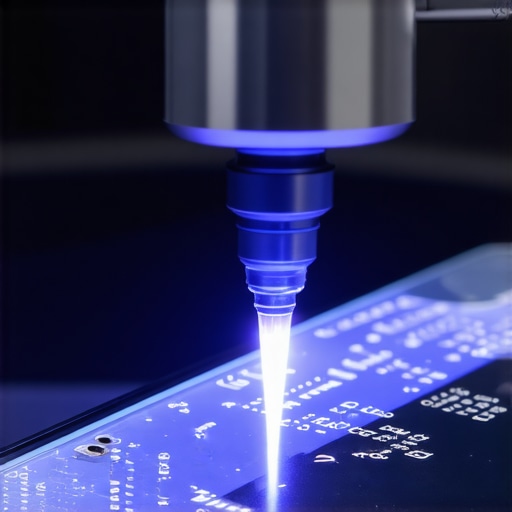
To understand why a specialized UV lamp is mandatory, you have to look at the resin on a granular level. Most high-grade resins are composed of acrylic acid and methacrylates. These molecules remain in a liquid state until they are hit by a specific wavelength of ultraviolet radiation, typically in the 365nm to 400nm range. This is the ‘photo-initiator’ phase. When the specialized UV light hits the resin, it breaks the double bonds of the carbon atoms, allowing them to link up with neighboring molecules in a process called cross-linking. If you rely on ambient light, the cross-linking is sporadic and incomplete. This leaves ‘soft spots’ in the repair that will expand and contract at different rates than the glass when the heater hits the windshield in January. We often use a Shim to ensure the injector is perfectly perpendicular to the Rough Opening of the break, but without the UV light, that precision is wasted.
Climate Logic: The Cold Weather Challenge
In Northern climates, heat loss is the enemy. When a glass installer performs a chip repair, they are dealing with glass that is often struggling with thermal gradients. The U-Factor (the rate of heat transfer) is king here. If a repair is not cured to a high Shore D hardness using a UV lamp, the resin will remain slightly more flexible than the glass. When the temperature drops to sub-zero, the glass shrinks. If the resin is not perfectly bonded at a molecular level, the tension will pull the resin away from the walls of the break, creating a silver reflection known as a ‘daisy’ or ‘flower’ effect. This is why same-day mobile service must include a high-intensity, battery-operated UV bridge that can provide a consistent 365nm dose regardless of whether it is a cloudy day or if the car is parked in a garage.
“Adhesion is not merely sticking; it is the chemical integration of the resin into the glass substrate.” ASTM E1300 Standard for Glass Strength
Refractive Index and Visible Transmittance
A professional repair should be nearly invisible. This is achieved by matching the refractive index of the resin (usually around 1.51 to 1.52) to the glass. However, if the UV curing process is too slow, the resin can yellow or shrink, changing its optical properties. Rapid, controlled curing with a specialized lamp ‘locks’ the resin in its clear state before it has a chance to oxidize. This is critical for maintaining the Visible Transmittance of the glass. You do not want a repair that blocks light or creates a prism effect in the driver’s line of sight. Furthermore, the Weep Hole logic we use in window frames applies here too: we have to manage the path of potential contaminants. A poorly cured resin allows moisture to seep into the laminate, which eventually leads to delamination of the PVB (Polyvinyl Butyral) interlayer.
Why Precision Matters More Than Speed
Many mobile service providers brag about speed, but as a master glazier, I prioritize the ‘Glazing Zooming’ of the technical specs. You must ensure the oxygen is completely purged from the break before the UV light is applied, as oxygen can inhibit the polymerization of the resin. This is why we use vacuum pressure cycles before the curing phase. If you skip the specialized UV light, you are essentially leaving the repair in a ‘half-baked’ state. The chip repair might look okay for a week, but the first time the vehicle hits a pothole or experiences a rapid temperature shift, the structural failure will resume. Do not settle for an installer who thinks the sun is enough. The sun is a variable; a 365nm UV lamp is a constant. In the world of professional glazing, we rely on constants.
{“@context”: “https://schema.org”, “@type”: “HowTo”, “name”: “How to Properly Cure Mobile Glass Resin”, “step”: [{“@type”: “HowToStep”, “text”: “Clean the break and remove any loose glass shards.”}, {“@type”: “HowToStep”, “text”: “Apply the resin under vacuum to ensure all air is removed from the break.”}, {“@type”: “HowToStep”, “text”: “Position a 365nm UV lamp directly over the repair site.”}, {“@type”: “HowToStep”, “text”: “Cure for 3 to 5 minutes depending on the resin viscosity and ambient temperature.”}]}