How to spot a bad seal before your car starts leaking
The 25-Year Glazier’s Perspective on Glass Integrity
As a Master Glazier with over a quarter-century in the trade, I have seen every possible failure point where glass meets a frame. Whether it is a curtain wall on a forty-story skyscraper or the laminated safety glass in your daily driver, the principles of fenestration and water management remain the same. A window is essentially a controlled breach in a structural shell. To maintain that control, the seal must be absolute. Most people wait until they see a puddle on their floorboards or a drip from the headliner before they suspect a problem. By that point, the damage is already structural. I have seen pinchwelds so corroded by hidden moisture that the glass was essentially held in place by gravity and prayer. Understanding the physics of how a seal fails is the only way to catch it before the rot sets in.
The Condensation Crisis: A Master’s Narrative
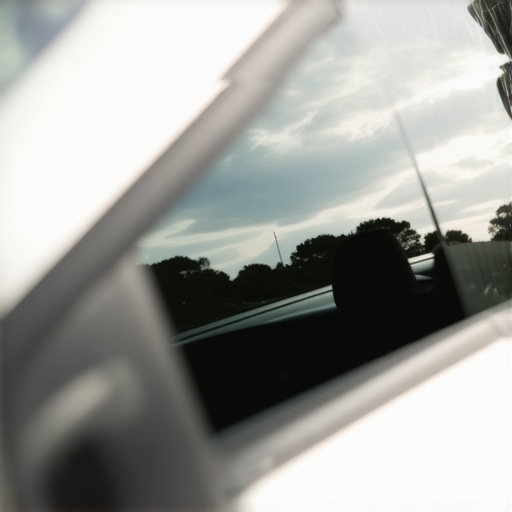
A homeowner once called me in a panic because their new windows were ‘sweating’ and they assumed the seals had failed within weeks of installation. I walked into the property with my hygrometer and a thermal imaging camera. I showed them that the interior humidity was hovering at 60 percent while the outside temperature was dropping toward the dew point. It was not the glass that was failing; it was their indoor climate management. However, this same logic applies to your vehicle. If you see persistent fogging in the corners of your windshield that does not dissipate with the defroster, you are not just looking at humidity. You are looking at a compromised adhesive bead that is allowing moisture to bypass the primary barrier and saturate the interior cabin air. I have pulled windshields out of vehicles where the previous installer relied on a ‘caulk-and-walk’ method, skipping the essential priming step, only to find the header was completely black with hidden mold. Why? Because they ignored the chemical bond required between the urethane and the frit.
“Installation is just as critical as the window performance itself. A high-performance window installed poorly will fail.” AAMA Installation Masters Guide
The Anatomy of the Seal: Urethane, Frit, and the Pinchweld
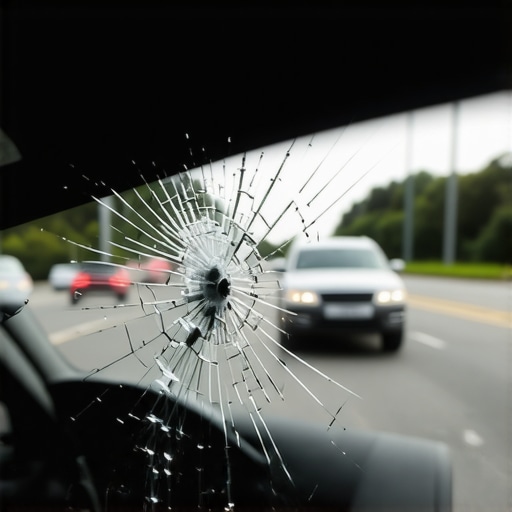
To understand a bad seal, you must understand the ‘Frit.’ That black, ceramic band around the edge of the glass is not just for aesthetics. It is a UV barrier. Urethane, the high-modulus adhesive used by any reputable glass installer, is highly susceptible to ultraviolet degradation. Without the frit, the sun would bake the adhesive until it becomes brittle and pulls away from the glass. When I perform an audit of a glass installation, I look for ‘fretting’ or light gaps where the frit meets the urethane. If the bond is failing, you will see a subtle silvering or delamination. This is the first stage of a leak. In a North/Cold climate like Chicago or Minneapolis, this gap becomes a reservoir for water. When that water freezes, it undergoes ice jacking, expanding and physically tearing the adhesive bead away from the pinchweld. This is why a same-day chip repair is so vital; any breach in the glass integrity can telegraph stress to the seal, leading to a catastrophic failure during the next freeze-thaw cycle.
The Physics of Heat and U-Factor in Automotive Glass
In colder regions, heat loss is the enemy. The U-Factor, which measures the rate of heat transfer, is just as relevant to your car as it is to your home. A bad seal increases the U-Factor of the entire opening by allowing cold air to infiltrate through convective loops. If you feel a draft near the A-pillar while driving at highway speeds, your seal has already reached a state of mechanical failure. We call this ‘whistling,’ and it is the sound of high-pressure air being forced through a microscopic hole in the urethane bead. This often happens because a mobile service technician performed the install in temperatures below the manufacturer’s recommended range for the adhesive. Urethane requires specific humidity and temperature levels to cross-link its polymer chains. If it is too cold, the bead skins over before it can wet out the substrate, leaving a path for air and water.
“Proper adhesion is the only barrier between the occupant and the external environment in fenestration systems.” ASTM E2112 Standard Practice
The Installation Autopsy: Why Most Seals Fail
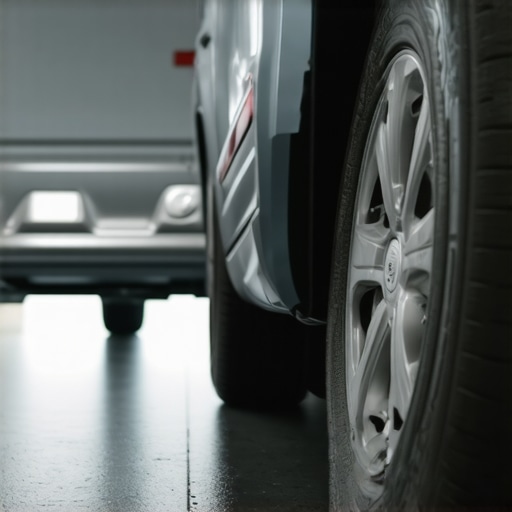
When I perform an installation autopsy on a leaking windshield, the culprit is almost always the preparation. A professional glass installer knows that the pinchweld must be cleaned of all old urethane down to a thin, stable layer, and any exposed metal must be treated with a zinc-rich primer to prevent rust. In the world of high-volume, low-cost mobile service, these steps are frequently skipped. If the technician does not use a proper dam or if they fail to set the glass with the correct ‘stand-off’ height, the weight of the glass will squeeze the adhesive too thin. A thin seal lacks the elasticity to handle the torsional twisting of the vehicle’s frame as you drive over bumps. Over time, this mechanical stress causes the bond to snap. You can spot this by looking for ‘shingling’ of the molding or trim. If the rubber gasket is wavy or lifting, the underlying adhesive is likely under-built or failing to hold the glass in the correct plane.
Visual Cues and Technical Red Flags
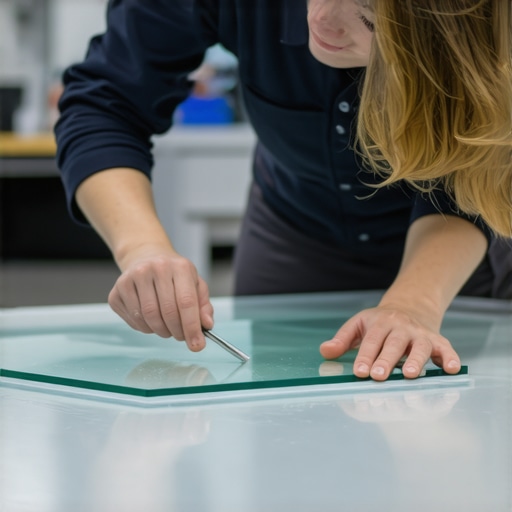
To spot a bad seal before the leak starts, you need to look for ‘bridging.’ This is where the adhesive has pulled away from the glass and is only touching the frame. Use a plastic shim or a credit card to gently press against the interior edge of the glass. If you see any movement or if the glass feels ‘spongy,’ the structural integrity of the seal is gone. Another red flag is the presence of ‘blooming’ on the interior glass. This is a white, powdery residue that indicates moisture is reacting with the chemicals in the urethane. This is common in regions with high salt exposure, where the seal acts as a capillary, drawing brine into the interior. If you see this, your next step is a full tear-out and replacement. A simple ‘chip repair’ won’t save a failing seal; you need a fresh bead of high-viscosity urethane applied under controlled conditions. Never settle for a technician who just adds more silicone to the outside. That is a temporary patch that traps moisture against the metal, accelerating the very rot you are trying to avoid.