How to spot a bad seal before your car starts leaking
In my twenty-five years as a master glazier, I have seen it all, from high-rise curtain walls failing under wind loads to the simplest windshield installation going south because an installer decided to cut corners. A window, whether it is in your living room or your vehicle, is a managed opening. It is a calculated vulnerability in the envelope of your structure or vehicle that must be sealed with mathematical precision. Most people treat a windshield like a piece of transparent plastic, but it is a structural component that contributes up to 60% of the cabin’s strength during a rollover. When that seal fails, you are not just looking at a puddle on your floor mat; you are looking at a compromised safety system. Spotting a bad seal requires a technical eye and an understanding of the chemistry behind the bond.
The Narrative: A Case of Ghost Moisture
I recall a client who called me in a panic because their late-model sedan was ‘sweating’ on the inside every morning. I walked out with my hygrometer and a high-intensity inspection light. The homeowner was convinced the glass was defective. I showed them that the interior humidity was spiking to 60% overnight. It was not the glass; it was a microscopic failure in the urethane bead at the base of the A-pillar. A previous same-day mobile service had failed to properly prep the pinch weld, leading to a slow-motion disaster. The moisture was not coming through the glass; it was being pulled into the cabin by the pressure differential created by the vehicle’s HVAC system. This is why I am so insistent on proper installation protocols; a high-performance glass unit installed poorly is a liability, not an asset.
“Installation is just as critical as the window performance itself. A high-performance window installed poorly will fail.” – AAMA Installation Masters Guide
The Anatomy of the Seal: Why It Fails
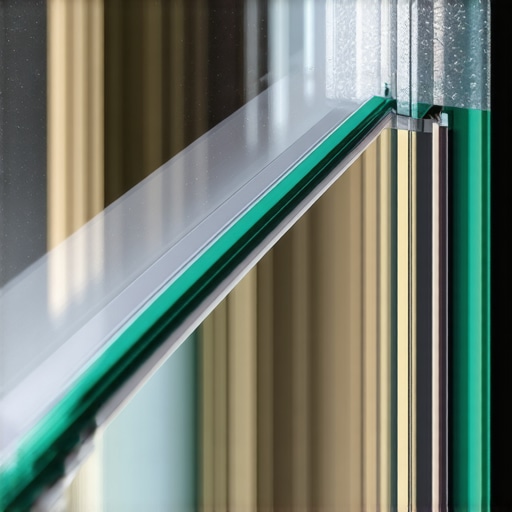
To understand a bad seal, you must understand the ‘Frit.’ That black, speckled border around your windshield is not just for decoration. It is a ceramic paint baked into the glass that provides a rough surface for the polyurethane adhesive to grip. More importantly, it protects the urethane from ultraviolet (UV) radiation. UV light is the primary enemy of any glazing seal. In northern climates where we deal with extreme frost-thaw cycles, the expansion and contraction of the metal frame versus the glass (which has a much lower coefficient of thermal expansion) puts immense stress on that bond. If an installer fails to use a proper primer or skips the cleaning phase, the bond will eventually undergo what we call ‘cohesive failure.’ This is where the glue stays on the car, but the glass pulls away, or vice-versa. You might first notice this as a faint whistling sound at highway speeds or a slight rattling when you hit a pothole. These are the early warning signs before the water management system—or lack thereof—becomes obvious.
The Science of Condensation and Thermal Bridging
In colder regions, the U-factor of your glass is paramount. While we usually discuss U-factor in the context of residential windows, the same physics apply to your vehicle. A failing seal creates a thermal bridge. If the urethane bead has a void, cold air enters the gap and chills the interior edge of the glass. When the warm, moist air from your breath hits that chilled glass, you get localized condensation. If you see fogging that always starts in the same corner and refuses to clear even with the defroster on high, you likely have a seal breach. This is not just an inconvenience; it is the beginning of a rot cycle. In buildings, we use a sill pan to catch and divert this moisture. In a car, that water often drains directly into the dashboard electronics or under the carpeting where it feeds mold and corrodes the floorboards.
The Critical Role of Professional Chip Repair
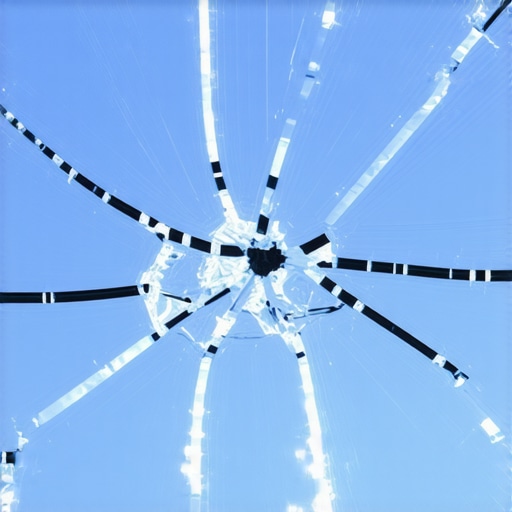
Many drivers ignore a small stone chip, thinking it is merely cosmetic. From a glazier’s perspective, a chip is a structural fracture in the outer layer of the laminated safety glass. The windshield is a sandwich: two layers of glass held together by a Polyvinyl Butyral (PVB) interlayer. When a stone hits, it creates a ‘bullseye’ or a ‘star’ fracture. This opening allows moisture and dirt to reach the PVB interlayer. Once that interlayer becomes contaminated, it can begin to delaminate. Professional chip repair is about more than just filling a hole; it is about injecting a high-viscosity, UV-curable resin that restores the structural integrity of the laminate. If you wait, thermal expansion—the glass heating in the sun and cooling at night—will cause that fracture to propagate across the entire surface. A same-day mobile service for chip repair is the only way to prevent a full replacement.
“Properly executed repairs to laminated glass can restore structural integrity and optical clarity, provided the damage has not compromised the interlayer’s adhesion.” – ASTM E2112 Standard Practice
The Installation Autopsy: Spotting the ‘Caulk-and-Walk’ Mentality
When I inspect a recent installation that has failed, I look at the ‘pinch weld.’ This is the metal flange where the glass sits. A quality glass installer will treat any scratches on this metal with a zinc-rich primer to prevent rust. A ‘caulk-and-walk’ installer will simply slap new urethane over old, dirty adhesive. If you see excess glue oozing out from the trim, or if the glass is not centered in the rough opening, you are looking at a ticking time bomb. The ‘Shingle Principle’ must apply: every layer of the seal must overlap the one below it so that water is naturally shed away from the interior. If the urethane bead is not continuous, or if it was ‘cold-joined’ (where one bead of glue starts after another has already begun to skin over), a leak is inevitable. A professional glass installer will always ensure a continuous, hot-poured or precisely applied bead that maintains its elasticity over decades of vibrations.
The Myth of the ‘Quick’ Fix
We live in a world of same-day service, but glazing is a chemical process. Polyurethane adhesives have a ‘Safe Drive-Away Time’ (SDAT). This is the time required for the adhesive to reach a high enough Shore A hardness to hold the glass in place during a collision. In humid, cold environments, this curing process can be slower or faster depending on the specific chemistry of the adhesive. A technician who tells you that you can drive away immediately after a full replacement in 30-degree weather is not following the physics of the material. You must respect the cure time. Similarly, for chip repair, the resin needs a specific UV wavelength to cross-link and bond with the glass. Shortcuts in these areas lead to the very leaks and seal failures we are trying to avoid.
Technical Indicators of Failure
If you suspect a bad seal, perform a ‘dry’ test first. With the vehicle interior dry, have someone spray the exterior with a low-pressure hose while you watch the interior perimeter with a flashlight. Look for ‘tracking’—marks left by water as it finds a path through the adhesive. Another method is the soap bubble test: apply soapy water to the exterior seal and blow compressed air from the inside. If you see bubbles, you have an atmospheric path, which means you have a seal failure. Do not wait for the carpet to get wet. By the time you smell that musty odor, the damage to the pinch weld and the interior components may already be irreversible. A master glazier knows that water is the most patient enemy of any structure; it will find the smallest void in your seal and exploit it every time it rains.