Why your lane departure warning needs a glass reset
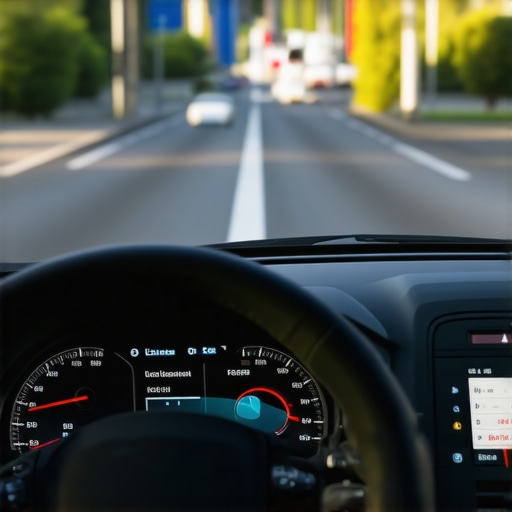
Modern windshields are no longer just passive barriers against the wind and debris. In the current automotive landscape, the glass is a critical component of a vehicle’s sensing nervous system. When you look at the glass in front of your rearview mirror, you are looking at the aperture for the Lane Departure Warning System (LDWS) and other Advanced Driver Assistance Systems (ADAS). If that glass is replaced or even significantly repaired without a technical reset, your safety features become a liability. As a glazier with over two decades of experience handling everything from architectural curtain walls to high-performance automotive glazing, I have seen the dangerous results of ‘caulk and walk’ installers who treat a sensor-laden windshield like a simple piece of plate glass.
The Calibration Crisis: A Real-World Failure
A homeowner called me in a panic because their new windows were ‘sweating.’ I walked in with my hygrometer and showed them the humidity was 60 percent. It wasn’t the windows; it was their lifestyle. But that same logic applies to the automotive world. I recently had a driver bring in a luxury sedan after a cut-rate mobile service replacement. They complained that since the new glass was installed, the car would randomly jerk the steering wheel toward the center line. I hooked up my diagnostic tool and found the camera was tilted by a mere 1.2 degrees. Because the installer didn’t ensure the glass was perfectly seated on the pinchweld, the camera’s ‘brain’ thought the car was drifting when it was perfectly centered. It was a classic case of physical misalignment causing digital chaos.
“Installation is just as critical as the window performance itself. A high-performance window installed poorly will fail.” – AAMA Installation Masters Guide
The Physics of Refraction and ADAS Optics
To understand why a glass reset is mandatory, we have to look at the optical properties of the glass itself. A windshield is a laminate, typically consisting of two layers of glass with a Polyvinyl Butyral (PVB) interlayer. For a camera to ‘see’ the lane markings on the highway, it must look through this laminate. Every piece of glass has a refractive index, a measure of how much it bends light. Higher-quality glass, often referred to as OEM (Original Equipment Manufacturer) or OEE (Original Equipment Equivalent), maintains a consistent thickness and curvature. If you install a ‘value’ brand windshield, the glass may have slight variations in the ‘Glazing Bead’ area or the frit. These variations act like a funhouse mirror for the camera. Even if the camera is physically snapped back into its bracket, the way the light hits the lens has changed. This is why a static or dynamic calibration is required to ‘zero out’ the sensor to the specific refractive properties of that new piece of glass.
The Role of Thermal Management in Sensor Accuracy
In colder climates like Chicago or Minneapolis, we deal with the ‘Enemy’ of Heat Loss and Condensation. The U-Factor, which measures the rate of heat transfer, is king here. In a car, the area around the ADAS camera is prone to fogging. Most modern windshields have a specialized heating element or ‘de-fogger’ built into the glass right in front of the camera lens. If a mobile service technician uses a generic glass that lacks the proper thermal conductivity or fails to reconnect the heating traces, the camera will go blind the moment the temperature hits the dew point. This triggers a system failure, disabling your lane-keep assist exactly when you need it most during a winter storm. We talk about ‘Surface #3’ in architectural glazing for reflecting heat back inside, but in auto glass, we must manage the thermal bridge at the camera mount to prevent optical distortion caused by temperature-induced expansion of the camera bracket.
The Mechanics of the Install: Beyond the Urethane
A proper glass installer understands that the ‘Rough Opening’ of a car’s frame, known as the pinchweld, must be meticulously prepared. If any old urethane is left behind or if the primer isn’t applied correctly, the glass might sit a fraction of a millimeter higher than it did at the factory. While this might not cause a leak, it fundamentally alters the pitch and yaw of the ADAS sensors. I have seen ‘same-day’ installers rush the curing process, leading to ‘glass creep’ where the windshield slides down slightly under its own weight. This shift, while invisible to the naked eye, is enough to throw a lane departure warning system out of its specified tolerance. We use high-modulus urethanes to ensure the glass becomes a rigid structural member of the vehicle, but that rigidity means any error in placement is locked in permanently.
“Standard Practice for Installation of Exterior Windows, Doors and Skylights requires that all components be aligned to specific tolerances to ensure the integrity of the building envelope.” – ASTM E2112
Chip Repair vs. Replacement: The Optical Threshold
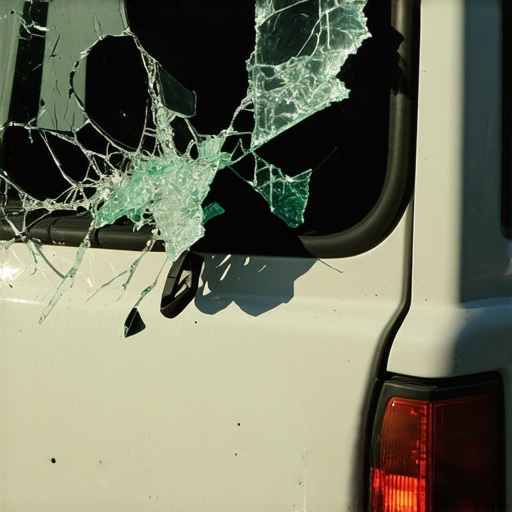
Not every stone chip requires a full glass reset, but there is a threshold. If a chip is located within the ‘critical vision area’ of the ADAS camera, a chip repair is usually not an option. The resin used in chip repair has a different refractive index than the surrounding glass. Even a perfectly clear repair will create a ‘scar’ that can catch the light and create a flare, blinding the camera during sunrise or sunset. As a professional, I always advise clients that any damage in the ‘camera window’ necessitates a full replacement and a subsequent recalibration. This isn’t a sales tactic; it is a mathematical necessity to maintain the safety rating of the vehicle.
The Calibration Process: Static and Dynamic
When we perform a glass reset, we use two primary methods. Static calibration involves setting up a series of target boards at precise distances and heights around the vehicle. The car’s computer then ‘reads’ these targets to map its new field of vision. Dynamic calibration requires driving the vehicle at a specific speed on a well-marked road so the system can learn the horizon line and lane width. This is where the ‘Master Glazier’ mindset is vital. You cannot just slap the glass in and tell the customer it’s fine. You have to ensure the ‘Sash’ of the vehicle (the frame) is level and that the tire pressure is correct, as even a slightly deflated tire can tilt the car enough to throw off the calibration targets. We don’t accept ‘close enough’ because, at 70 miles per hour, ‘close enough’ is the difference between staying in your lane and a head-on collision.
Conclusion: Don’t Buy the Hype, Buy the Numbers
The next time you see an ad for a ‘cheap and fast’ glass installer, ask them about their recalibration protocol. Ask if they use a calibrated scan tool or if they are just hoping the system auto-adjusts. A true professional doesn’t just replace glass; they restore a safety system. In my 25 years, I have seen the industry move from simple rubber gaskets to complex electronic integrations. The tech has changed, but the fundamental rule remains: precision is the only defense against failure. Your lane departure warning is only as good as the glass it looks through. Make sure that glass is installed with the technical rigor it deserves.
{“@context”:”https://schema.org”,”@type”:”HowTo”,”name”:”How to Ensure Proper Lane Departure Calibration After Glass Replacement”,”step”:[{“@type”:”HowToStep”,”text”:”Verify the use of OEM or OEE glass to ensure correct refractive index for ADAS sensors.”},{“@type”:”HowToStep”,”text”:”Prepare the pinchweld by removing old urethane and applying proper primer to ensure the glass sits at the correct height.”},{“@type”:”HowToStep”,”text”:”Install the windshield using high-modulus urethane and allow for the full Minimum Drive-Away Time to prevent glass creep.”},{“@type”:”HowToStep”,”text”:”Perform a static calibration using target boards to align the camera’s digital field of vision with the physical glass orientation.”},{“@type”:”HowToStep”,”text”:”Conduct a dynamic calibration drive to verify the system correctly identifies lane markings under real-world conditions.”}]}