How to remove old glass adhesive without scratches
The Master Glazier Perspective on Surface Contamination
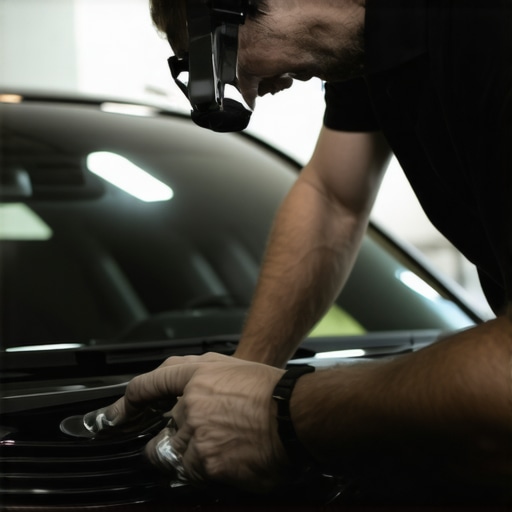
As a veteran glass installer with over a quarter century in the trade, I have seen it all. I have stood on scaffolds fifty stories up and crawled through residential crawlspaces to inspect failed rough opening seals. One of the most common issues I encounter, especially when performing a same-day chip repair or a full glass replacement, is the nightmare of baked-on adhesive. Whether it is residue from old security film, outdated solar tints, or stickers that have been carbonizing under the sun for a decade, removing this gunk without compromising the glass surface is a science, not a chore. Most people reach for a scouring pad or a cheap scraper and, in the process, destroy the visible transmittance of the unit. They do not realize that glass, while seemingly impenetrable, is an amorphous solid with a molecular structure that can be permanently scarred by improper mechanical force.
I remember a specific case that illustrates why the installer matters more than the tool. I pulled a vinyl window out of a house in a humid coastal region and the header was completely black with rot. Why? The previous installer relied on the nailing fin instead of proper flashing tape and then tried to hide the gaps with heavy adhesive-backed trim. By the time I arrived for a mobile service call, the homeowner had tried to scrape off the trim residue with a metal putty knife. Not only was the wood underneath decimated by moisture, but every single pane of glass was covered in deep, curvilinear scratches that no amount of cerium oxide could buff out. This is why we follow strict protocols. As the industry standards state:
“Installation is just as critical as the window performance itself. A high-performance window installed poorly will fail.” – AAMA Installation Masters Guide
This applies to maintenance and glass preparation just as much as the initial set in the rough opening.
The Physics of Adhesive Bonding in High-Heat Climates
If you are dealing with glass in a southern or high-sun environment, the Solar Heat Gain Coefficient (SHGC) is your biggest enemy when it comes to adhesive removal. In places where the sun beats down on surface #2 of a dual-pane unit, the glass temperature can soar, causing the polymers in the adhesive to cross-link and fuse with the microscopic peaks and valleys of the glass surface. This is not just a sticky mess: it is a chemical bond. When a glass installer talks about the sash or the glazing bead, we are talking about the structural integrity of the window, but we must also consider the thermal stress. High SHGC means the glass is absorbing significant radiant energy. If you try to remove adhesive while the glass is hot, you risk inducing thermal shock or simply smearing the liquified polymers deeper into the silicate matrix. We always recommend performing this work in the shade or during the cooler morning hours to ensure the adhesive remains brittle enough to be sheared off rather than smeared.
Chemical Decoupling: The Solvents of the Trade
Before you ever touch the glass with a blade, you must understand chemical softening. Do not use generic hardware store solvents that can off-gas and damage the vinyl or fiberglass frame materials. Instead, we look at the molecular level. For pressure-sensitive adhesives, a high-purity isopropyl alcohol or a specialized citrus-based solvent is the first line of defense. The goal is to break the bond between the adhesive and the glass surface without affecting the glazing bead or the sill pan. You want a solvent that has a controlled evaporation rate. If it evaporates too quickly, it leaves the residue behind: if it is too slow, it can seep into the sash rails and compromise the secondary seal of an Insulated Glass Unit (IGU). In our mobile service units, we prioritize same-day results by using surfactants that encapsulate the adhesive molecules, making them easier to lift with a precision blade.
Mechanical Removal: The Art of the Razor
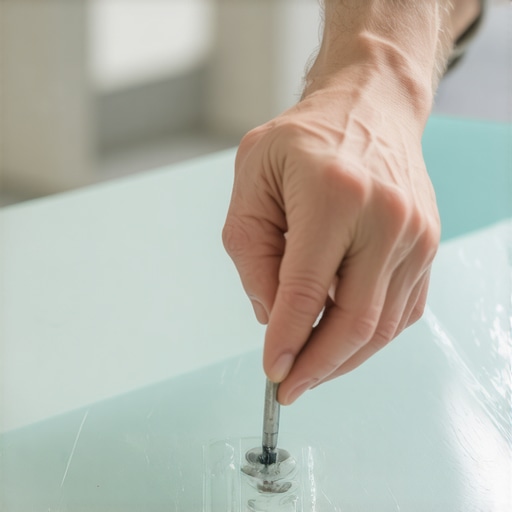
The tool of choice for any professional glass installer is a new, surgical-grade stainless steel razor blade held in a dedicated scraper handle. Never use a blade that has been used for another task. Even a single microscopic nick in the metal will create a track on the glass. The angle is critical: you must maintain a 15 to 30-degree angle relative to the glass. This is where the “caulk-and-walk” amateurs fail: they use a steep angle that digs into the glass or a flat angle that just skips over the adhesive. Always lubricate the surface with a mixture of deionized water and a professional-grade glass soap. This creates a thin film that allows the blade to glide while the edge shears the adhesive. As emphasized in the industry:
“Maintenance and cleaning of glass products must be performed with care to avoid damage to the glass surfaces and coatings.” – NFRC Performance Guidelines
If you are working on a window with a Low-E coating, you must determine if it is on an exposed surface. Scraping a soft-coat Low-E surface will instantly ruin the thermal performance of the unit.
Protecting the Fenestration System
When cleaning, you must be mindful of the entire assembly. A window is a complex system involving the operable sash, the weep holes, and the flashing tape that keeps the building envelope dry. If you use excessive liquid to soak the adhesive, ensure that it does not clog the weep holes in the bottom of the frame. These holes are essential for drainage: if they are blocked by slurry or adhesive gunk, water will back up into the rough opening and cause the very rot I mentioned earlier. Every step of the process, from chip repair to deep cleaning, must respect the shingle principle of water management. Once the adhesive is removed, we finish with a microfiber wipe-down, ensuring no residue remains that could attract dirt or interfere with the movement of the sash within the frame tracks. This meticulous attention to detail is the difference between a temporary fix and a professional restoration.