How to verify your glass tech used a high-viscosity resin
The Anatomy of a Failed Chip Repair
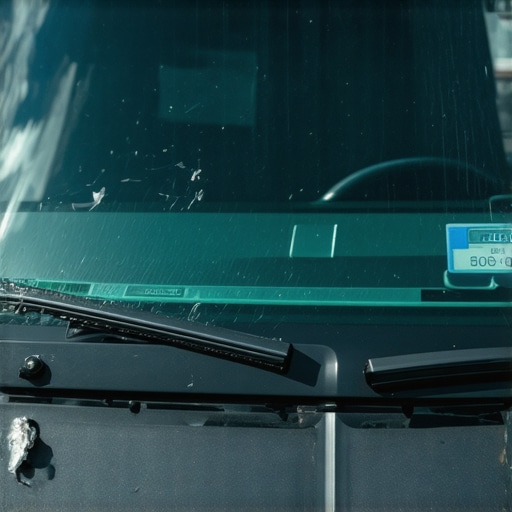
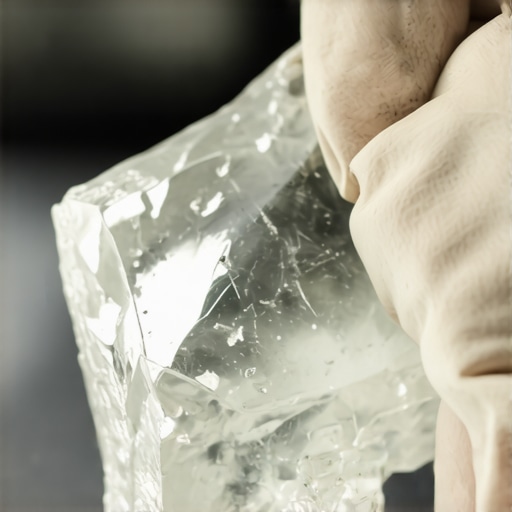
In my twenty-five years as a glass installer, I have seen thousands of windshields that looked fine for a week but shattered at the first sign of a cold snap. Most homeowners believe that a chip repair is a simple fill-and-chill operation. They call a mobile service, expect same-day completion, and assume the job is done once the pit looks clear. However, the reality of the trade is that the chemistry of the resin determines whether your windshield remains a structural safety component or becomes a liability. I remember a specific case where I pulled a windshield out of a late-model SUV where a previous tech had performed a ‘same-day’ repair. The impact point was a wide-mouth bullseye that had been filled with a low-viscosity, water-thin resin. Because the previous installer relied on the quick flow of thin resin instead of the structural integrity of a high-viscosity material, the repair had failed internally. The resin had shrunk away from the glass walls, leaving a microscopic gap that allowed moisture to enter. When the first frost hit, that moisture expanded, and a three-inch crack turned into a three-foot failure across the entire rough opening of the viewing area. This is the ‘caulk-and-walk’ mentality that plagues our industry.
“Installation of field-applied glazing materials must account for the expansion and contraction cycles of the substrate to avoid adhesive failure.” – ASTM E2112 Standard Practice
The Science of Viscosity: Why It Matters in Hot Climates
When you are dealing with glass in high-temperature environments, such as the southern states or during a peak July heatwave, the glass expands significantly. This is where the thermal logic of your glass installer becomes critical. In a hot climate, the enemy is Solar Heat Gain and the resulting expansion of the glass laminate. A low-viscosity resin is like water; it flows into tight star breaks easily but lacks the molecular weight to stay anchored when the glass starts to stretch. We measure this in centipoise (cP). A thin resin might be 20cP, while a high-viscosity resin used for larger pits or structural fills can exceed 200cP. The thicker material provides a much higher modulus of elasticity, meaning it can stretch and compress with the glass as the temperature fluctuates. If your tech is using the same bottle of thin resin for every type of break, they are failing the structural requirements of the job. You want a tech who understands that the resin on Surface #2 of the laminate must handle different stresses than the outer layer.
The Technical Verification: How to Spot the Real Pros
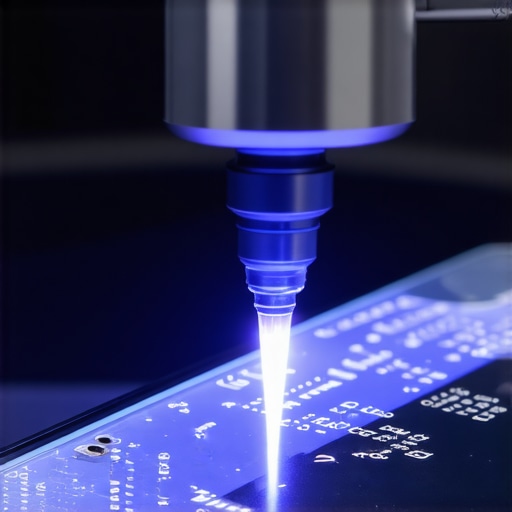
To verify if your glass tech is using the right material, you have to look at their bridge and injector setup. High-viscosity resins require significantly more pressure to force into the break. If the tech is just dripping resin from a bottle into the chip, they are using a ‘pit filler’ as a structural resin, which is a recipe for disaster. A professional mobile service should utilize a vacuum-pressure bridge. This tool first sucks the air out of the break and then uses a screw-driven piston to force the thick resin into the microscopic fissures. You can actually see the resin ‘wicking’ into the legs of a star break. If the tech is done in five minutes without using a specialized injector, they have not achieved a true bond. They have merely masked the cosmetic blemish without restoring the glass’s integrity.
“Proper glass restoration requires a chemical bond that mimics the refractive index and structural modulus of the original laminate.” – AAMA Installation Masters Guide
Trade Cant and Structural Integrity
A master glazier will talk about the ‘Rough Opening’ of the chip and the ‘Sash’ effect of the surrounding glass. When we repair a chip, we are essentially creating a mini-glazing system. We use a shim-like approach to stabilize the center of the break and ensure the glazing bead of the resin is flush with the surface. The ‘Weep Hole’ in this context is the tiny air pocket we must evacuate before the final UV cure. If your tech doesn’t mention the ‘Pit Fill’ vs. the ‘Injection Resin,’ they are likely taking shortcuts. High-viscosity resins are harder to work with; they require heat to lower their viscosity temporarily during the injection phase, and they take longer to cure under a UV lamp. But that extra ten minutes is the difference between a permanent fix and a temporary patch that will fail when you hit a pothole.
The Same-Day Service Trap
Everyone wants same-day service, but speed should never compromise the chemical bond. When a mobile service arrives, ask them about the centipoise rating of their resin for the current ambient temperature. A tech who knows their craft will explain that they are using a higher viscosity resin because the glass is hot, or a thinner one if the break is a tight ‘tight-star’ with no surface opening. If they look at you blankly, they are just a ‘part-swapper’ with a bottle of glue. True chip repair is an engineering feat on a microscopic scale. It requires balancing the refractive index of the resin with the glass so that light passes through without distortion, while also ensuring that the bond can withstand the 200-pound pressure of a passenger-side airbag deployment, which relies on the windshield staying in its frame.
Verifying the Final Cure
After the tech finishes, look at the repair from a 45-degree angle. You should see a solid, clear mass with no ‘shimmering’ or silver reflections inside the glass. A silver reflection indicates an air pocket where the resin failed to penetrate, often because the viscosity was too high for the pressure applied, or too low to hold the volume. The surface should be hard and flush, scraped with a fresh razor blade so there is no bump for the wipers to catch on. This attention to detail is what separates a glazier from a handyman. Don’t settle for a repair that just looks good in the shade; demand a repair that holds up under the sun.