Why your mobile glass tech uses a blue light on your car
The Science of the Cure: Decoding the Blue Light in Mobile Glass Repair
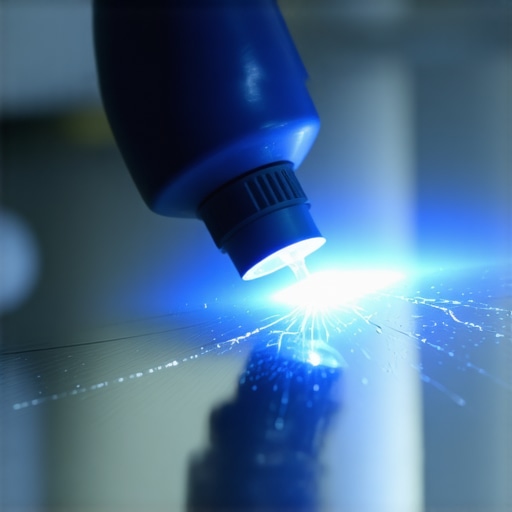
When you hire a professional glass installer for a same-day mobile service, you are not just paying for a technician to squirt some glue into a crack. You are paying for a controlled chemical reaction. If you have ever watched a chip repair being performed on your driveway, you likely noticed a small device emitting a steady, violet-blue glow over the impact site. This is not for show. As a master glazier with a quarter-century in the trade, I can tell you that the difference between a permanent repair and a structural failure often comes down to the precise wavelength of that light and the technician’s understanding of the Dew Point and the Rough Opening of the damage.
“Installation is just as critical as the window performance itself. A high-performance window installed poorly will fail.” – AAMA Installation Masters Guide
A homeowner recently called me in a panic because their new windows were ‘sweating.’ I walked in with my hygrometer and showed them the humidity was 60%. It wasn’t the windows; it was their lifestyle. I see the same lack of understanding in automotive glass. People think a windshield is just a sheet of glass, but it is a complex laminate. When a rock hits it, it creates a void in the outer ply. To fix it, we use an anaerobic or UV-sensitive resin. That blue light is the catalyst. It initiates a process called cross-linking, where the liquid monomers in the resin transform into a solid polymer chain that bonds to the silica of the glass at a molecular level.
The Anatomy of an Impact: Why the Chip Matters
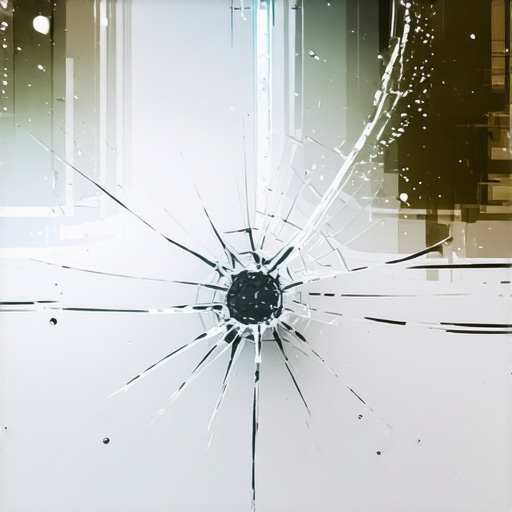
Every chip repair starts with an assessment of the fracture. Is it a bullseye, a star break, or a combination? In the world of glazing, we treat every chip as a miniature Rough Opening. If the technician does not properly clean the Glazing Bead or the surrounding area, contaminants will be trapped forever. We look at the Solar Heat Gain Coefficient (SHGC) even in car glass. Modern windshields are designed to reflect a massive amount of infrared radiation to keep your cabin cool. If we use a resin with the wrong refractive index, it will create a ‘ghost’ or a shimmer because it is not bending light at the same 1.52 index as the surrounding glass.
In the hot Southern climates of places like Texas or Florida, the enemy is the sun’s radiant heat. We want a Low-E coating on Surface #2 of the glass to reflect that heat back outside. When we perform a mobile service, the glass temperature might be 140 degrees Fahrenheit. A ‘caulk-and-walk’ installer will just drop the resin in and hope for the best. A master tech will use a bridge tool to create a vacuum, pulling out every molecule of air before the UV light is ever turned on. If air remains, the UV light will simply trap a bubble, and when the temperature shifts, that bubble will expand, causing a crack to run. This is why professional chip repair is a physics problem, not a cosmetic one.
[image-placeholder]
The Physics of UV Curing: 365nm to 400nm
The ‘blue’ light you see is actually concentrated ultraviolet radiation. Specifically, we are looking for the UV-A spectrum. The photoinitiators in high-grade resins are tuned to react specifically to wavelengths between 365 and 400 nanometers. If the light is too weak, the resin remains tacky. If it is too intense or the wrong spectrum, the resin can become brittle and yellow over time. This is why we avoid direct sunlight for the initial injection phase. We need to control the environment. Even though we are mobile, we are essentially bringing a laboratory to your parking lot.
“The integrity of the building envelope, or in this case the vehicle’s structural shell, relies on the seamless integration of glazing components and their respective adhesives.” – NFRC Performance Guidelines
We also have to consider the Weep Hole logic of the vehicle’s cowl. If we are replacing a full windshield instead of just a chip, the placement of the urethane bead is critical. It must be a continuous, triangular bead that allows for proper water shed. If the technician skips the primer or doesn’t account for the thermal expansion of the frame, the glass will eventually ‘burp’ or leak. In my 25 years, I have seen too many installers rely on the thickness of the glass to hide a poor shim job or a rushed prep. A windshield is a structural member of the car; in a rollover, it provides up to 60% of the cabin’s roof strength. That ‘blue light’ repair on a chip is what prevents you from needing a full structural replacement later.
Refractive Index and Visible Transmittance
Why does the chip ‘disappear’? It is all about Visible Transmittance (VT). When light hits air, it slows down. When it hits glass, it slows down more. A crack is a pocket of air trapped in glass, which causes light to scatter, making the crack visible. By injecting a resin that matches the refractive index of the glass and curing it with that UV light, we eliminate the air-to-glass interface. The light passes through the repair as if it were a single, solid piece of silica. This is the ‘Glass Class’ level of detail that separates a professional from a hobbyist with a DIY kit. Don’t buy the marketing hype of ‘invisible’ repairs from a bottle; buy the expertise of a tech who understands how to manage the exothermic reaction that occurs when that blue light hits the resin.
Finally, let’s talk about ROI. A same-day chip repair might cost a fraction of a deductible, but the real value is in the preservation of the factory seal. Once you pull the original glass out, you are at the mercy of the installer’s ability to recreate a climate-controlled seal in a non-controlled environment. If you can save the original glass with a high-tech UV cure, you are maintaining the highest possible safety standard for your vehicle. Water management, thermal stress, and molecular bonding are the three pillars of a successful mobile service. Next time you see that violet glow, remember that it is the sound of chemistry working to save your windshield.
{“@context”:”https://schema.org”,”@type”:”HowTo”,”name”:”How to Perform a Professional UV Glass Chip Repair”,”step”:[{“@type”:”HowToStep”,”text”:”Clean the impact site to remove loose glass shards and contaminants from the Rough Opening.”},{“@type”:”HowToStep”,”text”:”Apply a vacuum bridge to extract air from the fracture voids.”},{“@type”:”HowToStep”,”text”:”Inject high-refractive index UV-sensitive resin into the break under pressure.”},{“@type”:”HowToStep”,”text”:”Position a UV curing lamp (365-400nm) over the site for 5-10 minutes to initiate cross-linking.”},{“@type”:”HowToStep”,”text”:”Scrape off excess cured resin and polish the surface to match the surrounding glass VT.”}]}