The truth about DIY windshield repair kits from the store
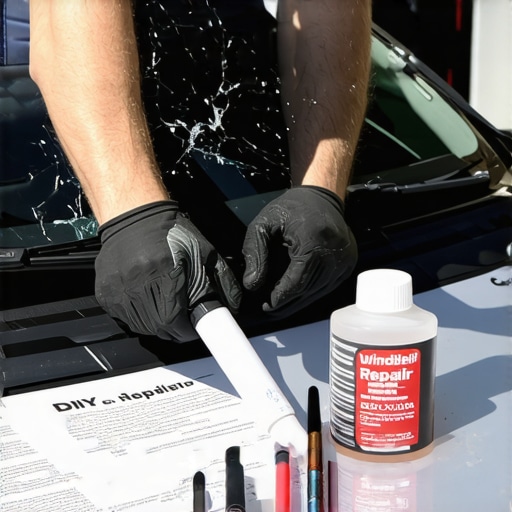
I have spent over two decades as a master glazier, a career built on the fine margins of tolerances and the unforgiving nature of glass. Whether I am leveling a mahogany sash in a historic restoration or ensuring the rough opening of a commercial curtain wall is plumb to within a sixteenth of an inch, the physics remain the same. Glass is a liquid that behaves like a solid until it remembers its true nature under stress. Lately, I have seen an influx of homeowners and drivers attempting to bypass professional expertise with those fifteen-dollar plastic syringes sold at big-box retailers. I recently sat across from a neighbor who was bragging about a ‘pro-grade’ kit he bought online, acting like a high-pressure salesman for a product he barely understood. I had to explain to him why his DIY attempt was actually a structural liability, much like trying to repair a rotted sill pan with a coat of paint. The ROI on those kits is non-existent because they fail to address the fundamental science of laminated glass and the specific pressures required for a permanent bond.
“Installation is just as critical as the window performance itself. A high-performance window installed poorly will fail.” – AAMA Installation Masters Guide
To understand why a chip repair often fails in the hands of an amateur, you have to understand the ‘Glazing Zooming’ perspective of a windshield. This is not a single pane of glass; it is a sophisticated sandwich consisting of two layers of soda-lime glass bonded by a polyvinyl butyral (PVB) interlayer. When a rock hits your glass, it creates a void where the glass has separated from the PVB. A professional glass installer does not just ‘fill’ this hole. We use a vacuum-pressure cycle to evacuate the air trapped in the microscopic fissures of the break. If you leave even a molecule of air inside, the refractive index of the repair will not match the glass, and more importantly, the air will expand and contract with the temperature. In a hot climate like Texas or Florida, where the Solar Heat Gain Coefficient (SHGC) is a constant battle, that tiny air pocket becomes a wedge. As the sun beats down on surface number one, the glass expands. If the repair resin is not properly bonded to the PVB and the surrounding glass at a molecular level, the heat will cause the crack to ‘run’ across the entire operable surface of the glass.
The Physics of Resin and Refraction
The kits you buy at the store usually contain a single-component resin that is far too viscous for modern glass. A true mobile service professional uses resins with different centipoise ratings depending on the age of the break and the ambient temperature. When we perform a same-day repair, we are looking at the glazing bead of the repair area. We ensure that the resin has a refractive index identical to the glass, which is typically around 1.51. The DIY kits use a cheap acrylic that yellows over time and has a different light-bending property, leading to a permanent ‘ghost’ in your field of vision. Furthermore, those plastic injectors cannot maintain the necessary pressure to force the resin into the ‘legs’ of a star break. I treat every windshield with the same respect I would give a custom wood sash: it requires precision, not a ‘caulk-and-walk’ mentality. Without the proper bridge tool to apply consistent pressure, you are likely to ‘flower’ the break, which is when the pressure of the injector actually causes more cracks to radiate outward from the center.
“The integrity of the building envelope, or in this case the vehicle safety cell, depends entirely on the chemical and mechanical bonds of the glazing system.” – ASTM E2112 Standard Practice
In hot southern climates, the enemy is radiant heat. Windshields act as a massive heat sink, and the SHGC is king. You want to reflect the sun heat away, but the dark spot of an unrepaired or poorly repaired chip absorbs that heat faster than the surrounding clear glass. This thermal gradient is what causes a small chip to turn into a spiderweb during a July afternoon. A professional glass installer understands how to stabilize the glass temperature before beginning the vacuum process. We don’t just slap a shim under the wiper and call it a day. We manage the environment. We look at the muntins of the vehicle’s structural frame to ensure no secondary stresses are acting on the glass. We even check the weep holes in the cowl and the flashing tape (or specialized masking) that protects the paint from the acidic resins used in the process. If you value the structural integrity of your vehicle, you have to realize that the windshield provides up to sixty percent of the roof strength in a rollover accident. A botched DIY repair is not just an eyesore; it is a failure of the safety system.
Why Professional Mobile Service Wins
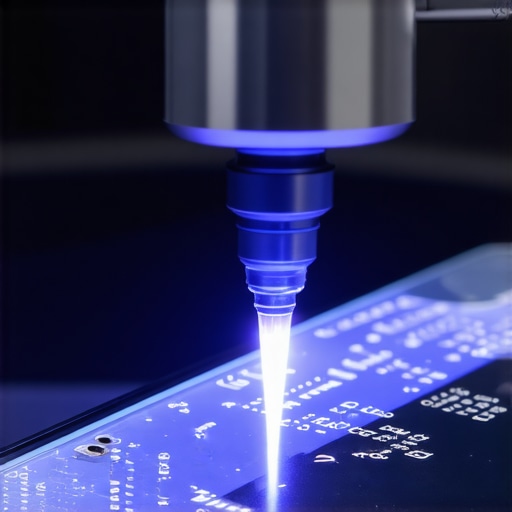
Choosing a same-day mobile service means you are getting a technician who understands the ‘Shingle Principle’ of water and air management. Just as I wouldn’t install a window without a proper sill pan, I wouldn’t repair a chip without ensuring the rough opening of the break is completely dry and free of road oils. DIY kits often trap moisture inside the break. When that moisture freezes or boils, the repair fails instantly. A professional uses a dry-out tool to ensure the PVB is pristine before the resin is injected. The glass installer also has access to UV curing lamps that output the specific 365nm wavelength required to cross-link the resin polymers. The sun is not a reliable curing tool; it is too unpredictable. In the end, the ‘Tin Man’ salesman at the retail store won’t tell you that once you put that cheap resin into your windshield, a professional can no longer fix it. The amateur resin blocks the path for the professional-grade material. You have one shot to get it right, or you are looking at a full replacement that could cost hundreds more than a simple, professional chip repair.
{“@context”:”https://schema.org”,”@type”:”HowTo”,”name”:”Professional Windshield Chip Repair Process”,”step”:[{“@type”:”HowToStep”,”text”:”Inspect the break for contaminants and moisture using a magnifying lamp.”},{“@type”:”HowToStep”,”text”:”Clean the impact point and remove loose glass shards from the rough opening of the chip.”},{“@type”:”HowToStep”,”text”:”Apply a professional vacuum bridge over the break to evacuate all trapped air.”},{“@type”:”HowToStep”,”text”:”Inject high-tensile resin into the void using a pressure-cycle to reach all micro-fissures.”},{“@type”:”HowToStep”,”text”:”Cure the resin with a specialized UV lamp at 365nm for a molecular bond.”},{“@type”:”HowToStep”,”text”:”Pit-fill and polish the surface to match the refractive index of the glass.”}]}