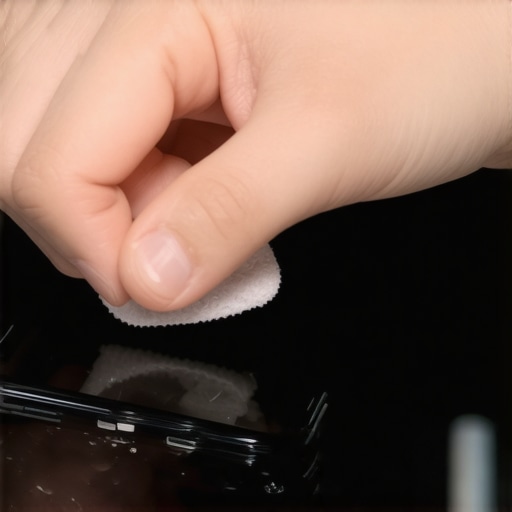
The trick to getting bubbles out of your screen protector
Beyond the Plastic: The Master Glazier Guide to Surface Physics
When most people think of a bubble under a screen protector, they see an annoying aesthetic flaw. When I look at it, I see a failure of surface energy management and atmospheric pressure. In my 25 years as a professional glass installer, I have handled everything from forty-story curtain walls to precision chip repair on high-performance automotive glass. The physics of why a film fails to bond to a substrate remains constant, whether you are dealing with a six-inch smartphone or a six-foot tempered glass sash. The secret to a perfect, bubble-free finish is not found in a cheap plastic squeegee but in understanding the molecular behavior of the glass surface itself.
The Vapor Pressure Narrative: A Houston Lesson
I remember a call I took in Houston during a record-breaking July heatwave. A client had hired a mobile service for a same-day application of a high-spec solar control film on a series of south-facing storefront windows. By the time I arrived, the glass looked like it was suffering from a case of atmospheric chickenpox. The previous installer had committed the cardinal sin of glazing: ignoring the surface temperature and the dew point. I walked in with my hygrometer and showed them that the humidity was sitting at 75 percent inside the shop while the glass surface was nearly 150 degrees. They had trapped microscopic water vapor between the glass and the film. As the sun beat down, that vapor expanded, creating the very bubbles the homeowner was trying to avoid. It was not a product defect; it was a total disregard for the thermal environment. This is why professional chip repair and film installation require a controlled climate or, at the very least, an understanding of the SHGC (Solar Heat Gain Coefficient) and how it affects adhesion during the first twenty-four hours of the curing cycle.
“Installation is just as critical as the window performance itself. A high-performance window installed poorly will fail.” AAMA Installation Masters Guide
The Anatomy of the Bubble: Gas vs. Contaminant
To fix a bubble, you must first diagnose its origin. In the world of high-end glazing, we categorize these into two groups: air entrapment and particulate interference. A particulate bubble is caused by a foreign body—a speck of dust, a skin cell, or a microfiber strand. This creates a permanent ‘tent’ where the adhesive cannot reach the glass. The ‘trick’ here isn’t pushing harder; it is the surgical removal of the contaminant. In professional glass installer circles, we use a specialized tack-cloth or an ionized air blast to ensure the rough opening of the application area is sterile. If you have an air bubble, you are dealing with a pressure differential. For those in a Hot/South climate like Phoenix or Miami, the heat is your enemy. High Solar Heat Gain means the glass is constantly expanding. If you apply a film or a protector to a hot pane, the adhesive sets too quickly, trapping air before it can be displaced by the weight of the film.
Technical Performance: U-Factor and SHGC in Miniature
In the southern states, we focus heavily on the Solar Heat Gain Coefficient. We want to block the infrared spectrum while allowing visible light (VT). When you apply a screen protector or a window film, you are essentially modifying the SHGC of that glass. A Low-E coating on Surface #2 of a window is designed to reflect that heat back outside. If your protector has a tint or a specific coating, it is doing the same thing. However, if there is a bubble, you have created a localized thermal bridge. This tiny pocket of air can actually act as a magnifying glass, concentrating heat on a specific part of the underlying substrate. In architectural glass, this leads to thermal stress cracks. On your phone, it can lead to localized pixel degradation over years of use.
“The performance of any fenestration product, including its thermal resistance and solar control, is intrinsically linked to the integrity of its layered components.” NFRC Technical Bulletin
The Master Glazier Method: The Wet-Application Trick
If you want to achieve the same results as a pro mobile service doing a chip repair or a large-scale laminate install, you must abandon the ‘dry-stick’ method. We use a surfactant-based solution—essentially a mix of distilled water and a precisely measured amount of tension-reducing soap. By spraying the glass, you neutralize the static charge that attracts dust. This ‘wet method’ allows the protector to float on a microscopic layer of liquid. You then use a high-durometer squeegee to move the liquid from the center toward the glazing bead or edge. As the liquid exits, it carries any trapped air with it. This is how we ensure that a 100-pound sheet of laminated glass bonds perfectly with its frame without a single visual distortion.
Why Material Science Matters: Vinyl vs. PET vs. Tempered Glass
Just as we choose between a vinyl, fiberglass, or wood sash for a home based on the rough opening stability, you must choose the right material for your protector. Vinyl is cheap and flexible but has a high coefficient of thermal expansion, meaning it will warp in the sun. PET is more stable but can be brittle. Tempered glass is the gold standard, mirroring the actual substrate it is protecting. When we shim a window into place, we are accounting for the house’s movement. When you apply a tempered glass protector, you are counting on the adhesive to act as a buffer for the minor flex of the device. If the adhesive is poor, the ‘chip’ you were trying to prevent will simply transfer its energy through the protector and into the primary pane.
The Final Seal: Weep Holes and Wiping
Every professional window system has a way to manage moisture, such as a sill pan or a weep hole. When you are finishing a protector application, you must consider the edges. If the adhesive doesn’t reach the absolute edge of the glass, capillary action will draw in oils from your skin and moisture from the air. This is why we ‘seal’ the edges of architectural glass with a silicone bead or a specialized glazing tape. For your device, the ‘trick’ is a localized application of heat—a hair dryer on low—to soften the adhesive at the perimeter, followed by firm, sustained pressure. This mimics the ‘factory seal’ we strive for in every high-performance installation. Don’t be a ‘caulk-and-walk’ amateur. Take the time to manage the surface tension, respect the ambient temperature, and you will never have to stare at a bubble again. Whether it is a skyscraper in Chicago or the screen in your pocket, glass demands respect, precision, and an understanding of the invisible forces at play.
{“@context”:”https://schema.org/”,”@type”:”HowTo”,”name”:”How to Remove Bubbles from Glass Protectors Like a Master Glazier”,”description”:”A professional guide to achieving a perfect, bubble-free glass surface application using glazing industry techniques.”,”step”:[{“@type”:”HowToStep”,”text”:”Clean the substrate using a 70% Isopropyl alcohol solution to remove all skin oils and factory residues.”,”name”:”Surface Decontamination”},{“@type”:”HowToStep”,”text”:”Apply a fine mist of distilled water mixed with one drop of surfactant to neutralize static and allow for film repositioning.”,”name”:”The Wet-Float Method”},{“@type”:”HowToStep”,”text”:”Align the protector with the edges of the glass, ensuring it is centered within the rough opening of the device frame.”,”name”:”Alignment and Shimming”},{“@type”:”HowToStep”,”text”:”Using a high-durometer squeegee, push the liquid and air from the center of the pane toward the outer glazing beads.”,”name”:”Centrifugal Compression”},{“@type”:”HowToStep”,”text”:”Apply low heat to the edges to activate the adhesive and prevent moisture infiltration via capillary action.”,”name”:”Thermal Edge Sealing”}]}