The paper towel test for checking if your chip repair resin actually cured
The Sticky Truth Behind Failed Glass Repairs
You have seen it before: a technician finishes a same-day mobile service, packs up their bridge and injector, and tells you it is good to go. But twenty minutes later, you touch the surface and it feels tacky. Or worse, you notice the resin has shrunk, leaving a divot that catches your wiper blade or gathers dust. In my 25 years as a master glazier, I have seen more failed repairs from improper curing than from actual glass stress. A chip repair is not just about filling a hole; it is a delicate chemical bonding process that requires the right UV wavelength, temperature control, and a final verification step that most ‘caulk-and-walk’ installers skip entirely: the paper towel test.
The Narrative Matrix: A Lesson in Humidity
I remember a homeowner in Houston who called me in a panic because their new impact-rated windows were ‘sweating’ and the small chip repair I had done on a sidelite the day before looked like it was melting. I walked in with my hygrometer and showed them the humidity inside was pushing 60 percent. It was not the glass; it was their lifestyle and a faulty HVAC system. But that humidity also taught me a valuable lesson about resin. Moisture in the air can interfere with the oxygen inhibition layer during the curing process. If you do not manage the environment, the resin will never reach its full structural integrity. That is why the paper towel test is the only way to be certain the job is done right.
“Installation is just as critical as the window performance itself. A high-performance window installed poorly will fail.” AAMA Installation Masters Guide
The Science of the Cure: Beyond the Surface
When we talk about chip repair resin, we are dealing with complex methacrylates designed to match the refractive index of glass, which is approximately 1.52. This is not glue; it is a structural polymer. For a mobile service glass installer to succeed, they must understand that the resin cures through a photochemical reaction. When UV light at the 365nm wavelength hits the photo-initiators in the resin, it triggers a cross-linking of molecular chains. However, this process can be hindered by oxygen. This is why we use a curing tab to seal the resin from the air. Without that tab, the surface remains ‘tacky’ because the oxygen prevents the top layer from hardening. The paper towel test is your final check against this failure.
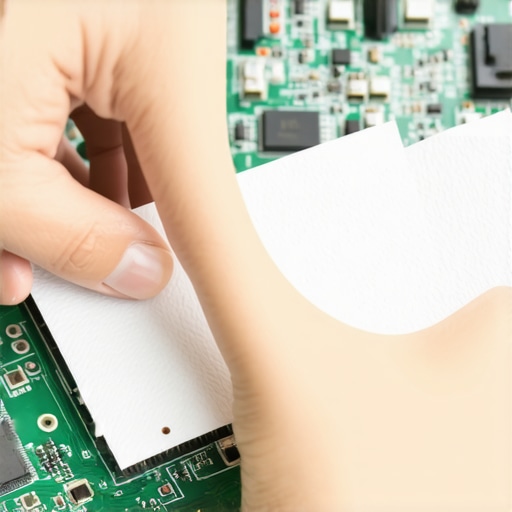
How to Perform the Paper Towel Test
Once the curing lamp has been removed and the curing tab is peeled back, the resin should be level with the glass. Take a clean, dry, lint-free paper towel and press it firmly against the repair site. Give it a slight twist. If the paper towel sticks, drags, or leaves fibers behind, the resin has not fully cured. This often happens in Southern climates where the Solar Heat Gain is high but the UV index might be deceptively low due to cloud cover or tinted glass nearby. In these hot environments, a Low-E coating on Surface 2 of a nearby window might even reflect UV away from your work area, slowing the cure. If the paper towel slides across the surface like it is on ice, you have achieved a full cure.
Why Your Climate Context Matters
If you are in a Southern climate like Phoenix or Florida, the enemy is Solar Heat Gain and high UV. You want a resin with a higher viscosity that can withstand the expansion and contraction of the glass. The glass in a rough opening or an operable sash can reach temperatures over 150 degrees Fahrenheit. If the resin is not fully cured and tested, it will eventually yellow or pop out. For coastal installations, the resin must also resist the corrosive effects of salt air. A professional glazier knows that the curing time on a humid day in Miami is different than a dry day in Vegas. We adjust the cure time, but we always verify with the paper towel test.
“The integrity of the building envelope depends on the precise application of sealants and glazing compounds to prevent moisture ingress.” ASTM E2112 Standard Practice
The Anatomy of a Professional Repair
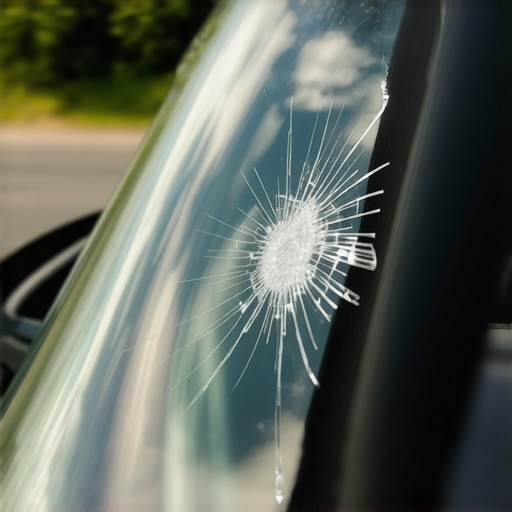
A real chip repair involves more than just a drop of resin. It starts with cleaning the pit, often using a scribe to remove loose glass shards. Then comes the bridge and injector, which creates a vacuum to pull air out of the break before injecting the resin under pressure. We look for the ‘disappearing act’ where the air bubbles vanish and the resin fills every microscopic crack. Only after this do we apply the pit filler, the curing tab, and the UV light. A mobile service that rushes this process is doing you a disservice. They should be checking the glazing bead and the weep hole of the surrounding frame while they wait for the cure. If they are not shimming their equipment for a level fill, they are just guessing.
The ROI of Professional Glazing
Many homeowners think they can buy a five-dollar kit and do it themselves. I have had to replace entire sashes because a DIYer messed up a repair so badly that the crack spread across the whole pane. The ROI on a professional repair is measured in the years of life added to the glass. A professional glass installer understands the physics of the glass. We know that a chip near the edge of the glass is under more stress than one in the center. We know that if the resin does not cure correctly, it will not support the structural integrity of the glass. Do not settle for a ‘tin man’ sales pitch about magic resins. Look for the technician who takes the time to perform the paper towel test before they ask for your signature.