How to tell if your chip repair is actually permanent using the vacuum test
In the world of high performance architectural glazing, a chip in a pane of glass is far more than a minor cosmetic blemish; it represents a fundamental breach in the structural and thermal integrity of the window assembly. As a Master Glazier with over 25 years of field experience, I have witnessed thousands of failed repairs that were the result of the ‘caulk and walk’ philosophy favored by low budget mobile service providers. A true professional glass installer understands that for a repair to be considered permanent, the laws of physics must be respected, particularly those involving atmospheric pressure, moisture content, and molecular bonding. The gold standard for verifying this integrity is the vacuum test, a process that separates the specialists from the amateurs.
The Condensation Crisis: A Master Glazier Narrative
I recall a specific incident where a homeowner in a high humidity region called me in a panic because their relatively new triple pane windows were ‘sweating’ internally around a small star break repair. I walked into the residence with my hygrometer and a digital infrared thermometer. The homeowner was convinced the glass was defective. However, as I analyzed the repair site, I showed them that the humidity level was hovering at a dangerous 60 percent, and the previous mobile service technician had failed to evacuate the moisture from the chip prior to injecting the resin. Because the installer did not use a vacuum test, they had essentially sealed a micro-environment of humid air inside the glass. When the temperature dropped that evening, the trapped moisture reached its dew point and condensed, creating a permanent fog within the glass laminate. This was not a failure of the window but a failure of the repair process. It was a stark reminder that moisture management is the most critical aspect of glazing.
“Installation and repair procedures are as critical as the glass performance itself. A high-performance window or repaired glazing unit that is not handled with precision will eventually fail under the stresses of thermal cycling.” – AAMA Installation Masters Guide
Glazing Zooming: The Physics of the Vacuum Test
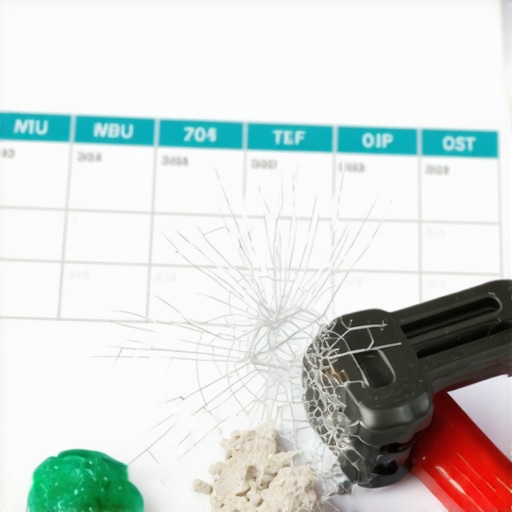
To understand why the vacuum test is the only way to ensure a permanent repair, we must zoom into the molecular level of the break. When an object strikes the glass, it creates a series of microscopic fissures known as ‘legs.’ These legs are not empty space; they are filled with air, dust, and often moisture. If a glass installer simply injects resin under positive pressure, they are essentially compressing the air into the furthest reaches of these fissures. This creates a pressurized air pocket. Over time, as the sun beats down on the glass, that air expands due to solar heat gain, eventually forcing the resin out and allowing the crack to propagate across the entire sash.
The vacuum test reverses this dynamic. By applying a specialized bridge and injector assembly over the rough opening of the chip, the technician creates a localized vacuum environment. We are aiming for a pressure differential of at least 28 inches of mercury (Hg). This negative pressure pulls the air and moisture out of the microscopic legs. In a North or cold climate, where the U-factor is the primary concern, ensuring that no air pockets remain is vital for maintaining the thermal resistance of the glass. A failed repair becomes a thermal bridge, allowing heat to escape and increasing the risk of stress cracks. The vacuum test is the only way to verify that the ‘space’ is truly empty and ready for the resin to take its place.
The Role of Resin and Refractive Index
Once the vacuum has been successfully held for a specific duration, usually around five to ten minutes depending on the complexity of the break, the professional glass installer introduces the resin. This is not a simple adhesive; it is a high grade polymer with a refractive index matched to that of the silicate glass. The refractive index is a measure of how much light bends as it passes through a medium. If the resin index does not match the glass, the repair will remain visible as a ghost-like distortion. During the injection phase, the vacuum is released, and the higher atmospheric pressure outside the break pushes the resin into every microscopic void that was previously evacuated. This ensures a 100 percent fill, which is essential for structural stability.
In Southern or hot climates, where the Solar Heat Gain Coefficient (SHGC) is the dominant metric, the resin must also be UV stable. Cheap resins used by some mobile service companies will yellow and become brittle when exposed to intense solar radiation. A master glazier uses resins that are engineered to maintain their clarity and elasticity throughout thousands of thermal cycles. If the technician does not check the glazing bead or the sill pan for proper drainage while they are there, they are doing a half job. Every repair should be an opportunity to inspect the overall health of the window system.
“The removal of air and moisture through a verified vacuum process is the primary standard for ensuring the long-term adhesion of repair polymers to a glass substrate.” – ASTM E2112 Standard Practice for Installation and Repair
Same-Day Service vs. Technical Precision
While same-day mobile service is a convenient offering, it must not come at the expense of technical precision. A proper repair requires a controlled environment. If it is raining, or if the glass temperature is too high, the resin will not cure correctly. A professional glass installer will use a UV lamp with a specific wavelength to trigger the polymer cross-linking. This is an anaerobic curing process that must happen in the absence of oxygen. This is yet another reason why the vacuum test is non-negotiable; if oxygen is present, the resin will never achieve its full design strength. We often see chips in operable sashes that have been poorly repaired, leading to the glass flexing and eventually shattering when the window is opened or closed. This is why we pay so much attention to the shim and the leveling of the frame during the initial installation; any latent stress on the glass will find the weakest point, which is always the site of a previous repair.
Final Indicators of a Permanent Repair
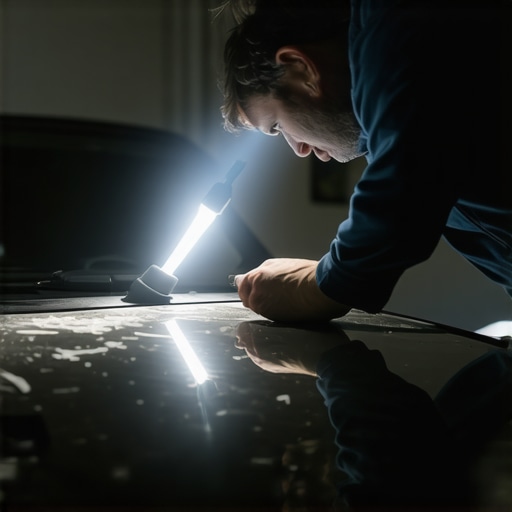
How can you, as a property owner, tell if the repair is actually permanent? First, watch for the vacuum cycle. If the installer does not use a bridge with a mechanical vacuum pump or a high-precision manual injector, they are not performing a professional repair. Second, look at the legs of the star break. Under vacuum, these dark lines should virtually disappear as the air is removed. Finally, check the surface finish. A professional glazier will finish the repair with a pit filler resin and a specialized curing strip, followed by a precision polish. The result should be a surface that is flush with the surrounding glass, ensuring that the weep holes and the glazing bead can function as intended without water being diverted into the rough opening.
Do not be fooled by high-pressure sales tactics. Triple-pane glass and exotic gas fills are wonderful for energy efficiency, but they are useless if the glass itself is compromised by a sub-par repair. The math of energy savings only works if the window remains a sealed system. A chip is a leak, and a vacuum-tested repair is the only way to plug that leak permanently. In my 25 years of experience, I have never seen a non-vacuum repair last more than two seasons in a harsh climate. Buy the numbers, not the hype, and ensure your installer understands the physics of the vacuum test.