How to safely remove a tempered glass protector that is shattered
The Physics of a Shattered Surface
When you are looking at a spiderweb of cracks across a tempered glass protector, you are looking at a material that has fulfilled its mechanical destiny. As a glazier with over two decades in the field, I have seen every type of glass failure imaginable, from massive curtain wall blowouts to simple residential sash breaks. Tempered glass is a safety product created through a process of extreme heating and rapid cooling, known as quenching. This creates a state of high compression on the surface and high tension in the core. When that equilibrium is disturbed by an impact, the energy is released instantly, resulting in the characteristic ‘pebbled’ fracture pattern. Understanding this tension is the first step in safely removing a protector without damaging the underlying substrate or your hands.
The Narrative: The Condensation Crisis and the Misapplied Film
A homeowner called me in a panic because their new windows were ‘sweating’ and one of the ‘protective layers’ had spontaneously shattered. I walked in with my hygrometer and showed them the humidity in the room was 60%, which was the real culprit for the moisture, but the shattered layer was another story entirely. They had applied an aftermarket tempered glass security film to an already high-performance window. I had to explain that the localized heat buildup between the protector and the glass had caused a thermal stress fracture. They were trying to scrape the shards off with a metal putty knife, nearly scratching the expensive Low-E coating on Surface #2. I stepped in before they turned a simple cleanup into a full glass replacement. It was a classic case where the homeowner did not understand the thermal expansion coefficients of the materials they were using.
“Installation is just as critical as the window performance itself. A high-performance window installed poorly will fail.” – AAMA Installation Masters Guide
The Science of Solar Heat Gain in the South
In hot climates like Texas or Florida, the enemy is Solar Heat Gain (SHGC). We want to block the infrared spectrum of the sun before it enters the living space. Most modern windows in these regions use a Low-E coating on Surface #2, which is the inside face of the exterior pane. When you add a tempered glass protector over a surface, you are essentially creating a micro-greenhouse. The heat gets trapped in the adhesive layer. In the South, this can lead to the adhesive becoming ‘baked’ onto the glass, making removal of a shattered protector significantly more difficult than it would be in a cooler climate. If your protector has shattered, the heat has likely already compromised the bond, making it brittle and prone to leaving residue. We need to manage the temperature during removal to ensure the adhesive stays with the protector and not on the glass.
The Blueprint for Technical Removal
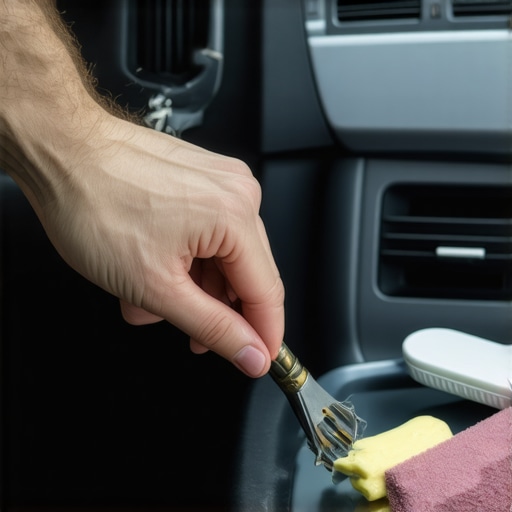
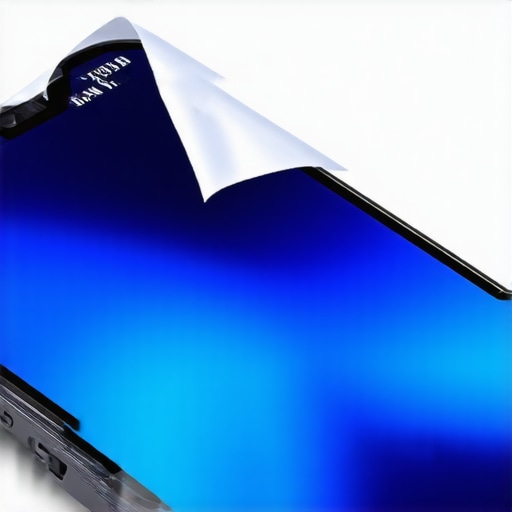
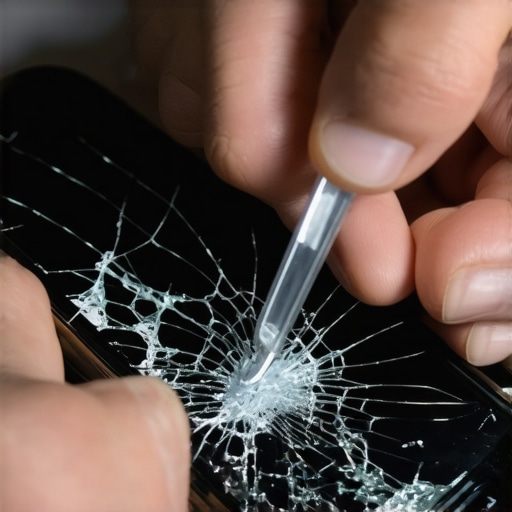
Safety is not a suggestion; it is a requirement. Before you touch a shattered protector, you need to stabilize the fracture. Use a high-quality clear packing tape to cover the entire surface of the shattered protector. This binds the fragments together, preventing small glass shards from falling into the tracks of your sash or becoming embedded in your skin. In the glazing trade, we call this ‘binding the break.’ Once the surface is stabilized, you must address the bond. Using a heat gun on a low setting, or even a high-powered hair dryer, gently warm the surface. You are aiming for approximately 120 degrees Fahrenheit. This temperature softens the acrylic adhesive without reaching the dew point where you might cause internal condensation within a double-pane unit. Use a plastic spudger or a dedicated glazing bead tool to lift one corner. Never use a metal blade, as it will score the glass, creating a permanent weak point that could lead to a future failure of the entire window unit.
“The use of improper tools during glass maintenance can lead to permanent surface damage or spontaneous breakage due to localized stress concentrations.” – ASTM E2112 Standard Practice
Technical Breakdown: Adhesive Chemistry and Glass Substrates
The bond between a tempered protector and the glass is usually a pressure-sensitive adhesive (PSA). These adhesives rely on ‘wet-out,’ where the liquid-like properties of the adhesive flow into the microscopic peaks and valleys of the glass surface. Over time, and especially under the high UV radiation found in southern climates, these adhesives can undergo a process called cross-linking, which turns a temporary bond into a much more permanent one. This is why a ‘mobile service’ or a professional ‘glass installer’ often uses chemical de-bonders. If the protector is stubborn, a small amount of isopropyl alcohol or a citrus-based solvent can be wicked under the edge as you lift. This disrupts the van der Waals forces that keep the adhesive stuck to the glass. Once the protector is off, you will likely see a ghosting effect. This is not damage to the glass but residual adhesive. Clean this with a specialized glass cleaner and a microfiber cloth, avoiding any abrasive pads that could damage the muntin or the surrounding frame.
The Importance of Professional Assessment
If you find that the shattered protector is actually a laminated layer or if it is part of an operable window assembly that feels jammed, stop immediately. In many cases, what people think is a simple protector is actually a sacrificial layer of a high-security glazing system. A professional ‘chip repair’ specialist or glass installer can determine if the underlying structural integrity of the window has been compromised. If the rough opening of the window has shifted due to house settling, the pressure on the glass might be what caused the protector to shatter in the first place. Shimming a window correctly is an art form; if the frame is out of square, even the best glass will eventually fail. Always check the weep holes in your frame while you are working on the glass; if they are clogged, water can back up into the sill pan, causing rot that goes far deeper than a simple shattered screen. Water management is a science, and every part of the window, from the glazing bead to the flashing tape, must work in harmony to protect the home.