Why your car’s safety sensors fail after a cheap glass swap
The Invisible Interface: Why Precision Trumps Price in Modern Glass Replacement
You see a crack. You call the cheapest mobile service you can find on your phone. They promise a same-day chip repair or a full replacement in your office parking lot. You think you saved two hundred dollars, but as soon as you hit the highway, your Lane Keep Assist starts jerking the wheel and your Collision Avoidance system throws a phantom braking fit. This isn’t a computer glitch; it is a physics failure. As a Master Glazier with a quarter-century in the trade, I have seen the ‘caulk-and-walk’ mentality migrate from residential windows to the automotive sector with disastrous results.
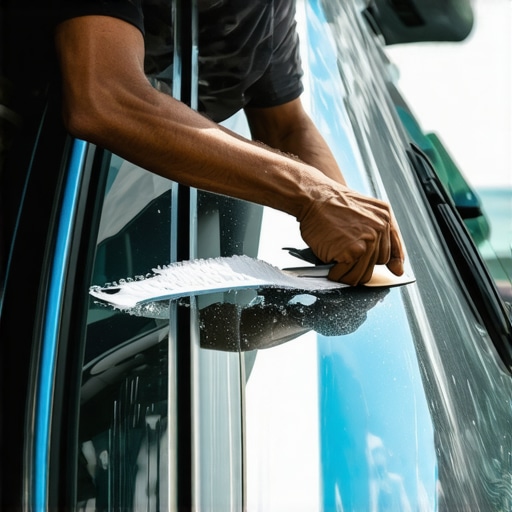
I pulled a windshield out of a high-end sedan last week in the middle of a humid July morning. The previous installer had relied on the speed of his electric cold knife rather than the precision of a wire-cut system. Why does that matter? He had gouged the pinchweld—the metal ‘rough opening’ of your car’s frame—down to the bare steel and hadn’t used a lick of primer. The urethane was already delaminating, and the camera bracket was vibrating like a tuning fork. The homeowner, or in this case, the driver, was wondering why their car felt ‘nervous.’ The foundation was literally rotting under the glass because the ‘glass installer’ focused on the clock rather than the chemistry of the bond.
“Failure to follow proper adhesive application and glass preparation protocols can lead to structural failure of the vehicle roof during a rollover and ADAS sensor inaccuracy.” – Auto Glass Safety Council (AGSC) Standard
The Optical Physics of ADAS: Why Your Camera is Blinded by Budget Glass
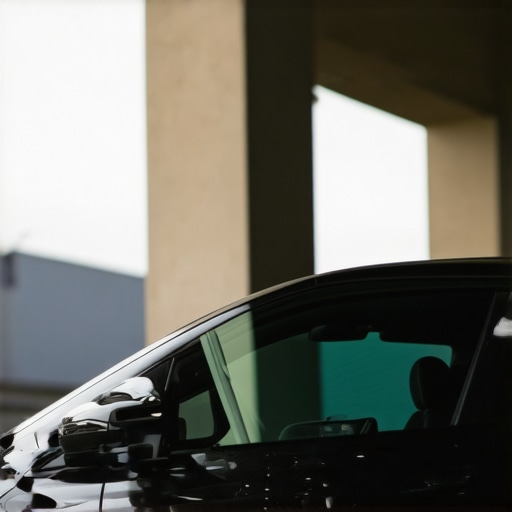
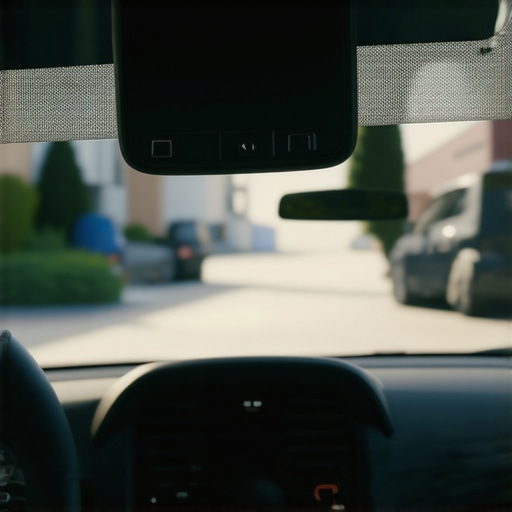
Your windshield is no longer just a piece of laminated safety glass; it is the primary lens for your Advanced Driver Assistance Systems (ADAS). When we talk about ‘Glazing Zooming,’ we have to look at the refractive index of the glass. A budget windshield often has subtle ‘waves’ or ‘seeds’ (microscopic bubbles) in the float glass. While your eyes might not notice a 0.1% deviation in light transmission, the CMOS sensor behind the rearview mirror certainly does. This camera is calculating distances based on pixel-perfect clarity. If the glass has a variation in thickness, it bends the light incorrectly. This is the difference between your car seeing a pedestrian at forty feet or thinking that pedestrian is a shadow at sixty feet.
Cheap glass often lacks the precision-molded brackets required for the camera. A ‘same-day’ technician might try to transfer your old bracket to the new glass using a generic adhesive. If that bracket is tilted by even half a degree, the ‘pitch’ and ‘yaw’ of the camera’s field of vision are thrown off. At highway speeds, a one-degree error in the camera’s angle translates to a massive lateral displacement in where the car thinks the lane lines are. This is why proper recalibration—both static and dynamic—is non-negotiable. An operable safety system requires the glass to be a perfect optical plane, not a warped piece of soda-lime bargain glass.
The Urethane Crisis: Temperature, Humidity, and the Myth of ‘Drive-Away Time’
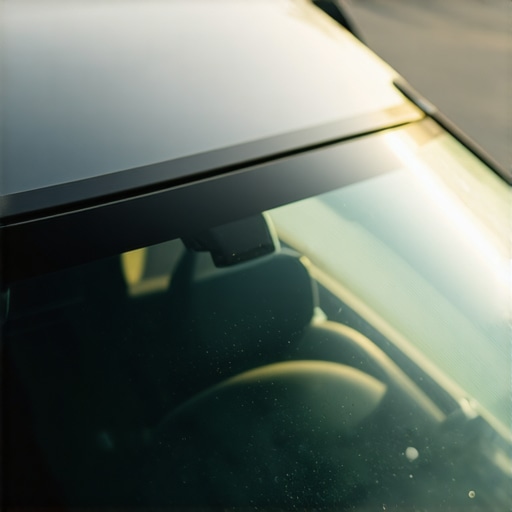
In hot, southern climates like Texas or Florida, the enemy of the glass installer is the Solar Heat Gain Coefficient (SHGC) of the adhesive itself during the curing phase. High humidity can accelerate the cure of some urethanes too fast, leading to ‘skinning’ before the glass is even set. This prevents the glass from seating deeply into the bead, creating a thickness offset that confuses your sensors. Conversely, in the North, cold temperatures can make the urethane too viscous to flow into the microscopic crevices of the pinchweld, leading to air leaks that sound like a ‘whistle’ but are actually ‘data noise’ for your rain sensors and light meters.
We use shims in residential window installation to ensure a plumb and level fit within the rough opening. In a car, we use setting blocks and gravity-tensioned tapes to ensure the glass doesn’t ‘slide’ during the first hour of curing. A mobile service technician working in a windy parking lot cannot control these variables. If the glass shifts by even two millimeters, the aperture for the camera—which you can think of as a miniature sash—is no longer aligned with the factory-specified focal point. This is why a ‘cheap’ swap often ends with a trip to the dealership to fix a dashboard lit up like a Christmas tree.
“The windshield is a critical component of the vehicle’s safety system, providing up to 60% of structural integrity in a rollover accident.” – ANSI/AGSC/ARGOS 004-2022
The Anatomy of a Proper Install: Beyond the Chip Repair
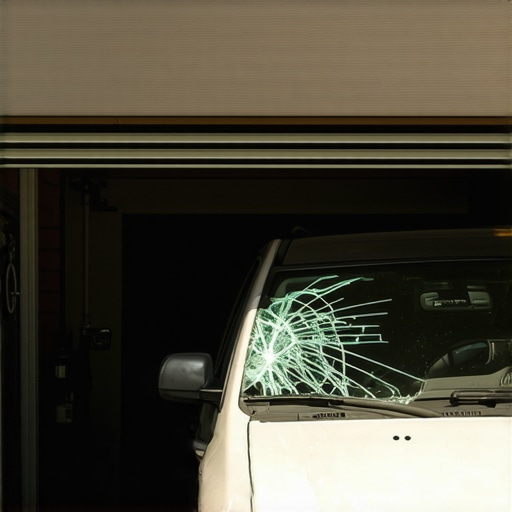
When you opt for a chip repair, you are essentially performing a localized ‘glazing bead’ restoration. We inject a resin with a specific refractive index to match the glass. However, if the impact is in the ‘critical vision area’—the box directly in front of the ADAS sensors—a repair is often a violation of safety standards. The resin, no matter how high-quality, will never have the same optical purity as the original laminate. It creates a ‘blind spot’ for the computer.
A true professional looks at the entire system. We inspect the weep holes at the base of the cowl to ensure water isn’t backing up into the sensor housing. We check the flashing tape equivalents—the moldings and weatherstrips—to ensure they aren’t channeling water toward the electronics. A ‘tin man’ salesman will tell you all glass is the same. I am telling you that the difference between OEM-spec glass and an ‘aftermarket’ knockoff is the difference between a functional safety net and a dangerous illusion. Don’t let a ‘same-day’ promise turn into a long-term liability. Your car’s ‘operable’ safety depends on the glass being a transparent extension of its brain, not a distorted barrier. We treat the pinchweld with the same reverence a carpenter treats a sill pan in a high-performance home; it is the only defense against the elements and the only way to ensure the glass performs its structural and technological duty.
{“@context”: “https://schema.org”, “@type”: “HowTo”, “name”: “How to Verify Your Auto Glass Installation for ADAS Compatibility”, “step”: [{“@type”: “HowToStep”, “text”: “Ensure the glass installer uses OEM or OEE glass with a pre-mounted sensor bracket to maintain optical alignment.”}, {“@type”: “HowToStep”, “text”: “Verify the use of high-modulus, non-conductive urethane specifically designed for vehicles with ADAS sensors.”}, {“@type”: “HowToStep”, “text”: “Insist on a post-installation recalibration, either static using target boards or dynamic via a controlled test drive.”}]}