How to get a bubble-free finish on a curved edge screen protector
The Precision of the Micro-Glaze: Why Most Screen Installs Fail
In my twenty-five years as a master glazier, I have handled everything from forty-foot curtain walls to delicate historic sash restorations. To the uninitiated, applying a screen protector might seem like a trivial task, far removed from the world of structural glazing beads and sill pans. However, the physics of glass adhesion remains constant regardless of scale. When you are dealing with a curved edge, you are fighting against the inherent surface tension of the material and the geometric complexities of a non-planar surface. A glass installer understands that glass is never truly flat at a molecular level, and when you introduce a curve, you introduce a stress point that wants to pull away from its substrate.
The Humidity Factor: A Lesson from the Field
I recall a specific instance where a homeowner called me in a panic because their new architectural windows were ‘sweating’ and the laminate was peeling at the corners. I walked in with my hygrometer and showed them the humidity was 60 percent. It wasn’t the windows; it was their lifestyle choices. This same principle applies to screen protectors. Most people attempt an installation in a dry, static-heavy living room. This is a recipe for disaster. I have spent decades teaching apprentices that the environment is your primary tool. If you have particulate matter floating in the air, you are guaranteed to fail. The ‘bubble’ people complain about is rarely air; it is a microscopic piece of dust acting as a shim, holding the protector away from the glass and creating a void.
“Installation is just as critical as the window performance itself. A high-performance window installed poorly will fail.” – AAMA Installation Masters Guide
The Physics of Surface Tension and Contaminants
When providing mobile service for chip repair, we have to be hyper-aware of the environment. A single speck of carbon or silica can prevent the resin from bonding. Similarly, the adhesive layer on a curved screen protector is designed to wet out across the surface. If that wetting process is interrupted by a contaminant, the adhesive cannot reach its full bond strength. This is particularly problematic on curved edges where the material is already under tension, trying to return to a flat state. We call this ‘edge lift,’ and in the window world, it’s the equivalent of a weep hole being blocked, leading to eventual system failure. You must ensure the rough opening of your workspace is controlled. I often recommend running a hot shower for five minutes to drop the dust out of the air before starting. It is a trick we use when we have to perform delicate operable glass repairs in the field without a clean room.
Step-By-Step Glazing Method for Curved Glass
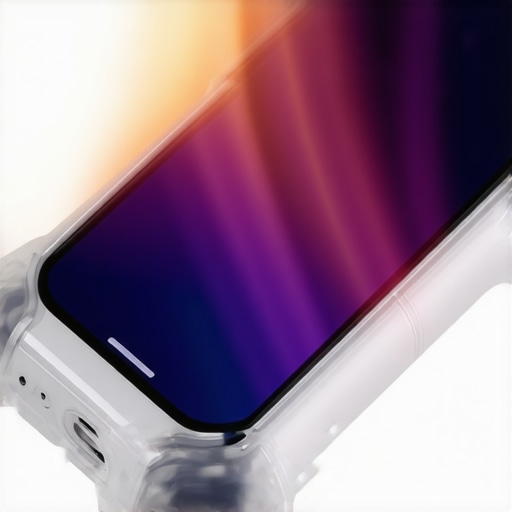
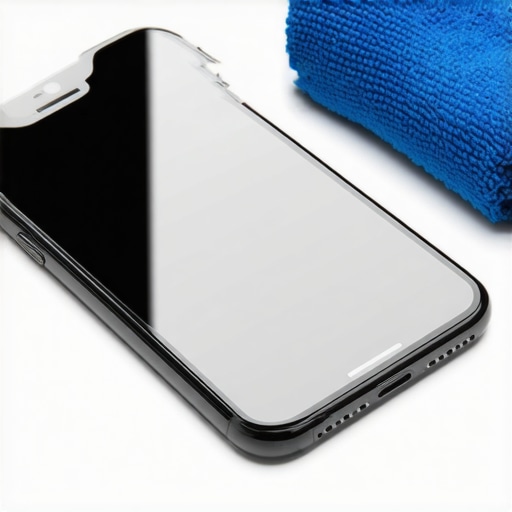
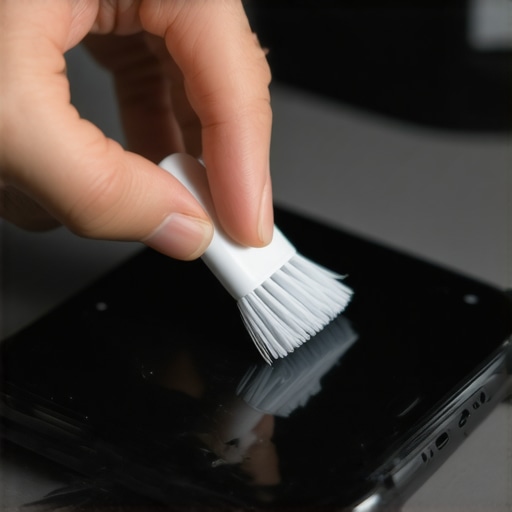
First, you must strip the factory oils. Do not use generic cleaners; use a high-purity isopropyl alcohol. In professional glazing, we call this a ‘two-cloth’ clean. One cloth applies the solvent, the second removes it before it can evaporate and leave a residue. Next, you must address the static. A glass installer knows that friction creates a charge that attracts dust like a magnet. Use an anti-static spray on your work surface, not the glass itself. When you align the protector, do not drop it flat. You must use a ‘hinge’ method. Tape one side of the protector to the device, creating a pivot point. This ensures that the muntin-like alignment is perfect every time. As you lay the glass down, start from the center and work outward. This is the same technique we use when applying flashing tape to a window header; you must move the air in a single direction to prevent trapping it in a pocket.
“The primary goal of any glass installation is the management of the interface between materials to ensure long-term stability and clarity.” – ASTM E2112 Standard Practice
The Mobile Service Standard: Why Patience Wins
Whether you are doing a same-day repair on a cracked windshield or a chip repair on a storefront, the goal is always the same: a perfect optical path. If you find a bubble during your screen install, do not press harder. If it is an air pocket, it will migrate. If it is a dust speck, you have to perform a surgical ‘lift and grab’ using adhesive tape. This requires the steady hand of someone who has spent years cutting glass on a sash line. The curved edge is the ultimate test of this patience. Because the glass curves away from the center, the protector needs more time to ‘set.’ I advise leaving the device under a weighted flat surface for an hour after installation to ensure the adhesive fully engages with the radius of the curve. This is the professional way to ensure your installation doesn’t end up as another cautionary tale of ‘caulk-and-walk’ amateurism.