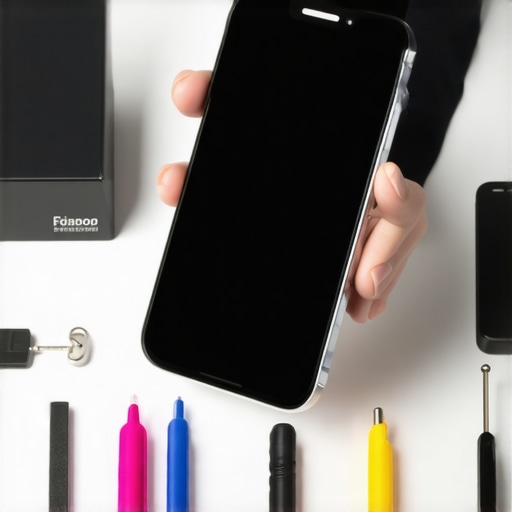
How to remove air bubbles from a screen protector
The Micro-Glazing Challenge: Why Your Screen Protector Is Failing
As a master glazier with over two decades of experience handling everything from monolithic plate glass to high-performance IGUs (Insulated Glass Units), I find it fascinating how people underestimate the complexity of a screen protector. Most see it as a simple sticker. I see it as a precision-engineered laminate interface. When you see an air bubble, you aren’t just looking at an eyesore; you are looking at a failure of the interfacial bond. In my world, a bubble in a laminate is a structural defect. Whether I am performing a mobile chip repair on a windshield or installing a tempered glass screen, the physics of surface energy and atmospheric pressure remain the same. If the surface isn’t prepped to the same standard as a rough opening for a hurricane-rated window, you are inviting failure. In this guide, I will break down the mechanics of the ‘bubble’ and how to achieve a professional-grade finish using the same logic we apply to same-day glass installation.
“Installation is just as critical as the window performance itself. A high-performance window installed poorly will fail.” – AAMA Installation Masters Guide
The Contamination Crisis: A Narrative of Failed Prep
I remember a homeowner who called me in a panic because their new architectural windows were ‘sweating’ and showing strange circular distortions. I walked in with my hygrometer and a high-intensity lamp, and it was immediately clear: the humidity was 60% and the surfaces were never properly de-oiled. It wasn’t a manufacturing defect; it was a lifestyle and prep issue. We see the same thing in the mobile service industry. A client tries to apply a screen protector in a dusty living room and wonders why it looks like a topographical map. It is almost never the glass itself; it is the particulate matter trapped in the adhesive. Most installers are ‘caulk-and-walk’ amateurs who don’t understand that a single skin cell is like a shim shoved into the wrong place, creating a gap that the adhesive simply cannot bridge.
The Anatomy of the Bubble: Why Air Gets Trapped
To remove a bubble, you must first understand what it is. A bubble is either entrapped air or a void created by a contaminant. If it is pure air, it is a matter of displacement. If it is a speck of dust, it is a permanent structural obstruction. In window glazing, we worry about the glazing bead providing enough pressure to seal the glass against the gasket. With a screen protector, the pressure comes from the PSA (Pressure Sensitive Adhesive) layer. When you drop that glass onto the screen, you are initiating a ‘wetting’ process. If the adhesive hits a piece of dust, it ‘tents’ over it, creating a pocket of air that no amount of squeegeeing will ever fully remove because the ‘tent’ is held up by the physical height of the dust particle.
The Technical Protocol for Bubble Removal
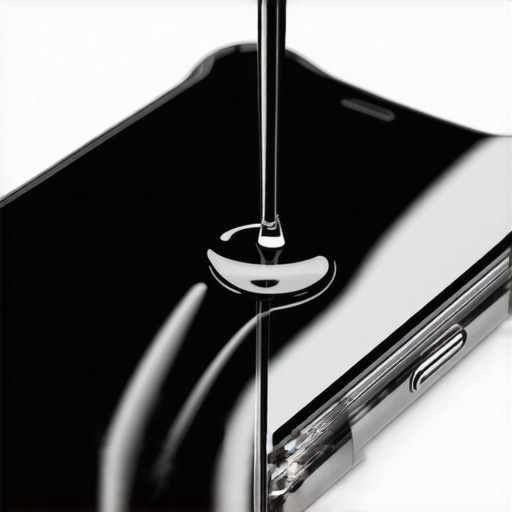
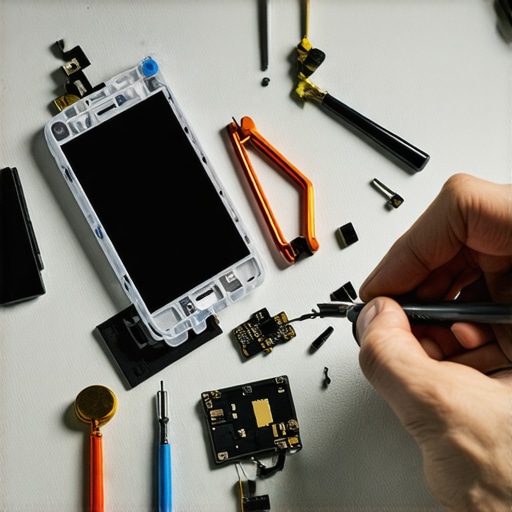
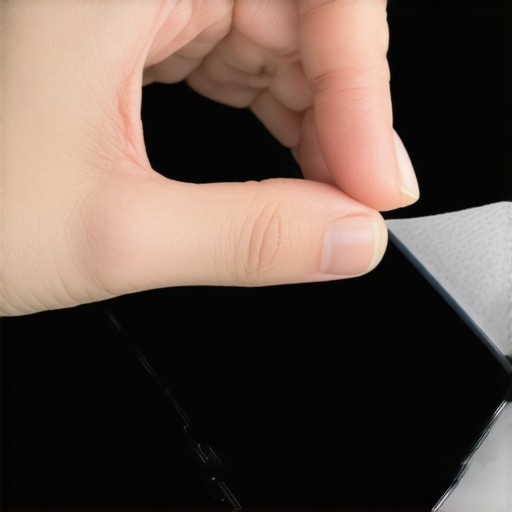
If you have already applied the protector and see bubbles, do not reach for the credit card and start scratching at the surface. You will only mar the glazing surface. Instead, follow this master glazier’s approach to remediation. First, identify the type of bubble. Is there a visible speck in the center? If so, you must lift the glass. Use a piece of high-tack tape to gently peel back the corner of the protector. Do not use your fingernail; you will leave an oil residue that will prevent the corner from ever resealing, much like a failed flashing tape on a window frame. Once lifted, use a secondary ‘dust-absorber’ sticker to grab the particle from the adhesive side of the protector. This is precision work, akin to a chip repair where we vacuum-seal the damage before injecting resin.
“The cleaning of the substrate is the most overlooked step in any glazing or bonding application. Contaminants at the micron level can lead to catastrophic adhesion loss.” – ASTM E2112 Standard Practice
Environmental Control: The Secret to a Same-Day Success
In hot, humid climates like Florida or Texas, we actually have an advantage when it comes to dust. High humidity acts as a natural suppressant for airborne particulates. If you are struggling with bubbles, take your device into a bathroom where you have recently run a hot shower. The steam will knock the dust out of the air, creating a temporary ‘clean room.’ This is the same logic we use when setting up a sill pan in a controlled environment before moving it to the site. You want to minimize the vapor pressure and the static charge on the glass. A dry, carpeted room is a glazier’s nightmare because every movement generates static that pulls lint toward the screen like a magnet. This is why professional mobile service units for glass repair are often equipped with HEPA filtration to maintain surface integrity.
The ‘Hinge Method’ vs. The ‘Freehand’ Fail
Most people fail because they try to ‘eyeball’ the placement. In architectural glazing, we use shims to ensure the sash is perfectly centered within the rough opening. For a screen protector, your ‘shims’ are pieces of tape. Apply the protector to the device while the backing is still on, and use three pieces of tape on one side to create a hinge. Flip it open like an operable casement window, clean the screen one last time with 99% isopropanol, and then flip it shut. This ensures the alignment is perfect on the first drop. If you have to lift and reposition the glass multiple times, you are exponentially increasing the risk of introducing a ‘weep hole’ of air that will never go away.
Understanding Solar Heat Gain and Adhesive Failure
If you live in a high-heat region, you need to be aware of how Solar Heat Gain affects the adhesive bond of your screen protector. Just as a Low-E coating on surface #2 of a window reflects heat outward, the chemicals in some screen protectors are designed to be UV-stable. However, if you leave your device in a hot car after a same-day installation, the adhesive can outgas, creating new bubbles that weren’t there initially. This is a thermal expansion issue. The glass protector and the device screen expand at slightly different rates (the coefficient of thermal expansion). Always allow the bond to cure in a cool, shaded area for at least four hours to ensure the PSA has fully ‘wetted’ the substrate.
Final Inspection: The Mark of a Master Installer
A true glass installer doesn’t stop until the surface is optically clear. If you have tiny micro-bubbles that are purely air (no dust), they will often dissipate within 24 to 48 hours. This is due to the gas permeability of the adhesive layer. The air is slowly absorbed into the adhesive or pushed out through the edges by atmospheric pressure. Don’t force it. If you’ve followed the protocol, the physics of the bond will finish the job for you. Whether it is a chip repair on a windshield or a tempered glass layer on your phone, the goal is a seamless transition between the original glass and the new layer. Treat your device like an architectural masterpiece, and you’ll never have to look at a bubble again.